views
- You can use apps like SystemUI Tuner and Fullscreen Immersive to hide your status/notifications bar permanently.
- SystemUI Tuner and Fullscreen Immersive require you to enable USB debugging so you can use ADB commands to grant them access to your SystemUI on a PC.
- You can also use Nova Launcher to create a custom interface that doesn't include a notifications bar. This will only work within the Nova Launcher interface.
Using SystemUI Tuner
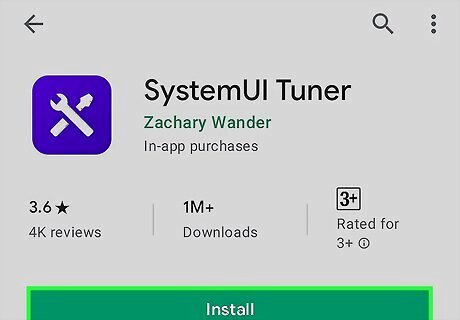
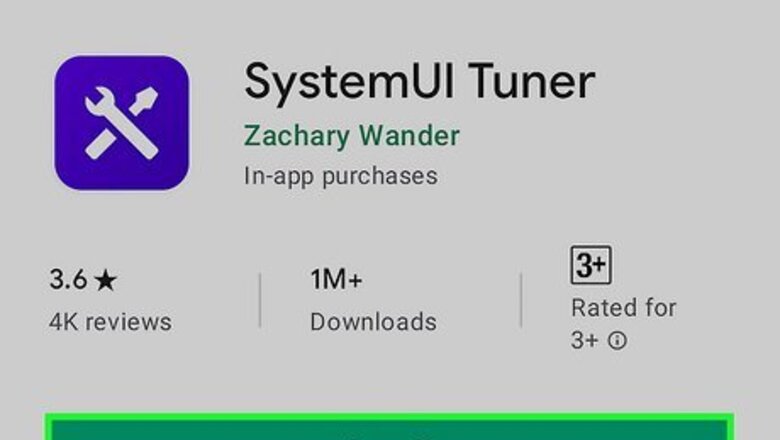
Download and install the SystemUI Tuner app. SystemUI is a background process that runs on your Android phone, and System UI Tuner is a secret menu that allows you to tweak the SystemUI. Android no longer allows you to access the System UI Tuner via the Settings menu. However, several apps allow you to access the System UI Tuner. However, they do not work on all Android devices. Use the following steps to download and install the System UI Tuner app: Open the Google Play Store. Search System UI Tuner. Tap SystemUI Tuner by Zachary Wander. Tap Install
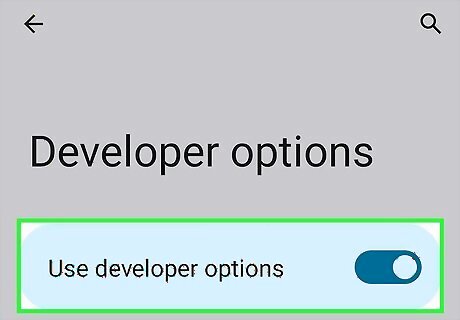
Enable Developer Options on your phone. For the SystemUI Tuner app to work, it needs to have write secure settings permissions and a few other permissions. For that to happen, you either need to root your phone or tablet and grant the app access to the root. Or you need to use ADB commands to grant the app access to systemUI (recommended). The first step to do so is to enable developer options. Use the following steps to enable developer options: Swipe down from the top of the screen to open the Quick Access menu. Tap the Gear icon in the upper-right corner to open the Settings menu. Scroll down and tap About phone. Tap the Build Number 7 times (It may be under "Software Information.").
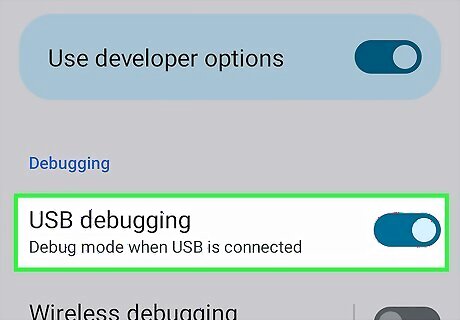
Enable USB Debugging. Next, you need to enable USB debugging to interface with your phone with your PC using a USB cable. Use the following steps to enable USB debugging: Swipe down from the top of the screen to open the Quick Access menu. Tap the Gear icon in the upper-right corner to open the Settings menu. Scroll down and tap Developer Options. Tap the toggle switch next to USB Debugging.
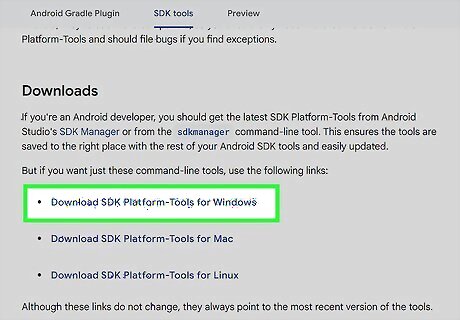
Download SDK Platform Tools on your computer. To do so, go to https://developer.android.com/tools/releases/platform-tools in a web browser and click the option to download SDK Platform-Tools for whichever operating system you use. This will download a zip file. Extract the zip file's contents to any convenient location on your hard drive that you can remember.
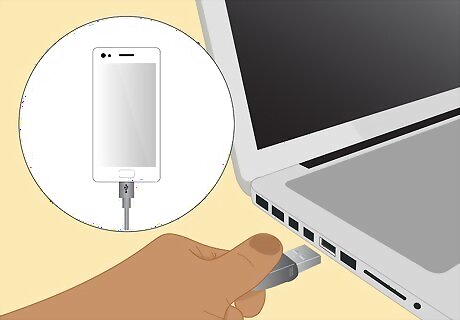
Connect your phone to your computer. To do so, make sure your phone is powered on and unlocked. Plug your phone into your computer using a USB cable. Tap Allow on your phone.
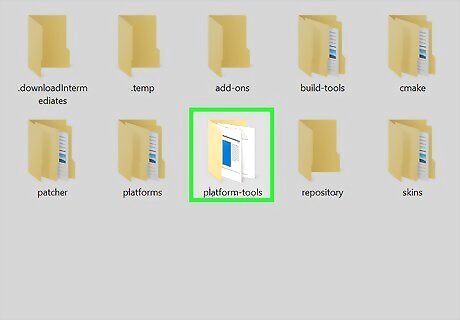
Navigate to the location of the Platform-tools folder. If you use Windows, navigate to the Platform-tools folder using File Explorer. If you are using a Mac, navigate to the Platform-tools using Finder. On Linux, use the Files app or navigate to the Platform Tools using the Terminal.
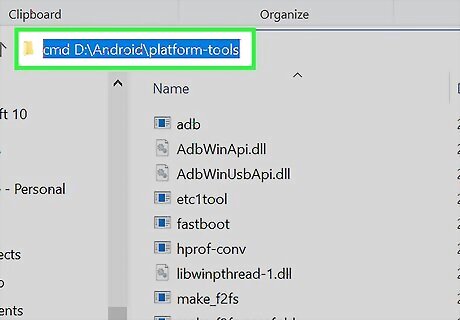
Open the Platform-tools folder in the Command Prompt or Terminal. Use one of the following steps to do so: Windows: Double-click the Platform-tools folder to open it. Click the address bar at the top and add cmd to the front of the folder path. Press Enter. Mac: Open the Platform-tools folder. Hold Control and click the path bar at the top of the Finder (if you don't see it, click View > Show Path Bar.) Click Open in Terminal. Linux: Press Ctrl + Alt + T to open the Terminal. Type "cd" followed by the path to the Platform-tools folder. Press Enter.
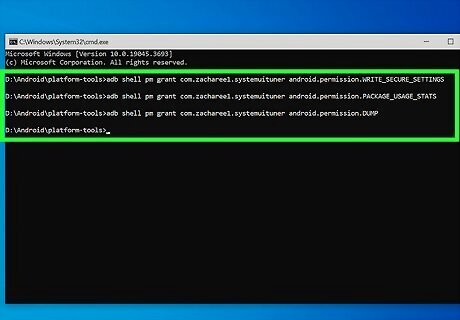
Enter the commands to grant SystemUI Tuner write secure settings permissions and other permissions. If the commands work, you will not see any additional output text. If the commands do not work, you will get an error message. Enter the following commands and press Enter or Return to grant SystemUI Tuner the permissions it needs: adb shell pm grant com.zacharee1.systemuituner android.permission.WRITE_SECURE_SETTINGS adb shell pm grant com.zacharee1.systemuituner android.permission.PACKAGE_USAGE_STATS adb shell pm grant com.zacharee1.systemuituner android.permission.DUMP
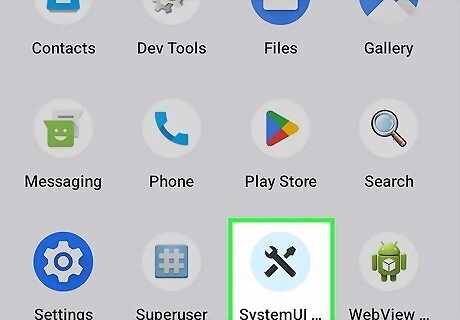
Open the SystemUI Tuner app. It has a purple icon with an image that resembles a wrench and a screwdriver. Tap the icon in your Apps menu to open the app. If you don't see it in the Apps menu, search for it in the Google Play Store and tap Open on the app's page.
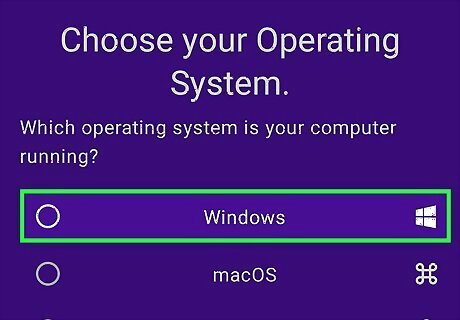
Scroll through all the setup pages. You will see numerous setup pages. Most of these just explain how to grant the app access to your system (you've already done that). You will need to scroll through the license agreement to accept it.
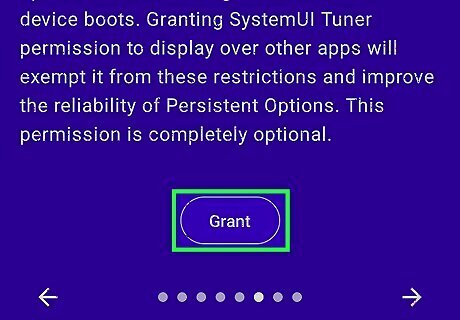
Grant SystemUI Tuner access to the System Alert Windows. This allows the app to display windows on top of other apps. When you get the System Alert Window in the setup pages, tap Grant at the bottom of the screen. Scroll down and tap the toggle switch next to "SystemUI Tuner."
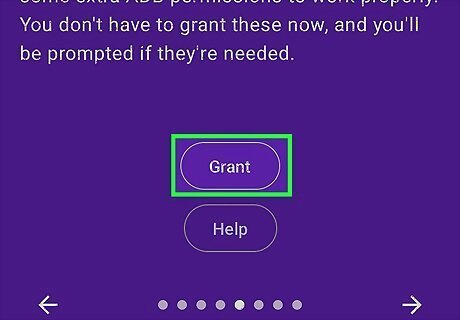
Grand SystemUI Tuner access to notifications (optional). If you want to receive notifications from SystemUI Tuner, tap Grant at the bottom of the screen and then tap Allow.
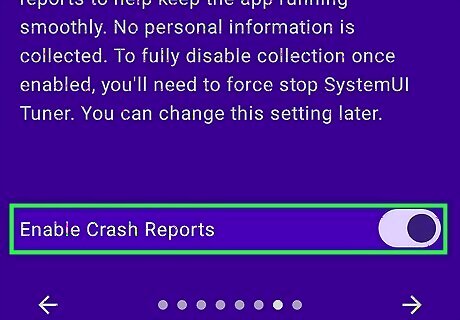
Enable System Crash Reports (optional). If you want SystemUI Tuner to be able to send crash reports if the app crashes, tap the toggle switch at the bottom of the "Enable Crash Reports" screen.
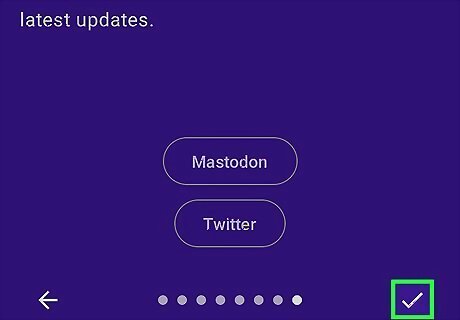
Tap Android 7 Done to finish setting up. Once you get to the last page of the setup pages, tap the checkmark icon in the lower-right corner. You only have to go through the setup pages once.
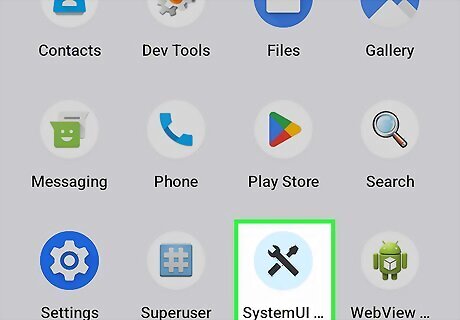
Open the SystemUI Tuner app. If the app isn't already open, go ahead and open it from your Apps menu. If you don't see it in the Apps menu, search for it in the Google Play Store and tap Open on the app's page.
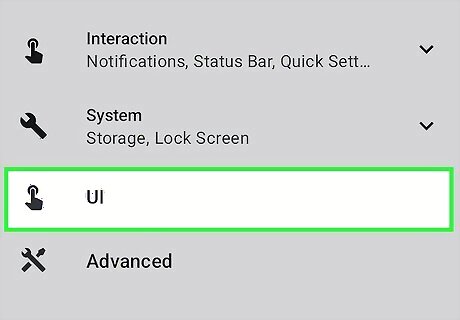
Tap UI. It's next to an icon that resembles a finger touching a screen. This menu displays User Interface options.
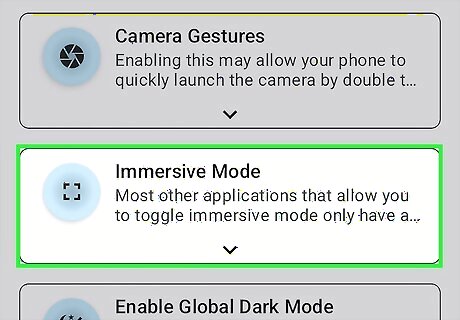
Scroll down and tap Immersive Mode. It's near the bottom of the UI menu. This displays options for hiding various user interface features.
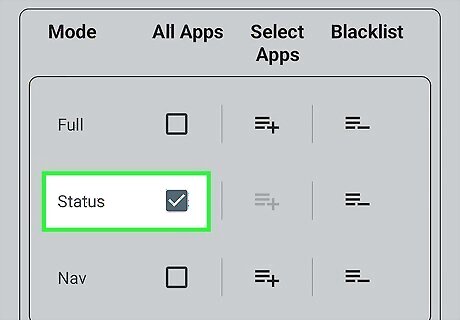
Tap the checkbox next to "Status." This will hide the status bar at the top of the screen. Alternatively, you can disable the status/notifications bar for specific apps. To do so, tap the icon that resembles a plus sign (+) next to some lines. Then tap the checkbox next to the apps you want to disable the status bar for.
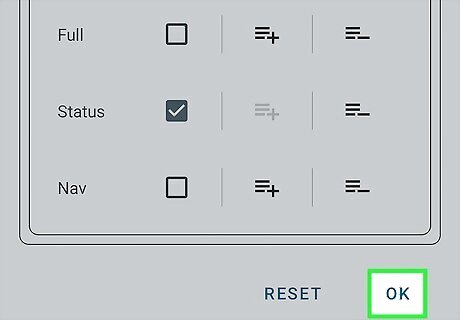
Tap Ok. It's in the lower-right corner. This disables the status/notifications bar. To display the notification bar again, open the Immersive menu under UI in the SystemUI Tuner app, uncheck the box next to "Status," and tap OK'.
Using Fullscreen Immersive
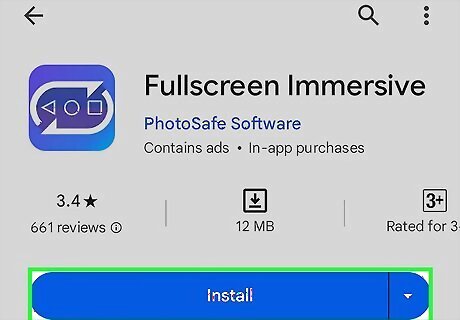
Download Fullscreen Immersive. The app is free to download from the Google Play Store (though it has ads). Use the following steps to download and install Fullscreen Immersive: Open the Google Play Store. Search Fullscreen immersive. Tap Install next to the Fullscreen app.
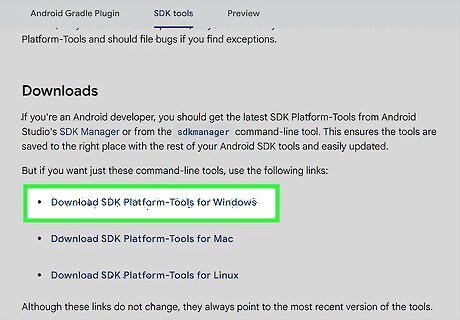
Download SDK Platform-Tools on your computer. To do so, go to https://developer.android.com/tools/releases/platform-tools in a web browser and click the option to download SDK Platform-Tools for whichever operating system you are using. This will download a zip file. Extract the zip file's contents to any convenient location on your hard drive that you can remember.
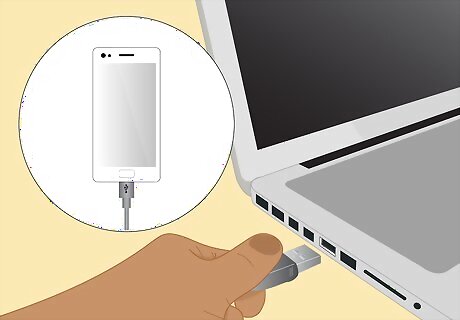
Connect your phone to your computer. To do so, make sure your phone is powered on and unlocked. Plug your phone into your computer using a USB cable. Tap Allow on your phone.
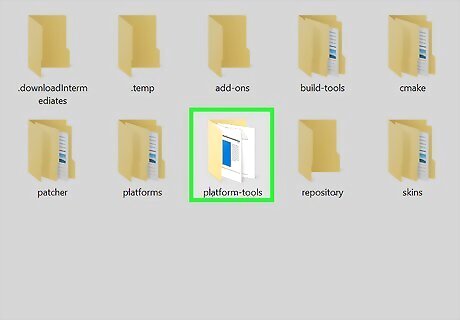
Navigate to the location of the Platform-tools folder. If you use Windows, navigate to the Platform-tools folder using File Explorer. If you are using a Mac, navigate to the Platform-tools using Finder. On Linux, use the Files app or navigate to the Platform Tools using the Terminal.
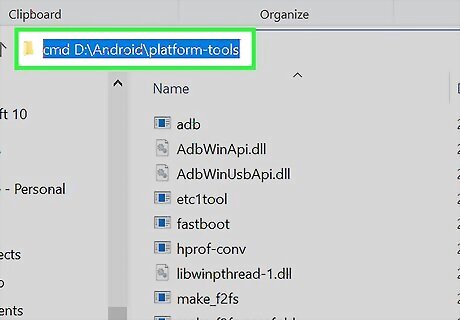
Open the Platform-tools folder in the Command Prompt or Terminal. Use one of the following steps to do so: Windows: Double-click the Platform-tools folder to open it. Click the address bar at the top and add cmd to the front of the folder path. Press Enter. Mac: Open the Platform-tools folder. Hold Control and click the path bar at the top of the Finder (if you don't see it, click View > Show Path Bar.) Click Open in Terminal. Linux: Press Ctrl + Alt + T to open the Terminal. Type "cd" followed by the path to the Platform-tools folder. Press Enter.
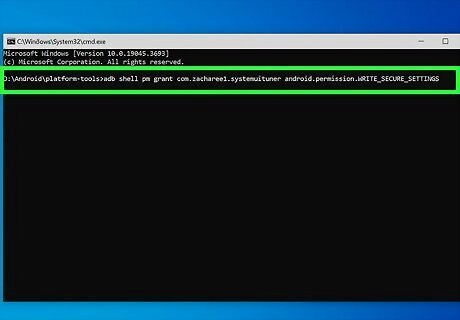
Enter the command to grant the app write secure settings permissions. Enter the following command to grant Fullscreen Immersive write secure settings permissions and press Enter or Return:
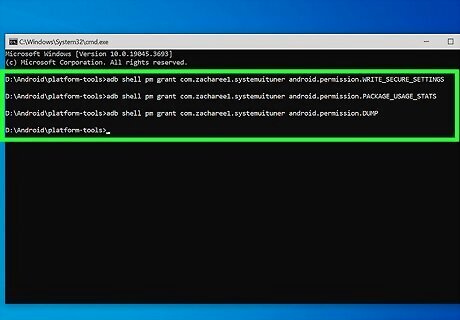
adb shell pm grant com.full.imm android.permission.WRITE_SECURE_SETTINGS
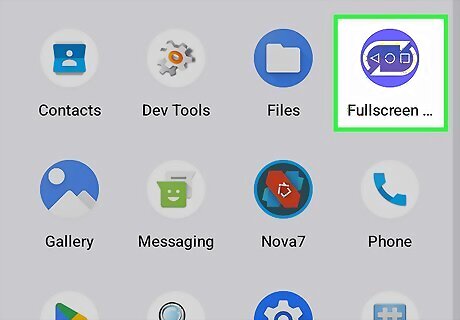
Open Fullscreen Immersive. It has a purple icon with two arrows in an oval shape. Tap the Fullscreen Immersive icon to open the app.
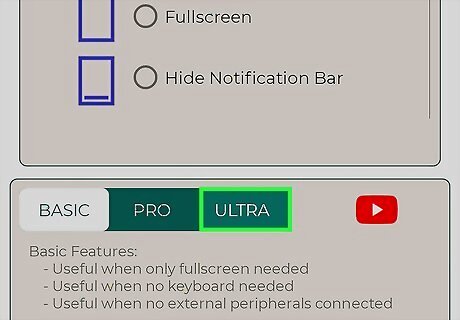
Tap Ultra at the bottom of the screen. This option allows you to hide the Notifications bar completely. You can only access this mode after granting the app write secure settings permissions.
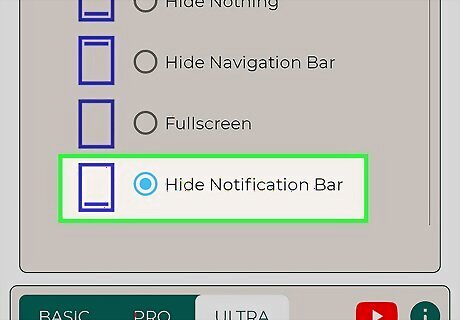
Tap the radio option next to "Hide notification bar." This instantly hides the notification bar. To display the notification bar again, open the Fullscreen Immersive app and tap the "Hide nothing" option, or tap the toggle switch in the upper-right corner to turn off the app.
Using Nova Launcher
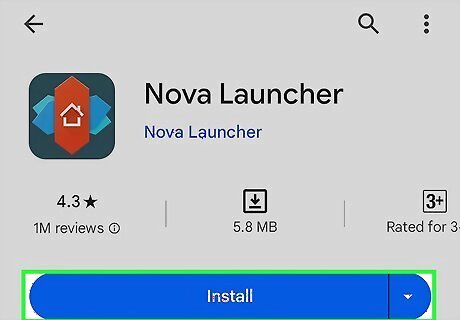
Download and install Nova Launcher. Nova Launcher is a third-party app that allows you to create a customized Home screen and user interface for your Android phone or tablet. You can also use it to hide your notifications bar. Use the following step to download and install Nova Launcher: Open the Google Play Store. Search Nova Launcher. Tap Nova Launcher. Tap Install.
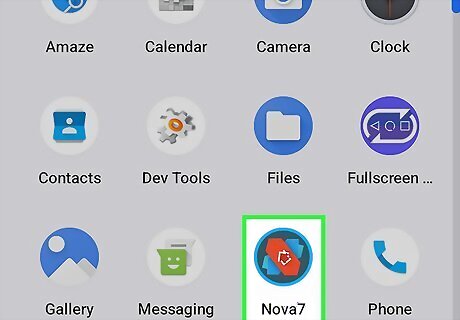
Open Nova Launcher. It has a blue icon with a red band. Tap the Nova Launcher icon in the Apps menu to open Nova Launcher.
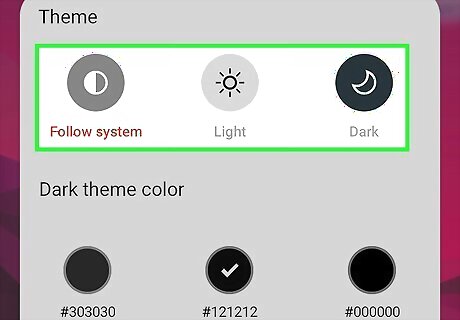
Customize your home screen (optional). The first time you open the app, it gives you several options to customize the Home screen. If you want, you can go through the options to create a custom home screen.
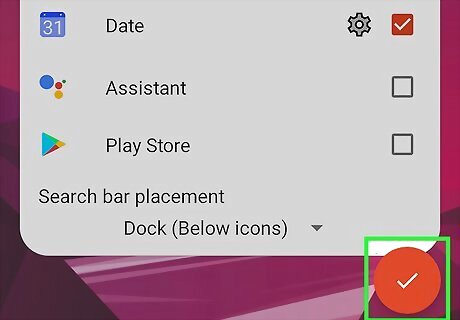
Scroll down and tap the checkmark icon. When you are done setting up the Home Screen, scroll all the way down to the bottom. Tap the red icon with the checkmark in the lower-right corner.
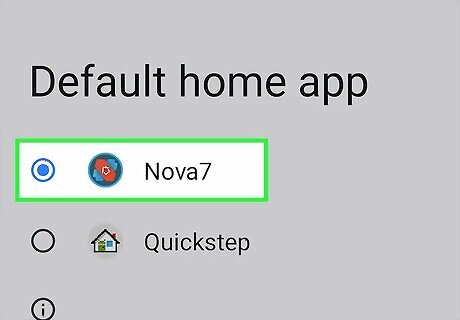
Choose Nova7 as the default launcher. Your phone will give you three options to choose as the default launcher. Tap Nova7 as your default launch and tap Always.

Tap and hold the center of the screen. This displays the screen that allows you to move your icons and set up widgets. It also displays the Settings menu. Alternatively, you can tap the Nova Settings icon on your Home screen.
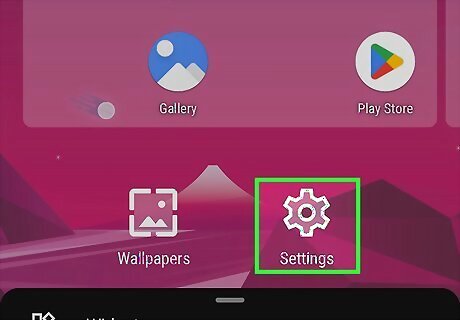
Tap Settings. It's the large icon that resembles a gear. This opens the Settings menu.
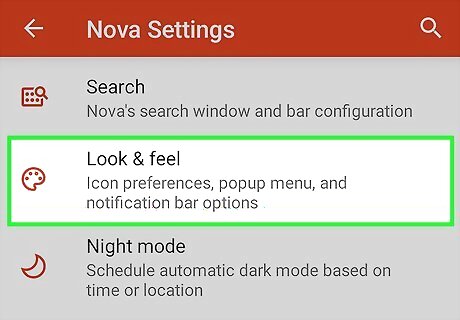
Tap Look & feel. It's next to an icon that resembles a painter's pallet in the Nova Settings menu.
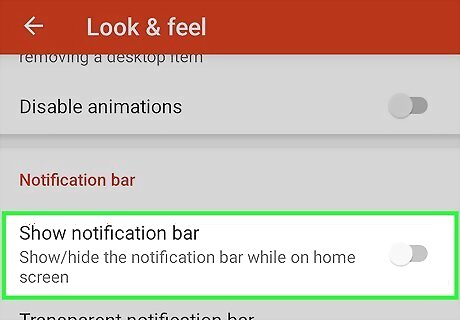
Tap the toggle switch next to "Show notifications bar." When this option is disabled, it will hide your notifications bar within the Nova Launcher interface. This will only work in the Nova Launcher interface. It will not work on the standard Android interface or within specific apps. The plus side is that you don't need ADB commands to grant the app write secure settings access, making this the simplest option.


Comments
0 comment