views
- Use a USB cable to connect your camera directly to your computer. Drag and drop the images you want into a new folder.
- Insert the camera's SD card and drag the image files from the card to your desktop.
- If needed, purchase an external SD card reader.
Using a USB Cable (Windows)
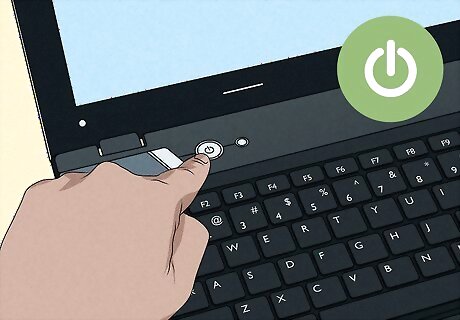
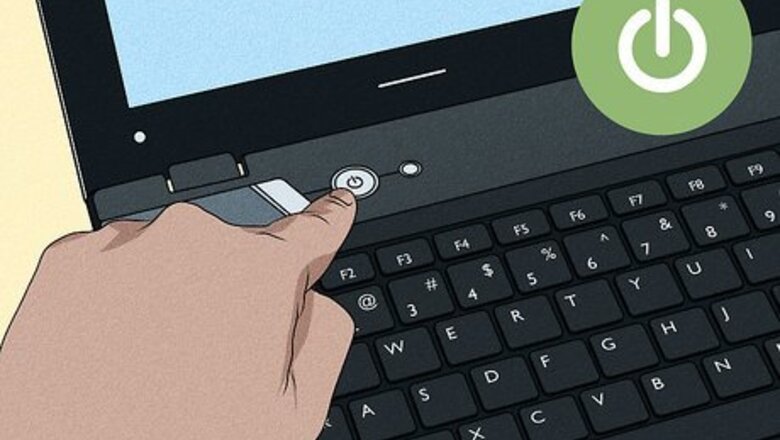
Turn on your computer. This method will work on Windows 11, 10, 8, or earlier.
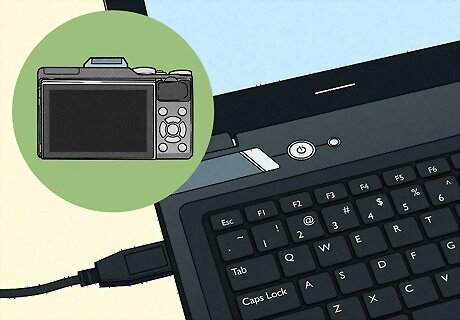
Connect the camera to your computer. Use the USB cable that came with your camera to connect it to an open USB port your computer. If you don't have this cable, you must purchase a replacement that fits your camera model. If you can't find the port on your camera, check for any panels that can be flipped open.
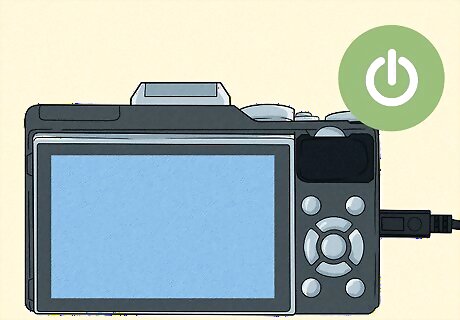
Turn on your camera. Your computer should recognize it immediately. You may have to switch the camera into Review mode in order for it to fully connect to your computer. This process will be different depending on your specific camera. You should see the AutoPlay window pop up.
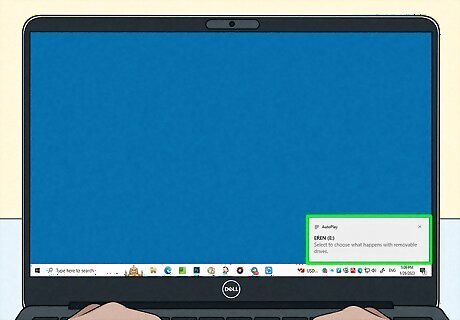
Click the "AutoPlay" box. This will be in the bottom-right corner.
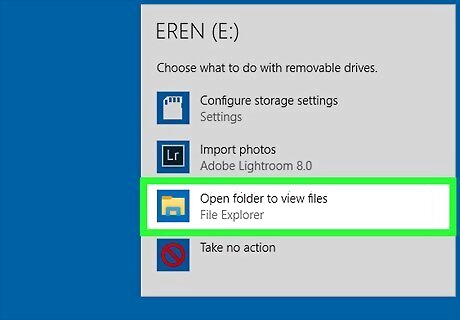
Select Open folder to view files. This will open the File Explorer. You may need to scroll down to find this option. Alternatively, you can open this folder manually. Right-click the Start menu and click File Explorer. Click your camera device listed on the left panel, and then click SD card.
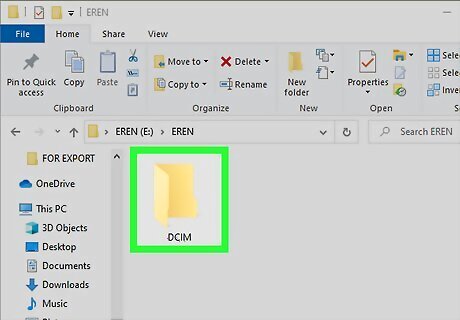
Click DCIM. You may see the photos immediately after clicking your device. In most cases, photos will be in a folder labeled DCIM (Digital Camera Images).
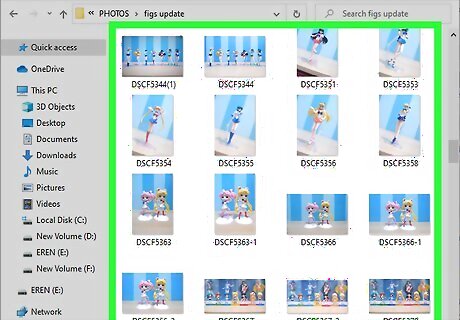
Select the photos you want to transfer. You can transfer individual photos, or press CTRL + A to select all the photos in the folder. To select multiple photos, hold CTRL and click each photo.
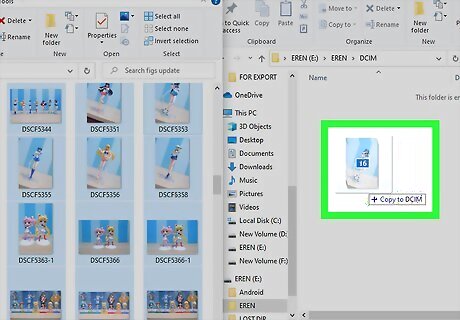
Drag the pictures to a new location. You can drag the photos into the Pictures folder, or you can create a new folder. The amount of time it takes to transfer will depend on the amount of files and your computer. If you want to delete the photos from your camera's SD card, wait for the files to finish transferring to your computer. Return to the SD card's folder and press CTRL + A to select all the photos. Right-click the photos, then click Delete.
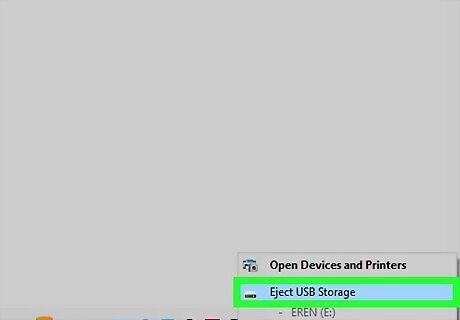
Eject the camera. Click the arrow in the bottom-right corner of the task bar. Click the device icon, and then click Eject. You can now safely unplug the camera from the computer.
Using a USB Cable (Mac)
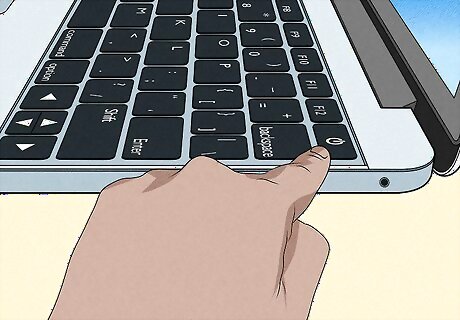
Turn on your computer. This method will work on macOS Ventura, Monterey, or earlier.
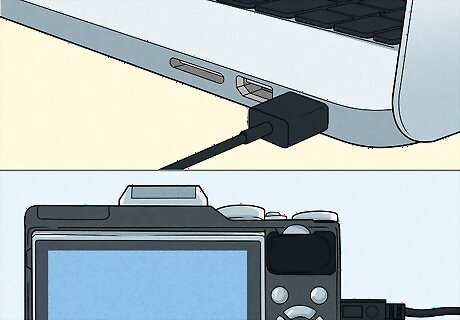
Connect the camera to your computer. Use the USB cable that came with your camera to connect it to an open USB port your computer. If you don't have this cable, you must purchase a replacement that fits your camera model. If you can't find the port on your camera, check for any panels that can be flipped open. If your computer or laptop doesn't have a USB-A port, you'll need to purchase an adapter. You can find this on the Apple website or at an electronics store.
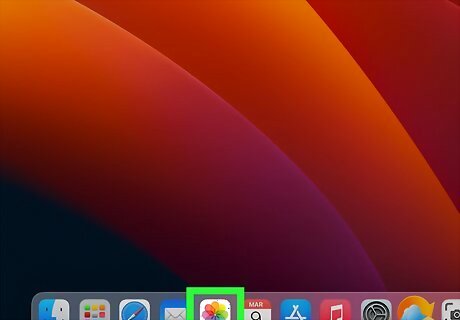
Open the Photos app. This looks like the multi-colored flower.
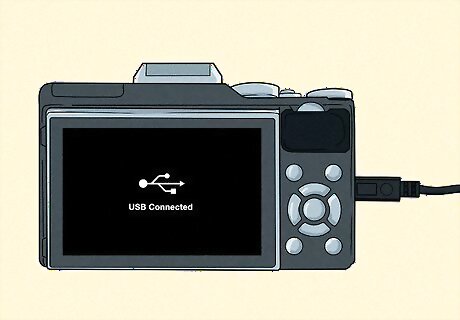
Turn on your camera. Your computer should recognize it immediately. You may have to switch the camera into Review mode in order for it to fully connect to your computer. This process will be different depending on your specific camera.
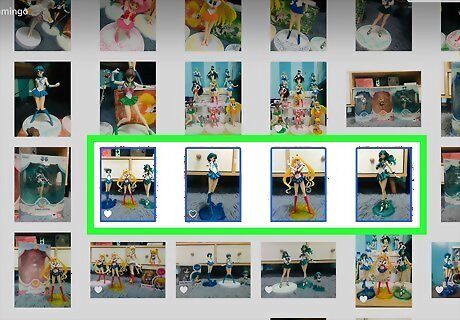
Select the photos you want to transfer. Click each photo to select it. You can also drag your cursor to select multiple at a time.
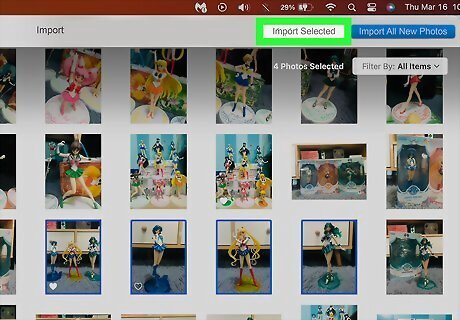
Click Import Selected. You can also click Import All New Photos in the top-right corner. Imported photos will be saved to All Photos. If you want to change the save location, click the drop-down menu next to Import to and select a new destination.
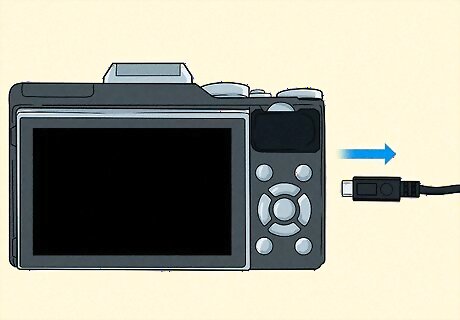
Eject your camera. Open the Finder. Locate the camera in the left sidebar, then click the up-arrow icon to eject it. You can now safely disconnect the camera from your computer.
Using an SD Card (Windows)
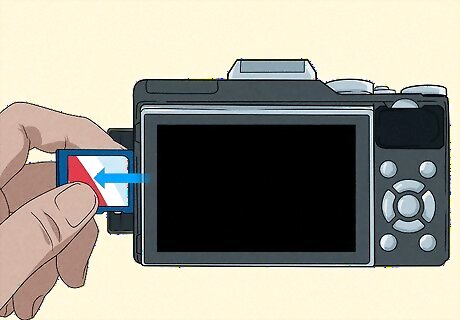
Remove the SD card from your camera. Open the panel that contains the internal storage, then press the SD card to unlock it from your camera.
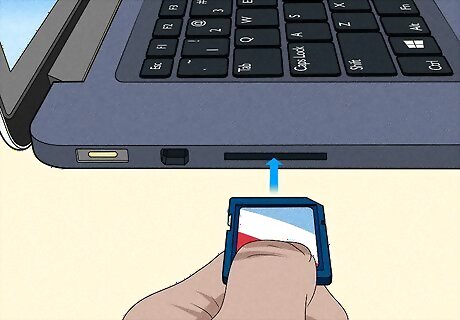
Insert the SD card into your computer's card reader. If your computer doesn't have a card reader, you can purchase an external SD card reader that connects via USB.
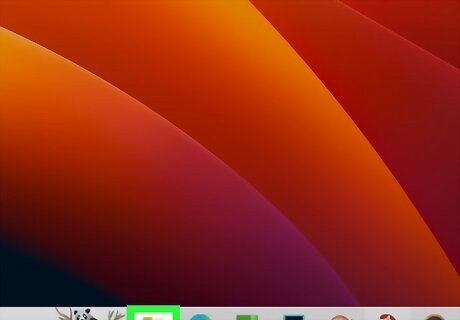
Open the File Explorer. Right-click the Start menu and click File Explorer.
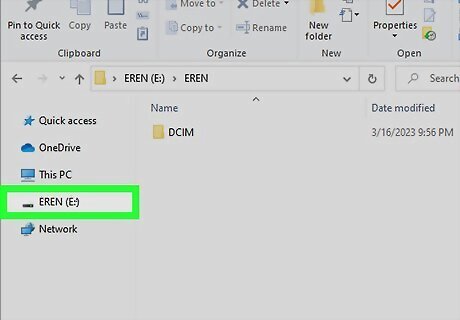
Click your SD card. You can find this in the left panel. If you don't see it, click the arrow on the left of This PC to expand the options. If you don't see the photos immediately, double-click the DCIM folder.
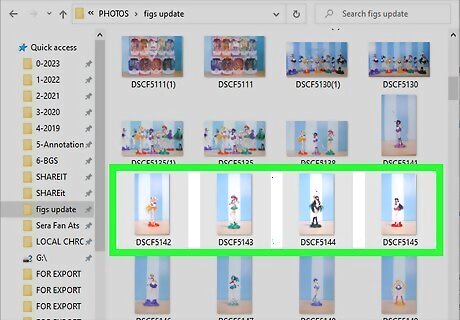
Select the pictures you want to transfer. You can transfer individual photos, or press CTRL + A to select all the photos in the folder. To select multiple photos, hold CTRL and click each photo.
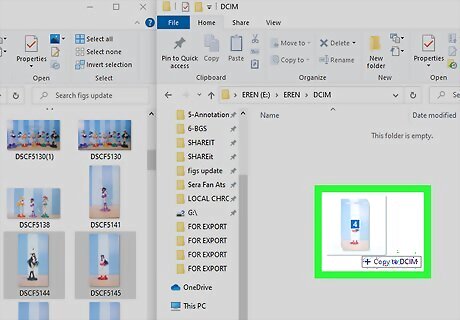
Drag the pictures to a new location. You can drag the photos into the Pictures folder, or you can create a new folder. The amount of time it takes to transfer will depend on the amount of files and your computer. If you want to delete the photos from your camera's SD card, wait for the files to finish transferring to your computer. Return to the SD card's folder and press CTRL + A to select all the photos. Right-click the photos, then click Delete.
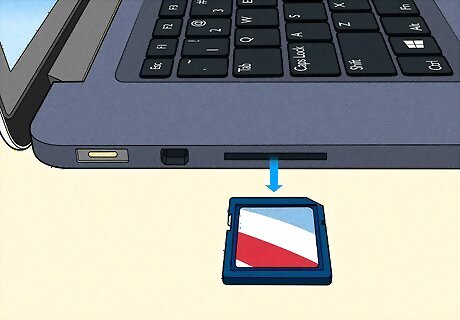
Eject the SD card. Click the arrow in the bottom-right corner of the task bar. Click the flash drive icon, and then click Eject. You can insert the SD card back into the camera.
Using an SD Card (Mac)
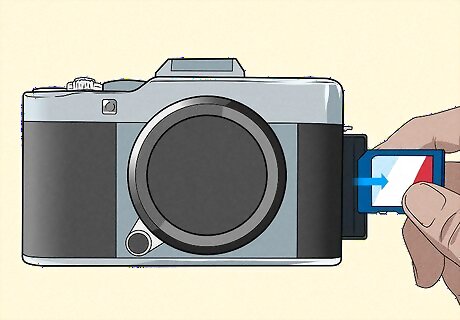
Remove the SD card from your camera. Open the panel that contains the internal storage, then press the SD card to unlock it from your camera.
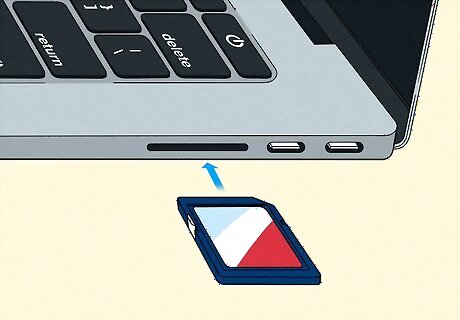
Insert the SD card into your computer's card reader. If your computer doesn't have a card reader, you can purchase an external SD card reader that connects via USB. Many Macs do not have SD card readers built-in.
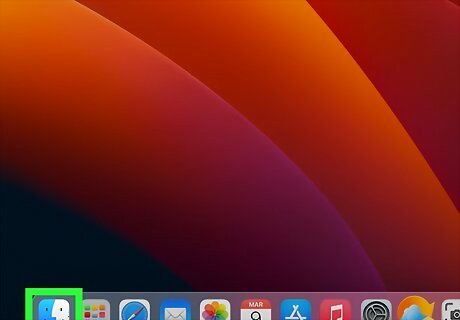
Open the Finder. You can find this on the dock.
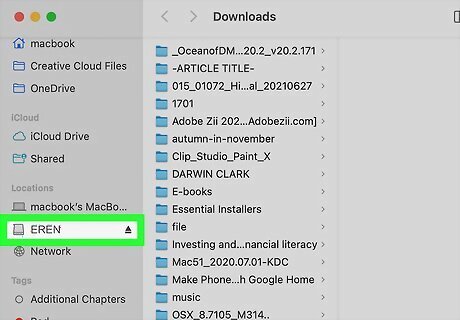
Click your SD card. You can find this in the left panel of the Finder window. If you don't see the photos immediately, double-click the DCIM folder.
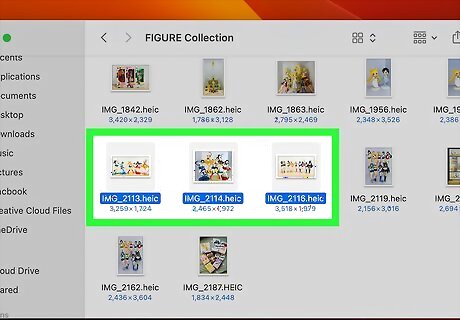
Select the pictures you want to transfer. You can transfer individual photos, or press CMD + A to select all the photos in the folder. To select multiple photos, hold CMD and click each photo.
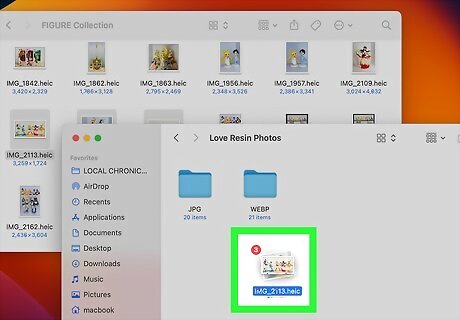
Drag the pictures to a new location. You can drag the photos into the Pictures folder, or you can create a new folder. The amount of time it takes to transfer will depend on the amount of files and your computer. If you want to delete the photos from your camera's SD card, wait for the files to finish transferring to your computer. Return to the SD card's folder and press CMD + A to select all the photos, then drag them to the Trash/Bin.
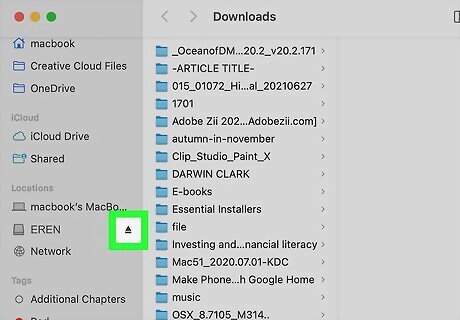
Eject the SD card. Find the SD card listed on the left panel of the Finder. Click the up-arrow symbol to safely eject the SD card from your computer. You can insert the SD card back into the camera.



Comments
0 comment