views
Unclogging Washer Fluid Jets
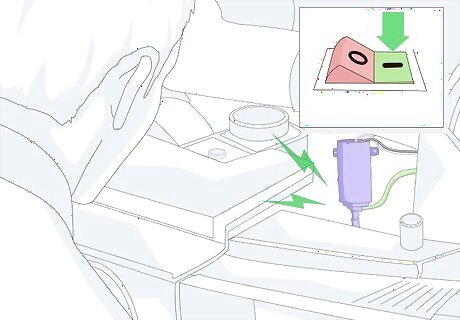
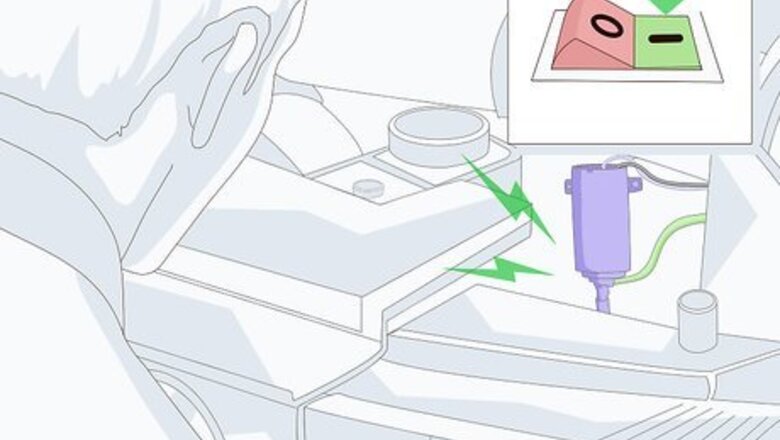
Listen to the washer fluid pump. Before attempting to unclog the washer fluid jets, turn them on and listen for the low hum of the washer fluid pump. If the jets are clogged, you will hear the pump despite no fluid spraying. In very cold weather, check for ice in washer fluid tank, you can try to use a warm hair dryer to defrost washer fluid pump and tank or spray windshield de-icer into washer fluid tank. If you are unsure if the pump is on, ask a friend to listen from outside the vehicle near the hood. If you do not hear the pump, you can try unplugging the power connector for the washer fluid pump and check voltage at the connector, if the voltage is present when trying to activate pump then pump probably needs to be replaced. If you suspect that the reservoir is contaminated and may be causing the blockage, it is best to clean it out with fresh water circulating from a hose into the reservoir. Dish soap in the reservoir may also help dislodge dirt and particles. Rinse until water runs clear out the fill opening, and soap is gone. Following this, it is a good idea to disconnect the supply hoses from the pump and from the nozzles and blow air through the hoses. Following that, reconnect the hoses to the pump and run water through the lines to further flush them.
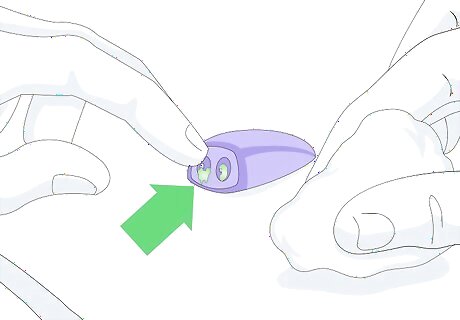
Inspect the jets for external blockages. Locate the jets on the top of your hood near the windshield and look for signs that something has blocked them. Often, automotive wax or polish can gunk up the outlet for the jets, preventing fluid from spraying properly. Wipe away any wax or polish that has clogged the end of the jet.
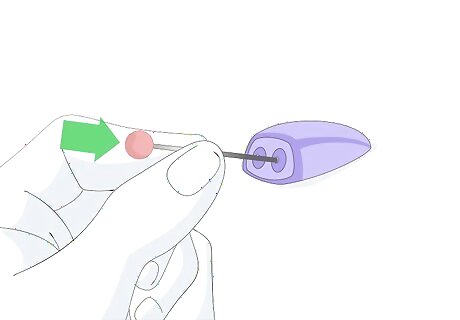
Use a pin to clear deeper blockages. If wiping away blockages does not clear the jets sufficiently to allow washer fluid to spray out, try using a pin or needle to clear the holes. Press a pin into each hole on the jet, then remove it and wipe away any clogs that come out with it. Only press the pin in as far as you can safely remove it. Do not press the needle too hard into the back of the jet, as you may break the needle or the jet.
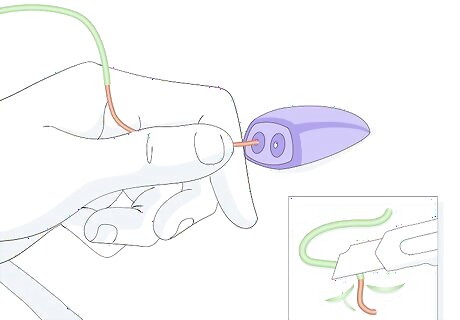
Run a wire through the jet. If a pin doesn't penetrate deep enough to clear the clog in the jet, disconnect the hose at the bottom of the jet from beneath the hood. Then run a thin wire through the bottom of the jet, up through the top nozzle. If the nozzle has multiple openings, you may want to run the wire through multiple times until you clear both holes. Guitar strings will work well for this because they offer the rigidity needed to pass up through the jet. You can also use a stripped electrical wire. You can also use teeth flossing piksters - smallest size (0) - you may need to nick the very tip of the wire off to get them to fit in the jet hole as they are ever so slightly bigger at the tip of the piksters for some jets. You insert them through the jet hole where the water comes out - not from the bottom as described above for wire - means no disassembly required and works for jets that have a 90 degree bend in the water supply connection - as in Mazdas. Their advantage is they have a brush to dislodge dirt - just keep rotating them in the same direction when you insert and withdraw so you don't leave bristles from the pikster in the jet hole by being too rough - although they are so thin and small the water is likely to clean them out. Best to insert first then turn on the washer as you rotate and remove. You may need to repeat several times and use a couple of piksters for all jets.
Soaking or Replacing Water Jets
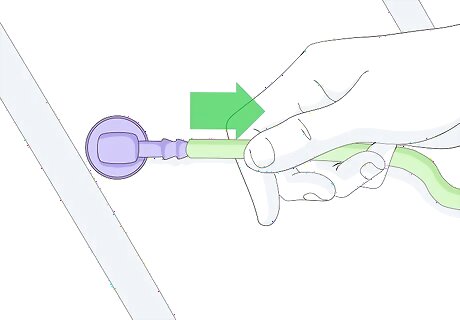
Disconnect the hose from the bottom of the jet. The rubber hose on the bottom of the jet is held on solely by the pressure the hose exerts on the nozzle, so you should be able to pull it off with relative ease. Simply squeeze the hose with your index finger and thumb near the nozzle and pull backwards to remove it. If the hose is stuck, use a pair of pliers to twist it back and forth to break it loose. Try to pull in line with the fitting - it is plastic and will not take much side bending.
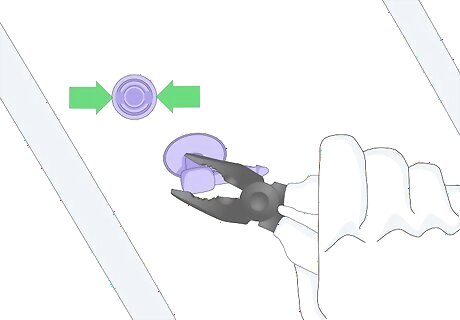
Use pliers to remove the jet from the hood. Windshield washer jets are held in place by plastic stoppers. Take a pair of pliers and squeeze the stoppers into the jet, then press it upward. The jet will push straight up out of the hole in the hood with the stoppers pressed in. If you are replacing the jets, it's okay to break the stoppers, otherwise be careful not to damage them.
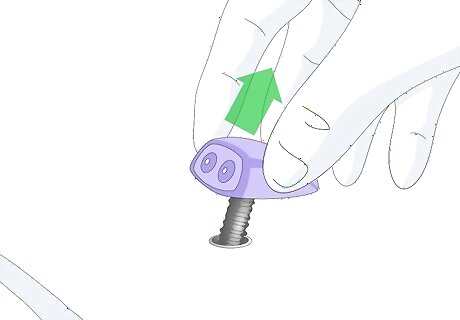
Pull the jets out of the hood. Lower the hood again and pull the jet directly up and out of the hole in the hood. With the clips already through, each jet should slide out of the hole with very little resistance. If the jet gets stuck, open the hood again and squeeze the clips with your pliers to release them again. Be careful not to damage the paint on the hood as you pull the jets out.
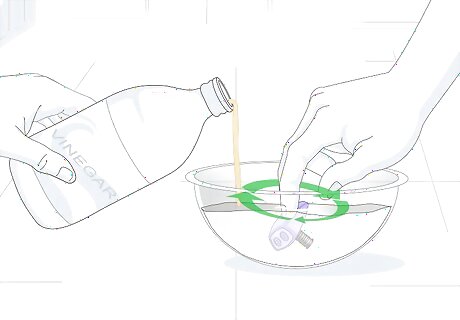
Soak the jets in a bowl of vinegar. You may be able to clear any clogs in the jets by allowing them to soak in a bowl of vinegar for a while. Move the jets around in the vinegar a bit to ensure it penetrates into the blockage. After a few minutes, remove the jets from the vinegar and rinse them off. Once the jet is rinsed, you can try blowing through it to see if the blockage is clear. If the jet is unclogged, reinstall it on the vehicle.
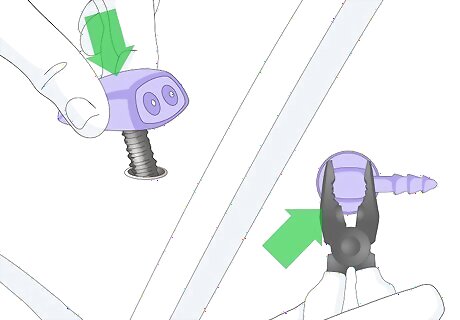
Install new washer fluid jets. Whether you purchased new washer fluid jets or are reinstalling the old ones you cleared, the process is the same. Insert the jet through the hole in the top of the hood with the outlets facing the windshield. Once pressed all the way through, the plastic clips will expand and hold each jet in place. If using after-market nozzles, (from an auto parts store, for example). Aftermarket nozzles may have threads and a plastic nut to secure them to the hood or other sheet metal. If this is the case, be careful when tightening the nut, as the plastic aftermarket nozzles may be made of fairly brittle plastic which will tend to break off, just below the nozzle body, if tightened too much. It may also prevent breakage if you use the supplied rubber gasket between the nozzle and the sheet metal. Connect the windshield washer fluid line to the jet once its in place. Start the vehicle and test your new jets to ensure they are working properly.
Checking and Repairing Washer Lines
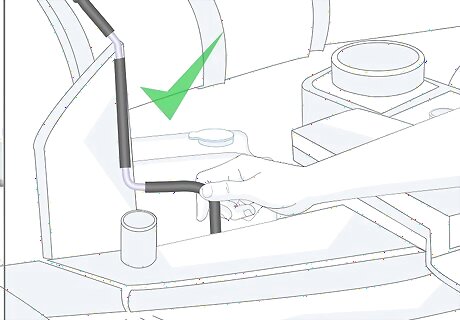
Visually inspect the lines from the reservoir. If your windshield washer jets are not spraying washer fluid onto the windshield, it may be due to a severed or kinked hose running from the windshield washer fluid reservoir to the jets. Look over the lines for signs of blockages or damage. Start at the reservoir and follow the lines all the way to the jets attached to the hood. Look for signs of leaking, kinks or other forms of damage.
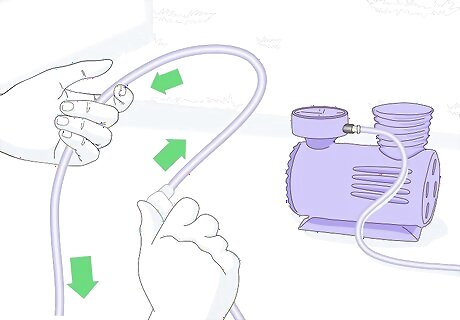
Clean clogged hoses with an air compressor. If the hoses appear to be intact, the issue may be a clog inside the one of the lines. Pull the hose off of the nozzle at the jet as well as the nozzle at the reservoir, then use an air compressor or can of air to force air through the line and remove any blockages. If the air cannot pass through the line to unclog it, you will need to replace it. If the air passes right through the line, reinstall it.
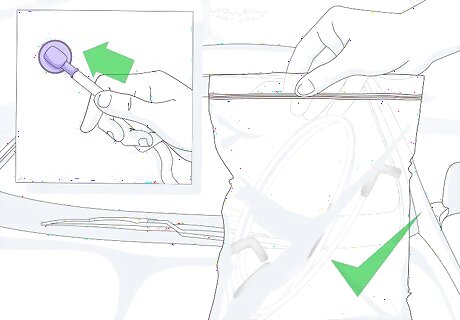
Replace damaged washer fluid hoses. If you are unable to clear a blockage in the hose, you will need to install a replacement. You may be able to purchase direct replacements at your local auto parts store, otherwise take the clogged hose with you and find a rubber hose with the same inside diameter. Purchase a length of hose that matches the one you need to replace. Simply attach the new hose to the same nozzles you removed the old one from. Test your jets once more after replacing the hose.


Comments
0 comment