views
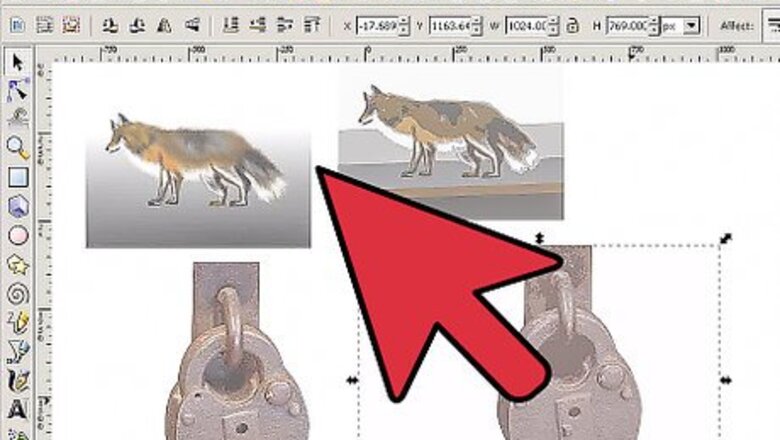
Open Inkscape.
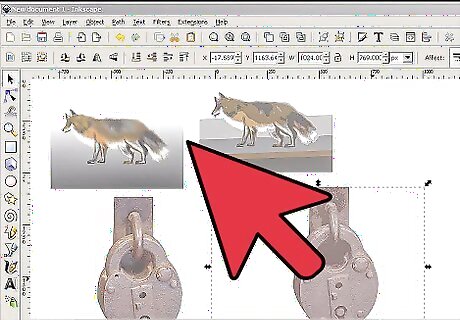
You'll find it in your app list if you've already installed it. If not, you can download it for free from https://www.inkscape.org.
Open a photo or raster image.
You can start with any simple raster image. Until you have some experience creating vector images, it is good to learn the process with a simpler image. You can great simple images by searching for Creative Commons images.
Select a size for the vector image.
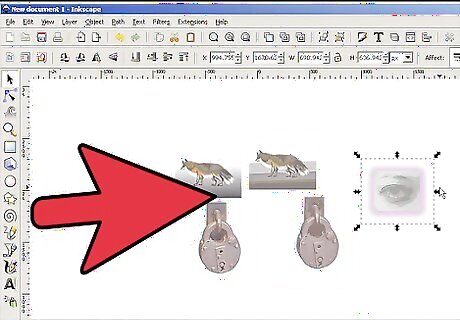
This is the blank image that opened when you launched Inkscape. You can make your vector any size. Here's how: Click on File > Document Properties. Alternatively, press CTRL + SHIFT + D. Select from a list of standard page sizes or type in a custom width and height. This article will use 300x300. You do not have to hit Enter; just close the dialog box.
Resize your photo or raster image.
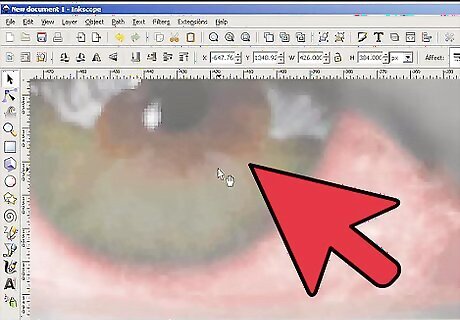
Resize the image so you can easily trace it. Here's how: Click the Select and transform tool in the column of tool icons on the left side of the workspace, or press F1. Click on your raster image until outward-pointing arrows appear at its corners. If you see rotational arrows, click in the middle of your raster image again. Click on one of the outward-pointing corner arrows and hold CTRL while moving the mouse diagonally to resize your raster image to the size of the vector image. Holding CTRL maintains the aspect ratio of the selected object.
Click the pencil tool.
Click the pencil in the toolbar. This opens the freehand drawing tool. You can also open it by pressing F6.
Zoom in on the raster image.
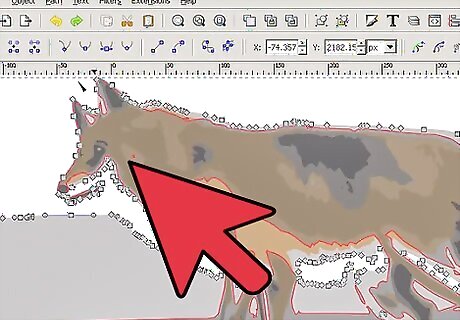
Hold down Ctrl while moving the scroll wheel on your mouse. Alternative, you can click on the Zoom tool icon.
Trace with the pencil tool.
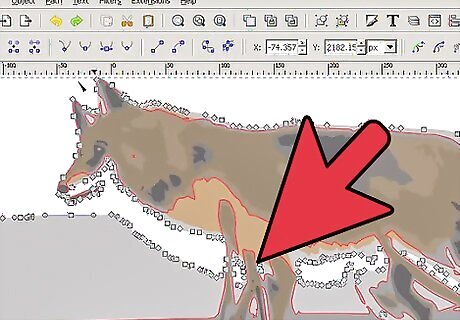
Start tracing. The traced paths should be somewhat similar to the shape, but they don't have to be exact. You will make adjustments later.
Edit the paths by nodes.
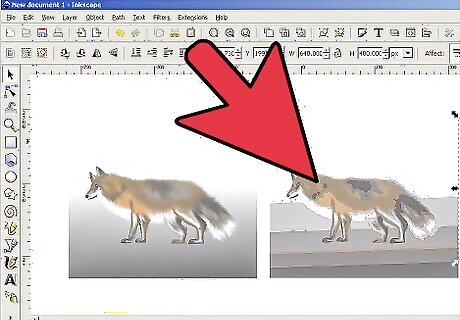
Click the Edit paths by nodes tool icon or press F2. Now you can zoom in on the path you drew and start editing. You will see many squares. Those are nodes that define the path. You won't need nearly as many as are there, so it's helpful to eliminate some of them. There are two ways to do this: Select a section to edit and hit CTRL L to Simplify the path. This is an easy way to eliminate excess nodes. Unless you are doing some really fine work, this method should be sufficient enough for you. You can use the Simplify command multiple times on the same selected nodes. Select a section to edit. Click on nodes (squares), and delete them by hitting the Delete key after each selection.
Find out where paths need adjustment.
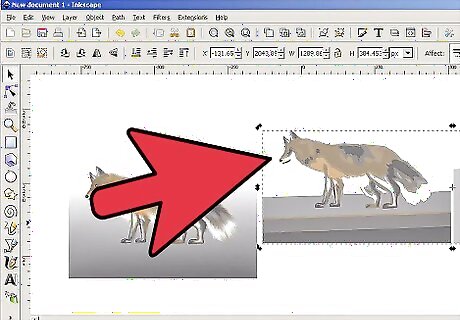
Zoom in for a closer look. As you can see, this one will need some tightening up. It was created using a trackball, so precision work was difficult.
Make adjustments where necessary.
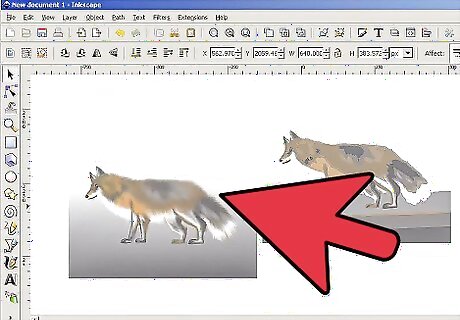
Start adjusting. In this intentionally messed up image, the node is clearly visible. Moving the square will move its location, and moving the two circular extensions off of it will adjust its Bezier curve segments. You will have to experiment and read the Inkscape manual to get the hang of it. To get the basic shape of your image, move the nodes (squares) to the correct places before doing further adjustments. You will find yourself adjusting the curves, but moving the nodes first makes it easier. You can click on a segment connecting two nodes and adjust the line.
Periodically zoom out to check your progress.
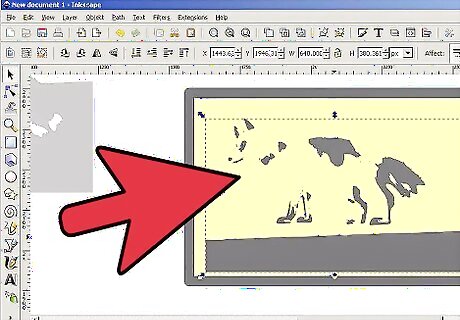
Be aware that you can zoom in too close. Some parts of your image may require you to be very close, but others might need your perspective to be a little further out.
Remove your raster image so you can check for gaps.
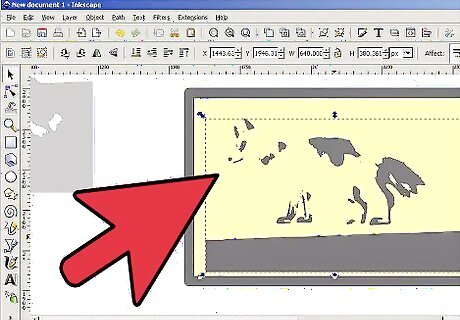
You don't want gaps in your traced paths. Here's what to do: Click on the Select and transform tool icon, or press F1: Click on the photo and move it over to the side. You will probably want to keep it nearby for future reference.
Assemble all the various parts of the image.
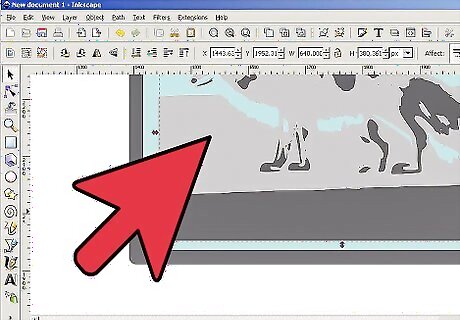
Click on the Select and transform tool icon. You'll then use it to select the entire image, and 'unionize' it: Click on Path > Union. Hold down CTRL and ++ simultaneously.
Select a color for the image.
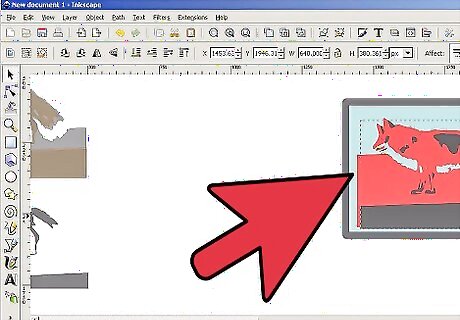
Choose the color that you want your image to be. Select it (or it may still be selected) and then choose the color at the bottom of the screen and click on it.
Fill the image with the paint bucket tool.
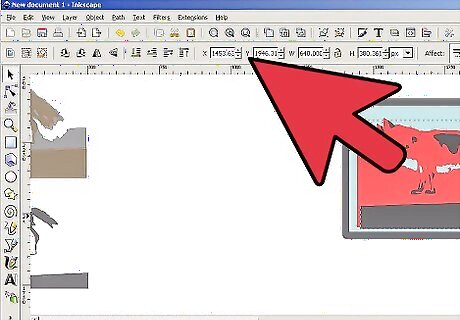
Find the Paint Bucket Icon and click on it. You won't be actually painting your image yet, but finding out where any gaps or holes are. If it won't fill, it isn't 'bounded' and it needs more work on the nodes. Zoom in even closer to see where more work needs done.
Continue until you have your basic outline.
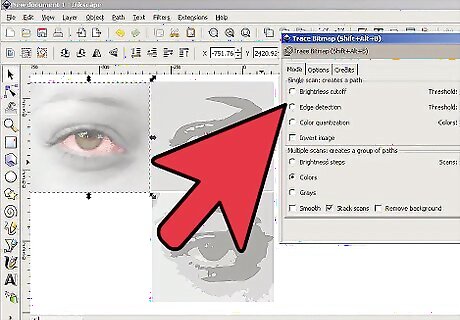
This image is a traced vector outline from the flower above.
Resize the image.
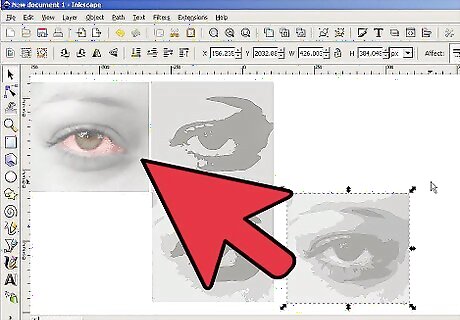
Now you can make the image any size you want. Go into Document Properties to resize the image.
See how vectors work.
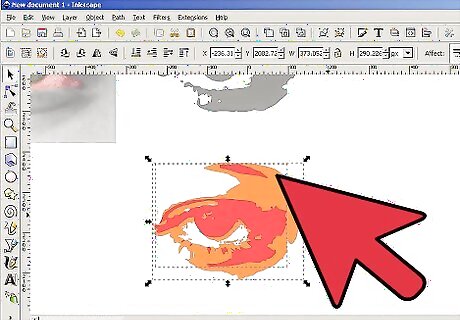
This image has been tripled in size with no loss of resolution or pixels. Note the gaps between the colors of the image and the outline. You may have to use another program to get your finer adjustments.










Comments
0 comment