views
Freehand Drawing (Pencil)
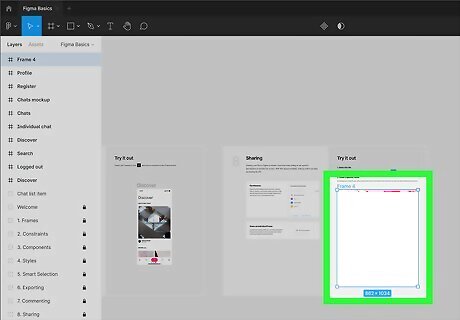
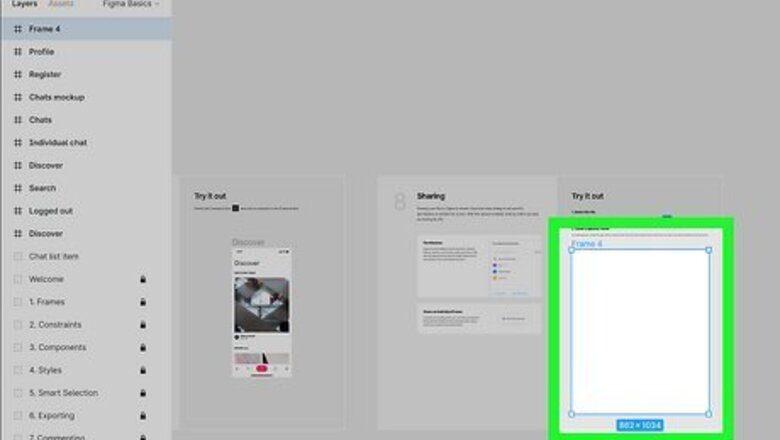
Create a new frame in your Figma project. You can do this by pressing F with your project open. If you're new to Figma, start by creating an account and exploring the interface to get a feel for how the app works.
Press ⇧ Shift+P to activate the Pencil tool. The pencil tool allows you to sketch freehand, which is great when you don't need perfectly scaled shapes. You can also select the Pencil by clicking the Pen menu at the top and choosing the pencil icon.
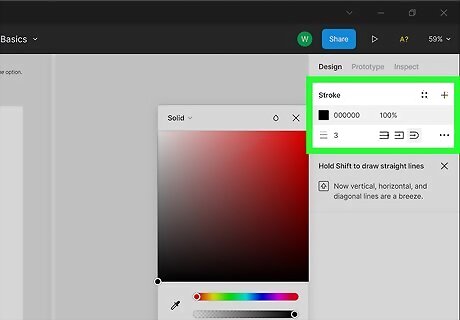
Select your pencil properties. The default pencil setting is a black round 3 px stroke, unless you're working on a dark background. To change the stroke: Locate the Stroke area of the Design panel, which is on the right side of Figma. Click the colored square to select a color. If you want to choose a color that's already on your canvas, click the eyedropper tool below the color picker, then click the desired color. By default, the opacity is set to 100%. To draw with a less opaque color, you can decrease the opacity by changing the percentage. The icon of three horizontal lines and the number "3" indicate the size of the line in pixels. Click this icon to increase or decrease the pixel size. You can change the shape of the pencil by choosing one of the three options—None for an undefined shape, Square, or Round. If you want to draw with a dashed line instead of a solid line, click the three dots to open the Advanced Stroke menu, then choose Dash or Custom, both of which allow you to specify the distance between dashes.
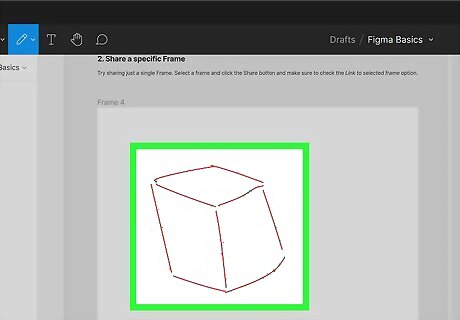
Click and drag the mouse to draw. The pencil tool will remain active until you pick another tool or press Esc. If you want to undo the last stroke, just press Cmd + Z (Mac) or Ctrl + Z (PC). To draw a straight line, just hold down the Shift key as you drag your cursor. Each stroke creates a new layer in the current frame. You can see all of your layers on the Layers panel, which is on the left side of the workspace.
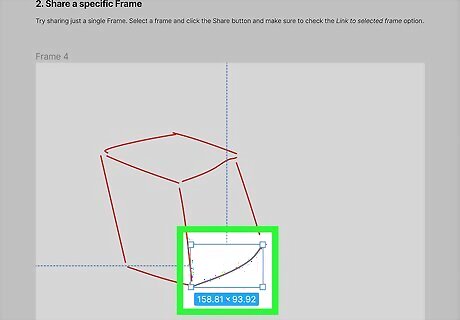
Erase parts of your drawing. Unlike many other illustration apps, there is no eraser tool in Figma. To erase a line or part of your illustration: Press V on the keyboard. Click the stroke you want to remove or click the name of its layer on the Layers panel. To select multiple strokes at once, hold down the Shift key as you click each stroke. Press the Delete key to erase the selected lines.
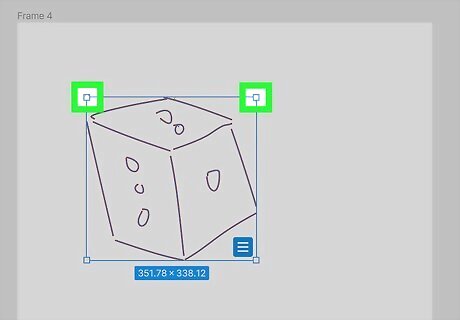
Change the scale of your drawing. If you want to resize your illustration, you can do so easily: Select the layers you want to resize. A bounding box will appear around the selection. Drag the corners of the drawing to make it larger or smaller.
Vector Point Drawing (Pen)
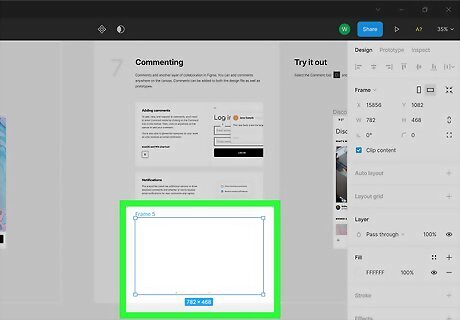
Create a new frame in your Figma project. You can do this by pressing F with your project open.
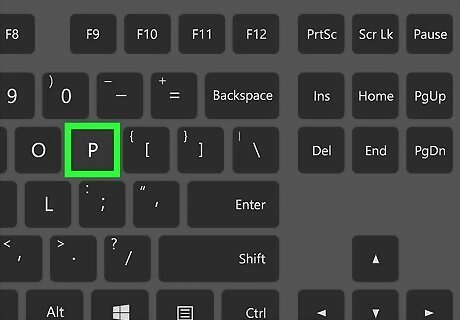
Press P to activate the Pen tool. The Pen tool is mostly similar to pen tools in other apps—instead of drawing freehand, you create lines by connecting vector points.
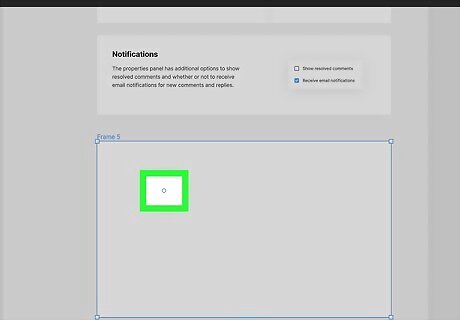
Click the location where you want to begin your drawing. This places a vector point at that location.
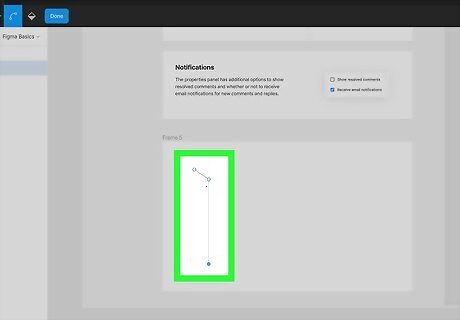
Move the mouse to the desired endpoint of your line and click again. This places a second vector point, creating a straight line between the two points.
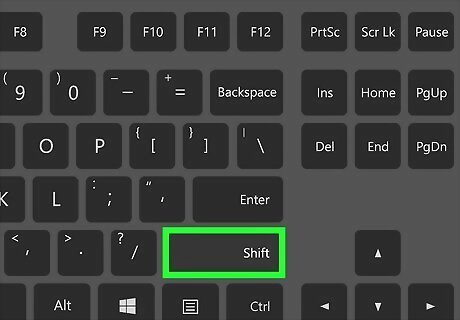
Hold the ⇧ Shift key as you place another vector point. When you hold down this key, you'll create a line along a 45 degree axis.
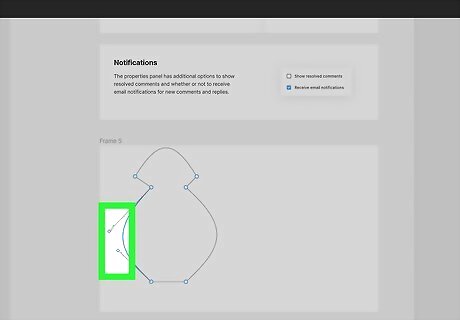
Create a curved line using Bezier handles. To make a line with a curve, click and hold a vector point, and then move the mouse cursor in the direction of the curve. Click again where you want that segment to end. You can then drag the Bezier handles, which are the blue narrow lines protruding from the curve, to reshape the curve in any direction. You can also turn a straight line into a curved line easily. Click the line you want to curve and press Return or Enter. Then, click the Bend tool (it looks like a curved line with circles on either end), hover the mouse cursor over the line you want to bend, and then drag it in the desired direction. Creating curved lines can be kind of challenging, so Figma recommends experimenting with this free game that can help you master the process: https://bezier.method.ac
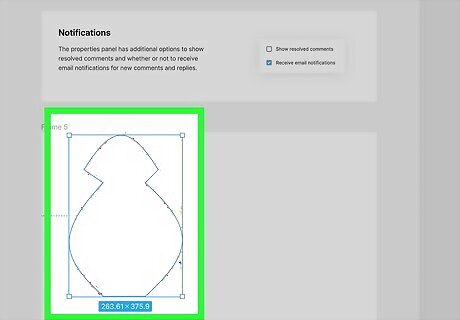
Click the original point to close the vector path. This turns your drawing into a single vector image, which you can now manipulate in any way.
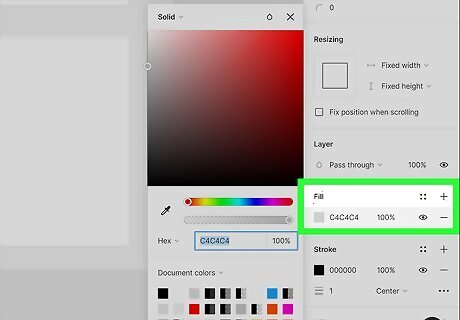
Fill a design with color. Here's how: Select the vector drawing. Press Return or Enter. Press the B key to open the paint bucket tool. Click inside of the design to fill it with the default gray color. Look for the "Fill" area on the Design panel running along the right side of Figma. Select the color you want to fill the design with, and it will fill immediately.
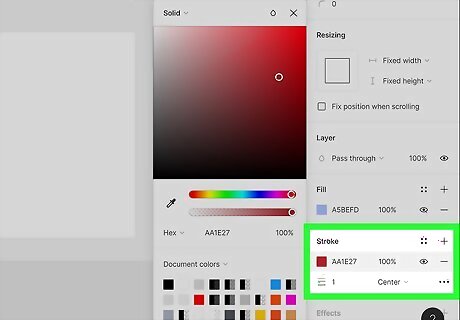
Change the line color. Lines are black by default, but you can easily change them: After drawing a line or object, select it by clicking it and pressing Return or Enter. Find the "Stroke" area on the Design panel and click the color (which is black by default). Click the desired color to automatically recolor the selected drawing.
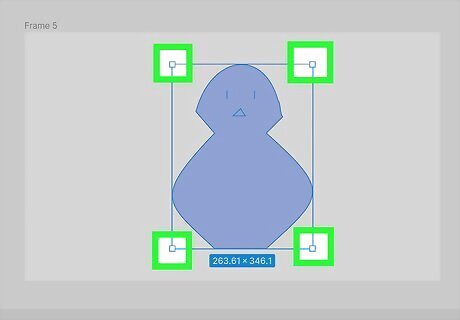
Change the scale of your drawing. If you want to resize your illustration, you can do so easily: Select the layers you want to resize. A bounding box will appear around the selection. Drag the corners of the drawing to make it larger or smaller.


Comments
0 comment