views
- From the Overwatch 2 main menu, navigate to "Options" > "Controls" > "General" > "Reticle" to begin editing your crosshair.
- Begin by selecting a crosshair type. Your options include the Hero's Default, Circle, Crosshairs, Circle and Crosshairs, or a Dot.
- Further customize your crosshair by adjusting elements such as the thickness, length, and opacity.
Changing Your Crosshair
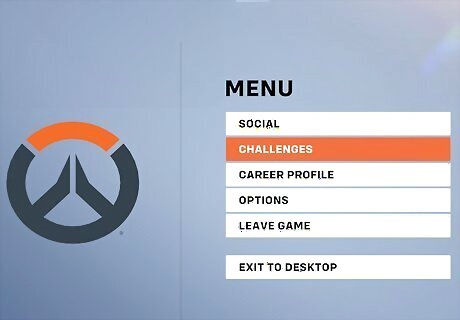
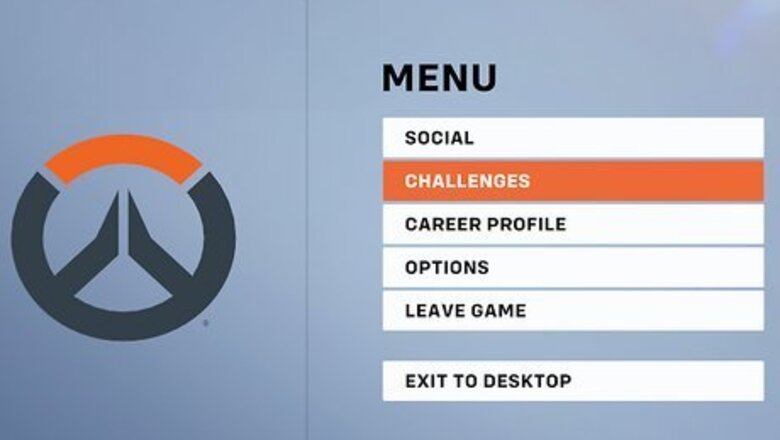
Open the Overwatch 2 main menu. Boot up Overwatch 2 and navigate to the main menu. On PC, click Esc to open the menu. On Xbox, press the Options button. On a PlayStation, press the Menu button.
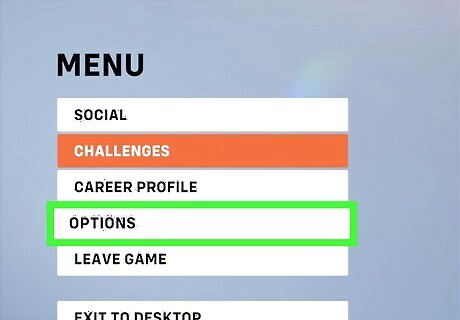
Select "Options." This will open the settings menu.
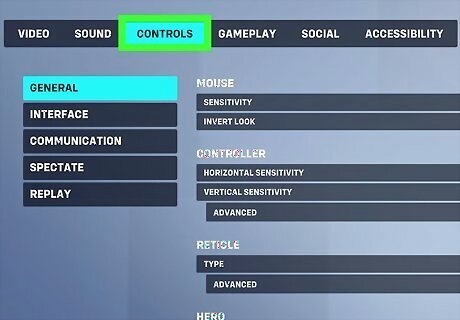
Navigate to "Controls." Tab through the different subheadings until you reach Controls. It should be the third option from the left.
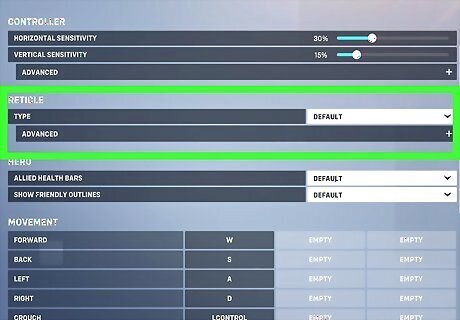
Navigate to "General" and then "Reticle." The General header should be the first option in the list under "Controls." From there, move down to the Reticle subsection.
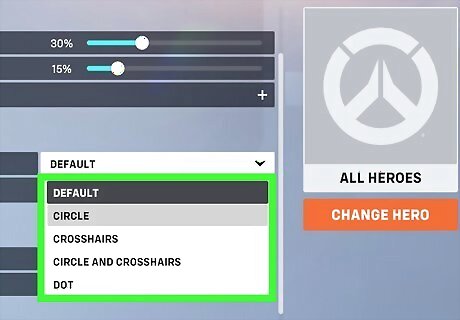
Select your new crosshair. Use the drop-down menu under Type to select your desired crosshair. Your options include: Default. Each hero in Overwatch 2 has a slightly different crosshair in accordance with their weapon. This setting defaults to the preset crosshair for each hero. Circle. A small empty circle. Useful for heroes who spread damage with a single shot, such as Reaper or Roadhog. Crosshairs. A traditional crosshair in the form of a plus-sign. Likely the best option for new players or players who are accustomed to traditional first-person shooters. Circle and Crosshairs. A circle with a dot inside of it. Useful with heroes such as Soldier 76 or Sojourn. Dot. A large dot (i.e. a filled-in circle). Useful for players who want to land headshots, or use a sniper like Widowmaker.
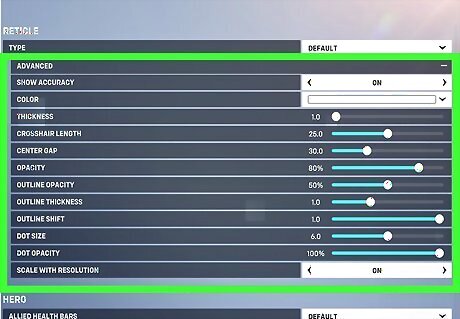
Select the "+" besides "Advanced" to further customize your crosshair. Under the Advanced Reticle settings, you can customize the following: Toggle Show Accuracy on or off. With this setting enabled, you will see the bullet pattern of your shots while you play. Change the Color of your reticle. This is mostly a cosmetic choice, although be sure to pick a color that will remain visible across all map types. Some brighter colors become hard to see in brightly lit locales. We recommend using Magenta or Cyan. Avoid Red as it may blend in with the colors of the enemy team. Adjust the Thickness. This setting mostly applies to the Circle or Crosshair reticles, whose outer lines can become thicker or thinner. Adjust the Length of the crosshair. Extend the outer lines of a crosshair to become longer. Adjust the Center Gap. Make the gap between the lines of your crosshair larger or smaller according to your preferences. Adjust the Opacity of the reticle. Make your crosshair more or less visible. Adjust the Outline Opacity of your reticle. For reticles like the Circle that only have an outline, adjust the opacity of just the outer edges. Change the Dot Size. If you chose a reticle such as Dot or Crosshairs with Circle, you can make the dot larger or smaller. Adjust Dot Opacity. You may also edit the dot's opacity. Toggle Scale With Resolution on or off. We recommend keeping this setting enabled, so your crosshair will always look its best, even if your television or monitor changes.
Changing Your Crosshair for Each Hero
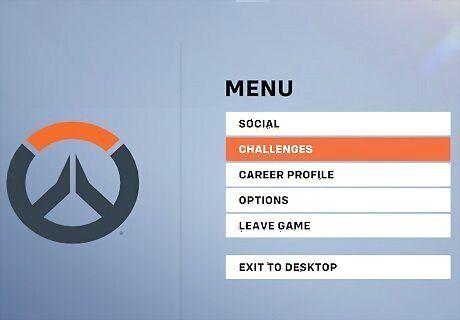
Open the Overwatch 2 main menu. The game also allows you to customize a crosshair for each individual Hero. Because each Hero has a different play style, you may prefer a different crosshair for each Hero. Boot up Overwatch 2 and navigate to the main menu. On PC, click Esc to open the menu. On Xbox, press the Options button. On a PlayStation, press the Menu button.
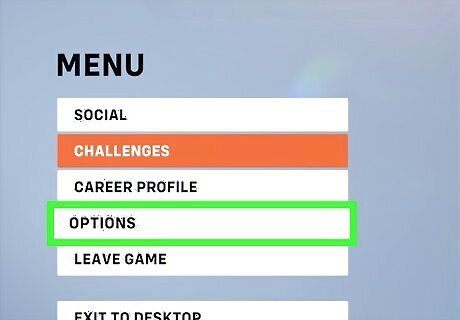
Select "Options." This will open the settings menu.
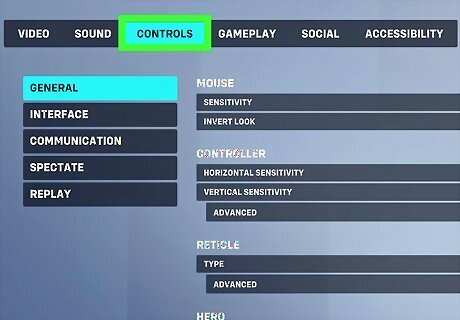
Navigate to "Controls." Tab through the different subheadings until you reach Controls. It should be the third option from the left.
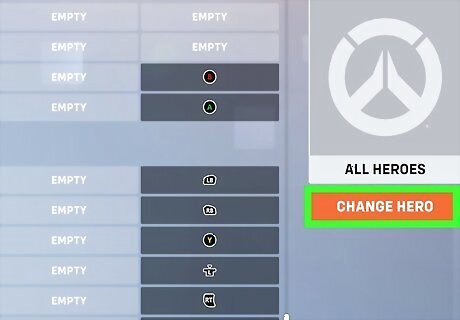
Select the orange "Change Hero" box on the right side of the screen. It is located beneath the "All Heroes" portrait box.
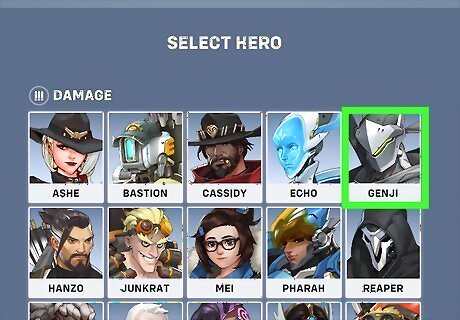
Choose the Hero whose crosshair you want to edit. Scroll through the game's 38 playable heroes and select one.
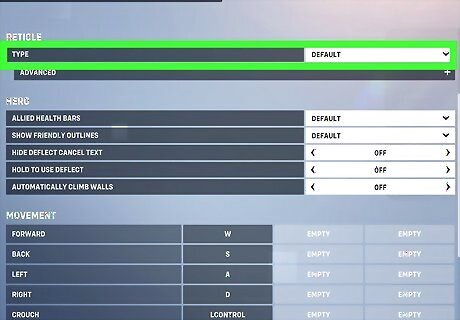
Select a new crosshair for the Hero. Navigate to the Reticle menu and use the drop-down menu under Type to select a new crosshair. Your options include: Default. Each hero in Overwatch 2 has a slightly different crosshair in accordance with their weapon. This setting defaults to the preset crosshair for each hero. Circle. A small empty circle. Useful for heroes who spread damage with a single shot, such as Reaper or Roadhog. Crosshairs. A traditional crosshair in the form of a plus-sign. Likely the best option for new players or players who are accustomed to traditional first-person shooters. Circle and Crosshairs. A circle with a dot inside of it. Useful with heroes such as Soldier 76 or Sojourn. Dot. A large dot (i.e. a filled-in circle). Useful for players who want to land headshots, or use a sniper like Widowmaker.
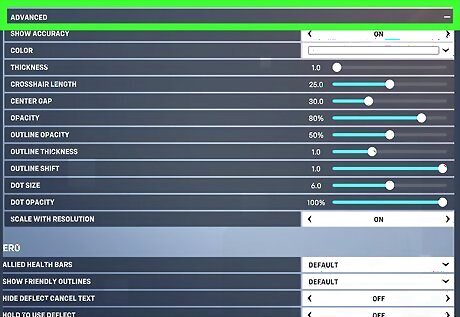
Customize the Hero's crosshair. Select the + next to Advanced. You can customize the following: Toggle Show Accuracy on or off. With this setting enabled, you will see the bullet pattern of your shots while you play. Change the Color of your reticle. This is mostly a cosmetic choice, although be sure to pick a color that will remain visible across all map types. Some brighter colors become hard to see in brightly lit locales. We recommend using Magenta or Cyan. Avoid Red as it may blend in with the colors of the enemy team. Adjust the Thickness. This setting mostly applies to the Circle or Crosshair reticles, whose outer lines can become thicker or thinner. Adjust the Length of the crosshair. Extend the outer lines of a crosshair to become longer. Adjust the Center Gap. Make the gap between the lines of your crosshair larger or smaller according to your preferences. Adjust the Opacity of the reticle. Make your crosshair more or less visible. Adjust the Outline Opacity of your reticle. For reticles like the Circle that only have an outline, adjust the opacity of just the outer edges. Change the Dot Size. If you chose a reticle such as Dot or Crosshairs with Circle, you can make the dot larger or smaller. Adjust Dot Opacity. You may also edit the dot's opacity. Toggle Scale With Resolution on or off. We recommend keeping this setting enabled, so your crosshair will always look its best, even if your television or monitor changes.


Comments
0 comment