views
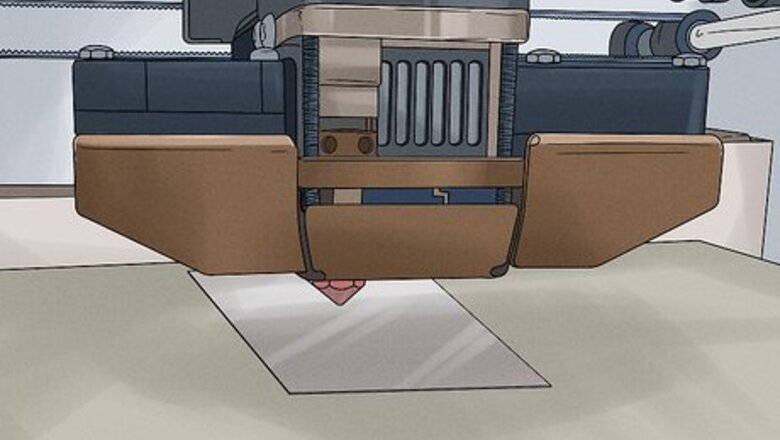
- Improving the grip on the print bed will help prevent warping.
- You can use PVA glue, hairspray, or painter's tape to improve the grip.
- Maintaining a consistent temperature around the printer will also prevent warping.
Improving Grip on the Print Bed
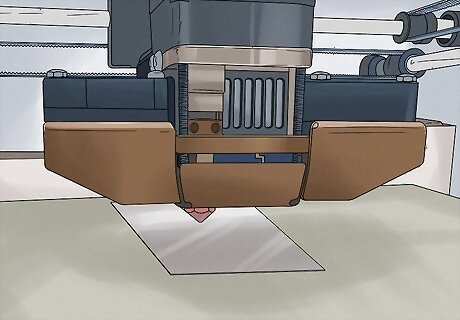
Adjust the Z offset to make sure the print bed is level. Z offset is the distance between the hot end and the bed of your 3D printer. Slide a sheet of paper between the hot end and the print bed and adjust the height of the hot end until it just barely touches the paper. If your Z offset is too high, the filaments will stretch and warp. If it’s too close, it’ll squish them. A level print bed will help the filaments stick and keep the print from warping.
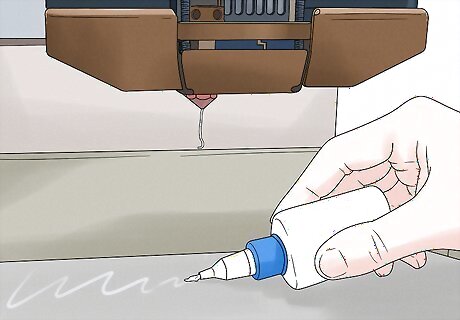
Spread a layer of PVA glue on the print bed if the filaments won’t stick. Take a stick of PVA glue and apply a thin, even layer over the entire surface of the print bed to help the filaments stick to the surface during the print. Use a clear PVA glue stick to avoid adding color and contaminants to the print. Make sure you don’t apply too thick of a layer or the print won’t adhere to it. Wipe off the glue with a damp cloth in between prints to remove the residue.
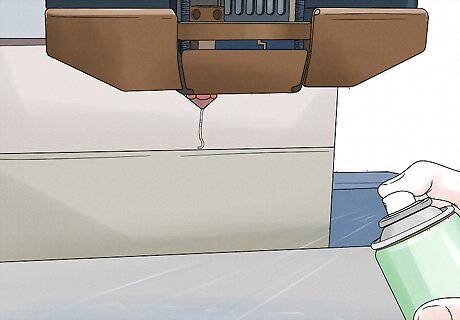
Try spraying hair spray over the print bed as another option. Use a bottle of standard hairspray and hold it about 6–8 inches (15–20 cm) away from the print bed. Apply it by sweeping the nozzle back and forth to coat the surface of the print bed in a thin layer. The stickiness of the spray will improve the grip and help prevent warping. You could also use a specially designed print bed spray, such as 3DLac to coat the surface.
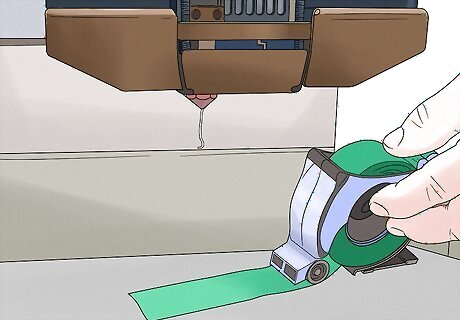
Apply strips of painter’s tape over the bed for an easy-to-clean solution. Peel off strips of blue painter’s tape and apply them sticky-side down over the print bed. Align the edges of the strips so they don’t overlap and form a raised surface. Cover the entire print bed with the tape to create a surface with more grip for your print. When you’re finished printing, peel off the painter’s tape and wipe down the print bed with a damp cloth to remove any residue.
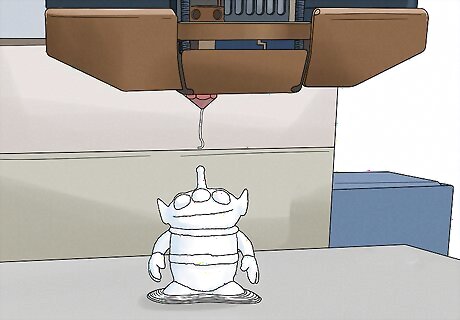
Add a brim to increase surface area and improve grip. A brim is a layer of filament that outlines the print to create a wider surface area, which helps improve grip. Set your Z offset so it’s touching the surface of the print bed. Create a flat layer on the print bed and then print on top of the base layer to help prevent warping. You can pull off the brim from your print when it’s finished. Many 3D printers have a brim option you can select so your printer will make one on the print bed.
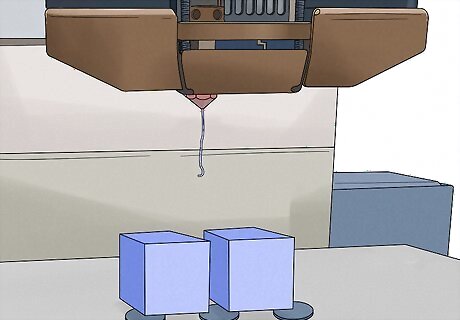
Use mouse ears to help your model’s corners stick. Mouse ears are small discs a couple of layers high that you can print under your model. Add the small discs to your design or select a mouse ear design to add beneath your model. Print the discs beneath the corners of your model and then print your model on top of them. You can pull off the mouse ears when your print is done.
Regulating the Temperature
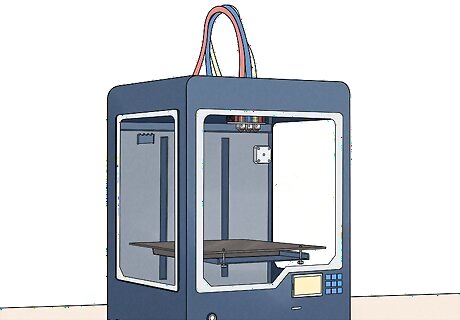
Enclose the print chamber to keep the temperature consistent. There are prefabricated enclosures specially designed to fit over your printer to help keep the temperature around the print from fluctuating. Cover your print chamber with an enclosure that fits securely and doesn’t have any gaps that could allow a draft in. Start your print once the chamber is covered to help keep the temperature inside constant, which will help keep the filaments from warping. You could also cover the entire 3D printer with a cardboard box large enough to allow enough room for all of the moving parts in the printer to work unimpeded.
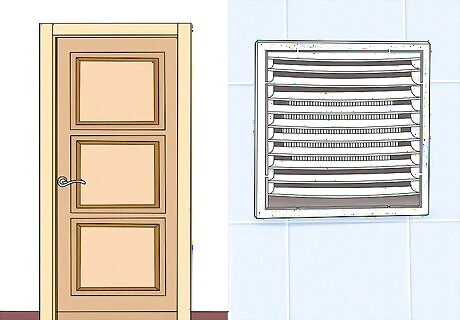
Close the windows and doors to prevent temperature fluctuations. Drafts or circulating air can alter the temperature in the room, which can affect the temperature of the filaments in your print. Before you start printing, shut any openings in the room and turn off any fans to keep the temperature of the room from changing, which will help prevent warping. Avoid adjusting the thermostat in the room while you’re printing as well.
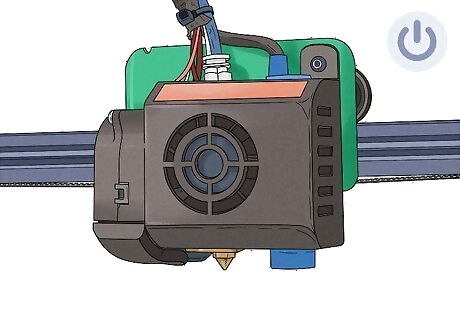
Turn off the cooling fans for the first few layers. Your 3D printer has cooling fans directed at the print to help cool and harden the filaments. Turn off the fans for the first 3-4 layers of your print to help even out the temperatures and keep your model flat on the print bed. Once you’ve established a good foundation, turn the fans back on for the rest of the print so they can properly regulate the temperature. If you’re able to control the speed of your fans, you can also try setting them to a lower speed for the first few layers to help create a more solid and consistent foundation.
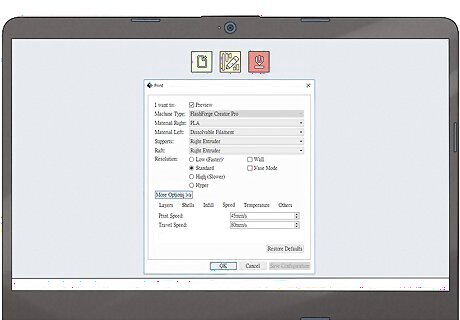
Lower the print speed and nozzle temperature. Printing at a slower speed can help reduce warping and curling. Access your printer settings and lower your print speed to 50%. Then, reduce your nozzle temperature by 50% so the adjustments match. You need to reduce the nozzle temperature as well so the hot tip doesn’t melt or warp the plastic.
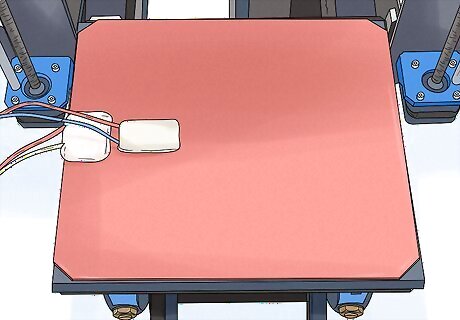
Install a heated print bed to help even out the temperature. A heated bed is a print bed that plugs into your printer and stays at a constant temperature. Using a heated print bed will balance the temperature in the model you’re printing. It also helps the print stick to the bed. Add a heated print bed to your printer to help prevent warping. You can find heated print beds at some electronic stores, 3D printing shops, or online. Make sure they’re compatible with your printer! Many filament manufacturers will list the recommended print bed temperature on the packaging so you can set it so it’s just right.



Comments
0 comment