views
X
Research source
To maintain this high humidity level, you may need to use several methods to both add moisture to their enclosed habitat and prevent it from evaporating too quickly.
Tracking, Trapping, and Adding Moisture
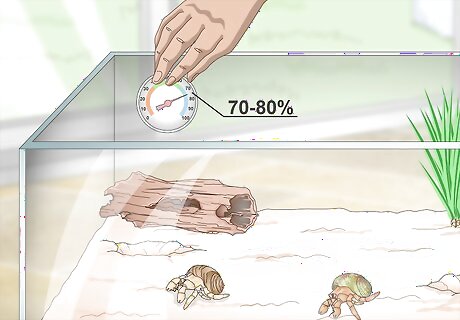
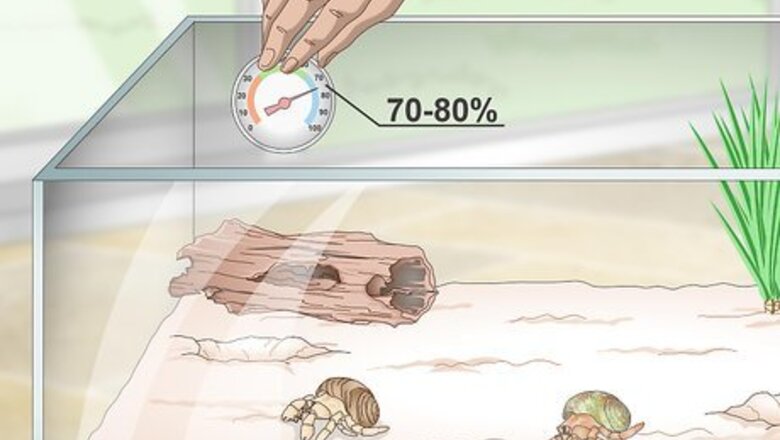
Install a hygrometer to track humidity, which should be at 70-80%. Place either a digital or analog hygrometer into the hermit crab enclosure, and be sure to check it 3 or more times throughout each day. If the humidity falls below 70%, any hermit crabs in the enclosure will essentially begin to slowly suffocate as their modified gills dry out. Some digital hygrometers may permit you to set an alarm if the humidity drops below 70%. You can find hygrometers at pet supply stores or general retailers.
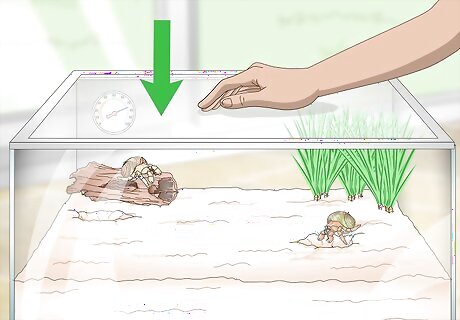
Enclose the crabs’ living space to trap more moisture inside. Hermit crabs should be kept in glass aquariums—at least 10 US gal (38 L) in volume for 2-4 “hermies”—instead of wire cages. Not only are aquariums roomier, they also hold in any added moisture much better. If you want to trap in even more moisture, use a glass or hard plastic top instead of wire mesh. Or, stretch plastic wrap over the top of the wire mesh. Use a solid top that is designed for the aquarium. It will provide the necessary air circulation while also trapping in moisture. Despite their name, hermit crabs don’t like to live alone—they’ll be happier and healthier if you keep them in groups of 2 or more.
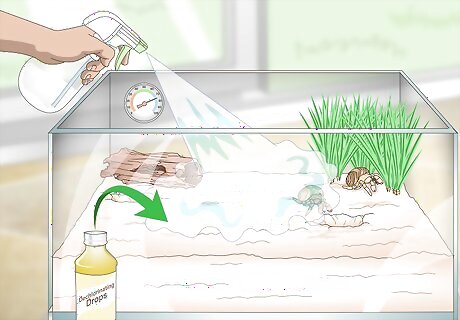
Mist the enclosure with dechlorinated water 1-2 times per day. Choose a spray bottle that creates a fine mist, not a strong spray. Fill it with water that you’ve treated with dechlorinating drops, or with distilled water. Squeeze several sprays into the enclosure each morning and evening, or anytime the humidity level drops near 70%. Chlorine is harmful to hermit crabs, so you must always use dechlorinated water. You can get dechlorinating drops at pet supply stores—follow the package instructions for dosing and use instructions.
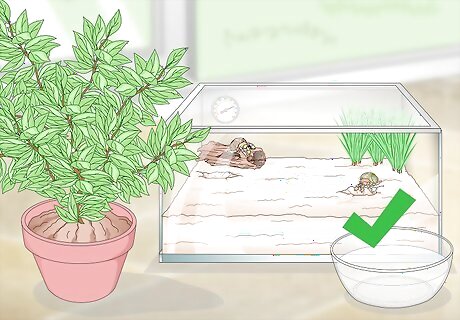
Increase the humidity in the room that houses the crab enclosure. The more humid the surrounding air is, the easier it will be to maintain high humidity inside the enclosure. Add bowls of water or potted plants to the room to naturally increase the humidity level. Or, use a room humidifier to boost the humidity level more aggressively. Ideal indoor humidity for humans is 40-50%, and indoor humidity over 60% can lead to mold growth. So don’t try to crank up the humidity in the room too high.
Providing Freshwater and Saltwater Bowls
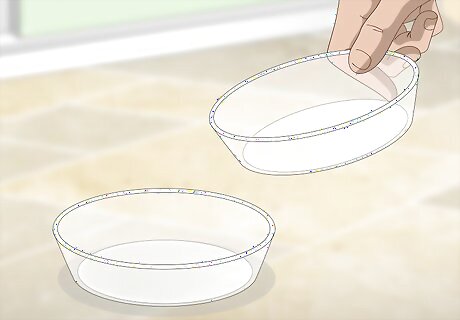
Choose 2 bowls the crabs can soak in but not drown in. For optimum health, a hermit crab should always have access to both a freshwater and a saltwater soaking bowl. The bowls should be shallow enough for a hermit crab to climb in and out of easily, and hold enough water to soak into in its shell opening but not go over its head. Evaporation from the bowls will also help to maintain higher humidity levels in the enclosure. For average-sized hermit crabs, bowls with 1.25 in (3.2 cm) sides that will hold 1 in (2.5 cm) of water are usually ideal. Smaller “hermies” may need smaller bowls that hold 0.5 in (1.3 cm) of water.
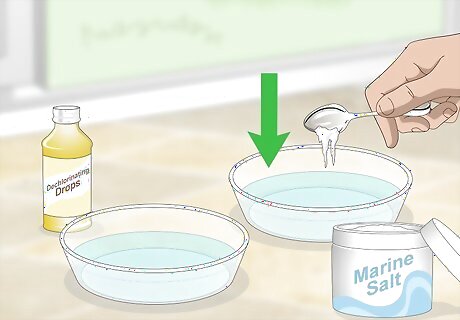
Fill one bowl with dechlorinated water, and one with saltwater. Use distilled water or add dechlorinating drops (as per the product instructions) to tap water to fill one bowl. For the other bowl, stir in the package-instructed amount of pet supply salt—not table salt or food-grade sea salt—to dechlorinated water. Get the salt additive intended specifically for this purpose at a pet supply store. Follow the package instructions for use. The hermit crabs will soak in both bowls, absorb needed sodium from the saltwater, and drink the freshwater.
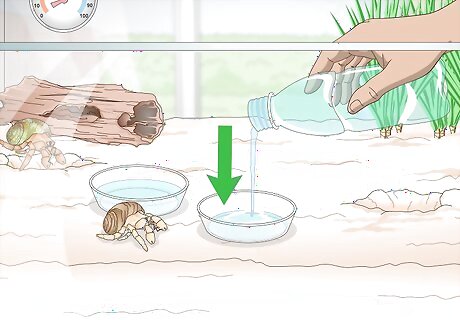
Replenish the water in both bowls daily. Check both bowls several times per day, and add a bit of water as needed to maintain the desired water levels. Once per day, dump out both bowls, rinse them with dechlorinated water, dry them with clean paper towels, and refill them. The more hermit crabs you have, the more often you’ll have to replenish the water supplies.
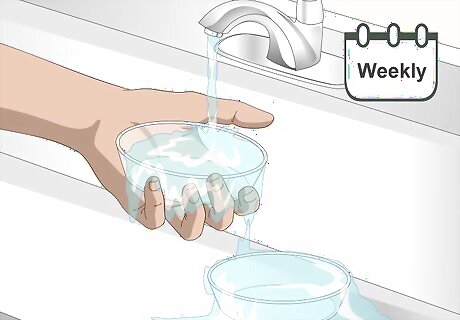
Clean the bowls weekly or when a scummy film forms. Once per week, remove both bowls from the enclosure and wash them out with tap water, a clean rag, and a mild soap. Rinse them thoroughly with tap water and then dechlorinated water, and dry them with clean paper towels. Then, refill them and return them. If you ever spot a scummy film forming on the bowl or water, or if the bowls have become heavily soiled with droppings or food debris, clean them immediately.
Adding a Moist Sponge to the Tank
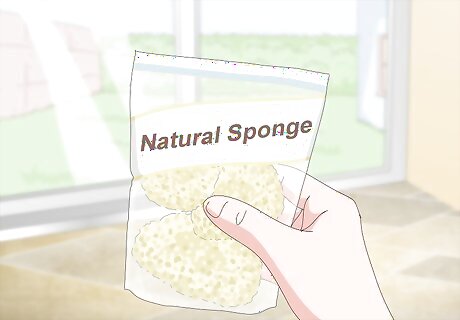
Buy a pack of natural sponges from a pet retailer. Don’t use cleaning sponges you might use for the dishes. Instead, buy natural sponges intended for use in pet habitats. These are safer in the likely case that a hermit crab decides to take a nibble or two! You can buy natural sponges at pet retailers or online. Ideally, it’s best to have 5-7 sponges so you can switch them out daily.
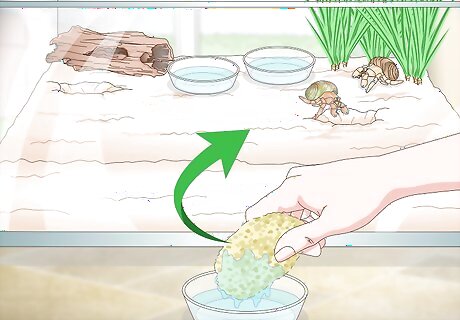
Soak a sponge in dechlorinated water, then put it in the aquarium. Use distilled water or add dechlorinating drops to tap water as directed by the product instructions. Then, soak one of the natural sponges in the water until it is saturated. Squeeze it slightly if it is dripping. The water in the sponge will slowly evaporate into the enclosure, increasing the humidity. You can place the sponge anywhere you like in the hermit crab enclosure.
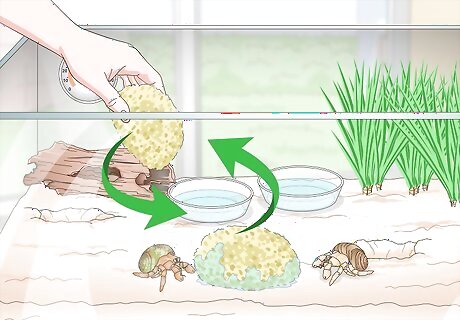
Replace the sponge daily with a clean, soaked sponge. After 24 hours, the sponge will likely be dried out, and it may also have picked up food debris or “hermie” droppings. Pull the old sponge, rinse it and squeeze it out so it’s ready to be sterilized later, and replace it with a fresh sponge that’s been soaked. If you notice that the sponge dries out more quickly, you may need to replace it twice per day.
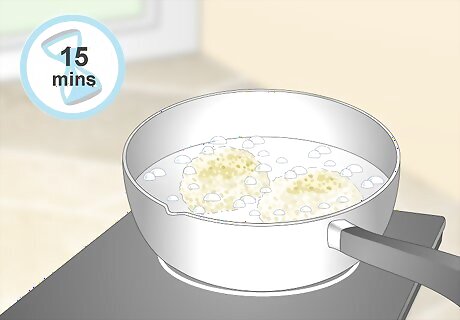
Sterilize used sponges in boiling water for 15 minutes. Once or twice per week, gather up the dirty sponges and place them in a pot of boiling, dechlorinated water for 15 minutes. After 15 minutes, carefully remove them from the pot, squeeze them as dry as you can after they cool to the touch, and store them in a breathable container—like a mesh or paper sack—for their next use. It’s important to use dechlorinated water for this process as well. If you don’t sterilize the sponges regularly, they’ll become great breeding grounds for potentially harmful bacteria. The same holds true for kitchen sponges, by the way!
Keeping the Substrate Moist and Clean
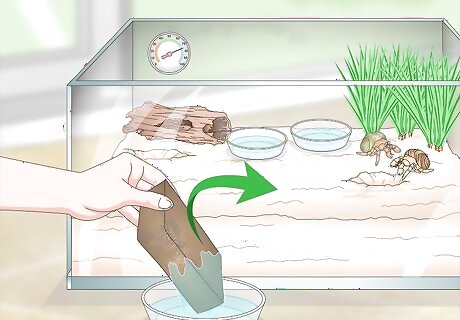
Soak “bricks” of coconut fiber to create a moist substrate. Finely-shredded coconut fiber is sold in dried, tightly-packed “bricks” that you can find at pet supply stores. Place one or more bricks into a bowl and keep adding dechlorinated water until they stop soaking it up. At this point, the bricks will crumble into a fine soil-like texture, and you can spread the coconut fiber over the bottom of the enclosure. Your substrate should be deep enough that your largest hermit crab can bury itself fully in it, if it chooses. This often requires 2 in (5.1 cm) or so of substrate. You can add more if you wish, but only if you don’t have smaller “hermies” who might bury themselves and not be able to dig back out. Coconut fiber is a great choice for hermit crab enclosure substrate because it holds moisture well, resists rapid mold growth, and can be safely nibbled on by the crabs.
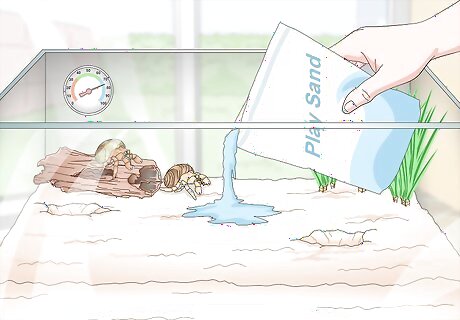
Use sterile, clean sand as an additional substrate option. You can buy packaged sand marketed for this use, or buy a bag of play sand (e.g., for a kid’s sandbox) from a home center. Either way, so long as the package is still sealed, the sand should be properly sterilized and cleaned. You can mix the sand up with the coconut fiber, or create “beach” and “land” sections with each substrate. Give the sand a heavy mist of dechlorinated water after you place it in the enclosure. You can use sand alone as the substrate if you wish, but coconut fiber holds moisture better.
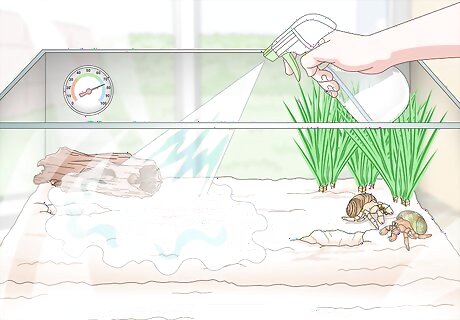
Mist the substrate with dechlorinated water when it dries out. Every few days, take a good look at the substrate to see if it appears dry. If so, give it a good misting of dechlorinated water. The water in a moist substrate will evaporate slowly, helping to maintain high humidity. If you can't tell if the substrate is dry or not, stick your finger down into it to feel for moisture. Wash your hands thoroughly before and after doing this, though.
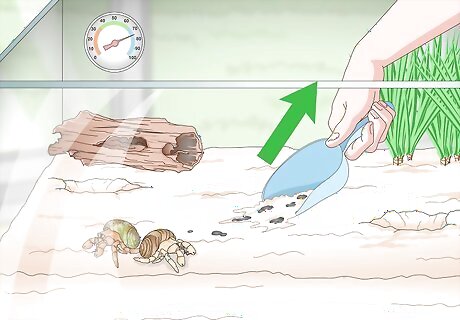
Remove debris from the substrate whenever you clean the water dishes. Once per week, if not more often, you should wash the freshwater and saltwater bowls and any toys or decorations in the enclosure. At the same time, pick out any bits of food debris or droppings you see in the substrate. The more often you pick through the substrate to remove debris, the longer it will last.
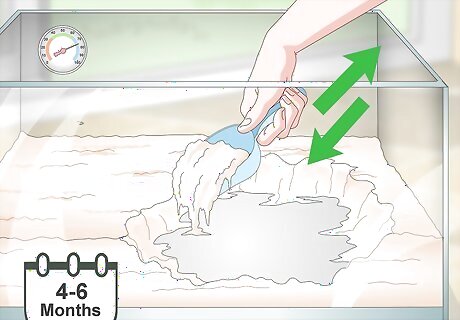
Replace and/or sterilize the substrate every 4-6 months. If the substrate develops a rotten smell or has visible mold growth, it needs replaced right away. Even if it doesn’t look or smell bad, though, it should be fully replaced every 4-6 months. Temporarily house your “hermies” in a safe spot, empty the enclosure, and replace the substrate. New coconut fiber should be used at this point. You can, however, sterilize and reuse the sand if you wish. To sterilize sand, place it in the bottom of a bucket, then slowly overfill the bucket with dechlorinated water until the water doesn’t look cloudy. Pour off the remaining water, add the sand to baking sheets, and bake it in the oven at 300 °F (149 °C) for 1 hour.


Comments
0 comment