views
Making the Body
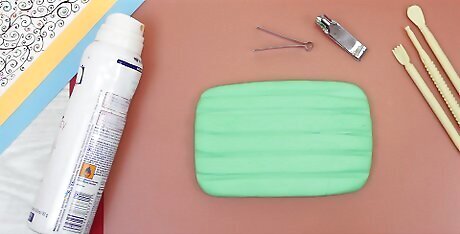
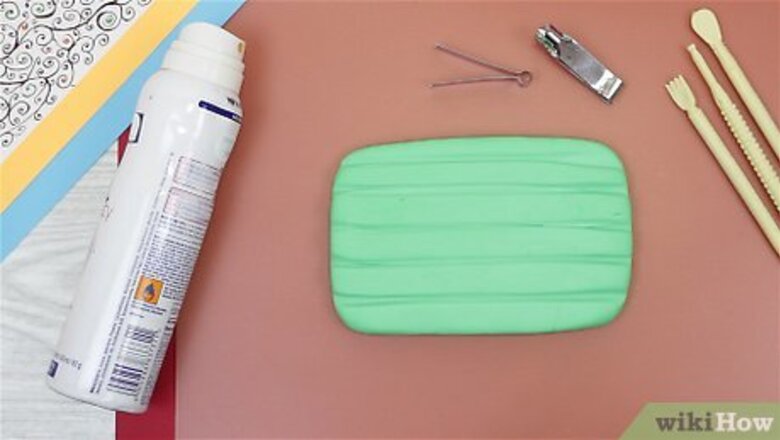
Gather your materials. Of course, to form your clay dragon you'll need clay, but there are many options to choose from. For the purposes of sculpting an amateur mini-dragon, you might consider using Sculpey®, Souffle®, or Premo® polymer clay. If you plan on giving your dragon some color or highlighting its features, like it's eyes and wings, you'll also want a spray paint primer and some paint for your hardened clay. Acrylic paints are recommended by many clay artists for painting baked polymer clay. Aluminum knitting needles are also useful tools for styling and adding details to your clay dragon. Finer needles can be used for finer detail designs, like the features of your dragon's face.
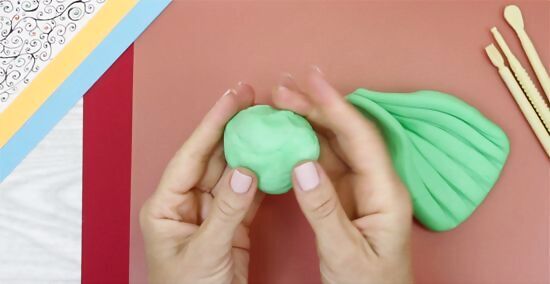
Activate your clay. Fresh from the packaging, your clay might seem stiff and difficult to mold. To limber your clay and ready it for sculpting, you'll want to tear it into pieces and knead it in your hands. Your hands will warm your clay, softening it and making it easier to work with. Sculpting clay is intended to be worked with in this fashion. The size of the dragon you intend to make will determine how much clay you use. However, a surprisingly small amount of clay goes a long way, and you can always add more clay if necessary.
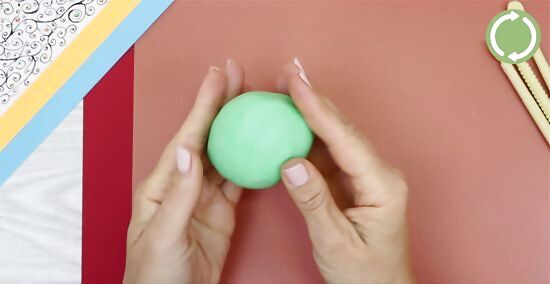
Roll some clay into a single ball. The warmed clay should shape more easily now that you've finished activating it. Smooth out the surface of your clay ball and create a general sphere shape with it.
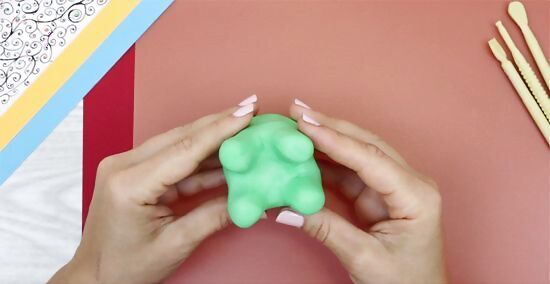
Form the limbs of your dragon. From your central ball of clay you are going to pull out your dragon's limbs. Do this by pinching out four legs at regular intervals without separating it from your clay ball. Flatten the limbs and bottom of your ball to create a solid base. Thick legs will create a more solid shape and will prevent your dragon's limbs from breaking free of its body. Feel free to adjust limbs as needed. For example, you may need to push the legs a little more closely together or pull more clay from your clay ball to give the limbs stability.
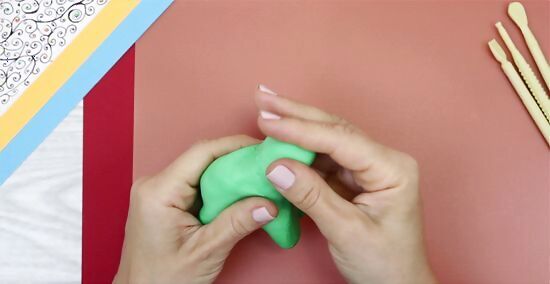
Model the neck and head. Pull some clay from your limbed clay ball forward for the neck and head of your dragon. Make sure the base of your dragon's neck is thick enough to support the head and the length of the neck. A stout, short neck can be easier to accomplish for beginner level sculptors. At the end of your neck, you can fold down the end of the clay to form a head. Dragons typically have serpentine features, so the head of your dragon will likely be triangular in shape, ending in a point.
Adding Draconic Features
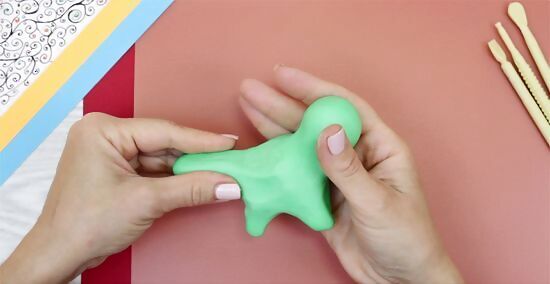
Add a tail. Tease some clay from your central ball to the back to create a tail. A thick base connecting your tail to its body will create sturdiness in the finished product. Avoid making your tail too long, as this can crack during backing or harden in a way that is brittle and delicate. Push down slightly on the base of your tail to give the effect that the tail is coming out from between the dragon's legs, and not from the top of your clay ball, which will eventually turn into the back of your dragon.
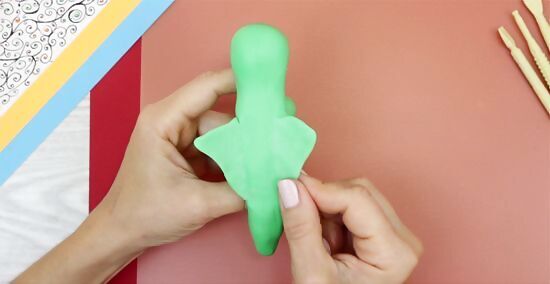
Create wings for your dragon. Wings can be tricky, and while learning the basics of sculpting you may want to keep your wings thick and small. Create your wings by pulling some clay from either side of the top of your clay ball. If you find that you need more clay, knead a small piece and use your thumb to blend the new clay with that of your clay ball, and then work this clay into the simple shape of a wing on both sides. Thick wings will keep the clay from cracking there when you bake it and will result in a sturdier sculpture. The wings, being such a delicate part of the sculpture, are the most fragile and breakable part of the dragon. Exercise care while forming these.
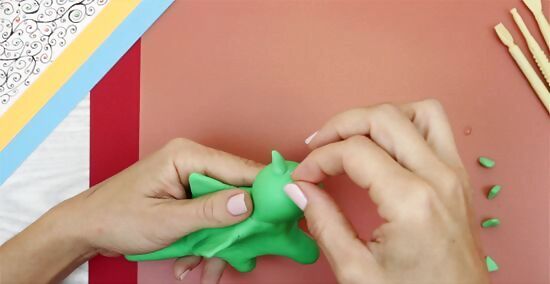
Shape and affix your horns, if desired. Your dragon may be a hornless variety, but if you had planned on making a horned dragon, take a small amount of surplus clay and knead it in your hands. Then, shape two cones for your horns and lightly press each into the head of your dragon. Use a little water to dampen the base of your cones. This can help keep your horns in place.
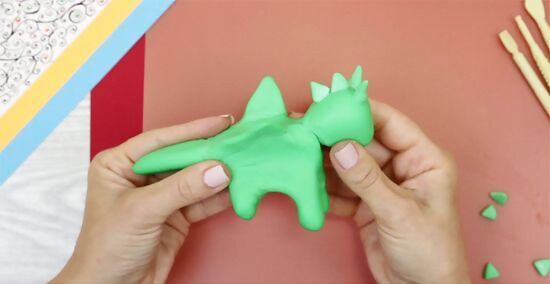
Elongate the body of the dragon, if necessary. It's likely that your clay ball is still mostly round at this point, with limbs, head, tail, wings, and horns attached. However, the bodies of dragons are usually more elongated and oval in shape. Press gently on the rounded sides of your clay ball to squish the circular shape into a longer oval one.
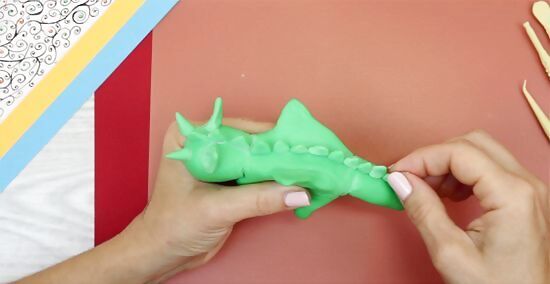
Detail the body. At this stage, your dragon should be mostly formed, but you should consider using a little extra clay and your knitting needles to add a ridge along the back of your dragon. This can be done by: Kneading some extra clay. Pulling off little pieces. Rolling tiny cones, damping the base of the cones, and pressing the cones along the spine of the dragon. Adding a contour line with your knitting needles to either side of the spine.
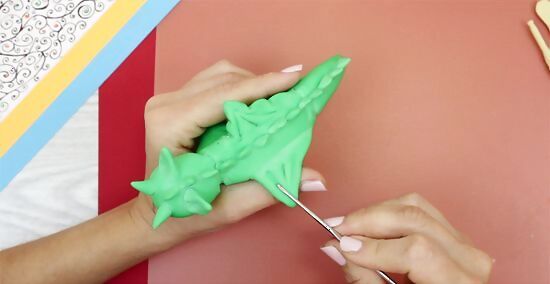
Give features to your wings. Dragons, in most mythologies, have bat-like wings. These often come to a point at the highest point and have some bones dividing the wings into parts or sections. Using your finest knitting needle, you should carefully: Trace a line along the inside of the outer boundary of your wing. Add lines from the top of the wing to the bottom of the wing, splitting each into regular sections. Avoid thinning your wings too much or applying too much pressure. Thin clay cracks easily when baked or after being baked, and even well formed wings will be delicate.
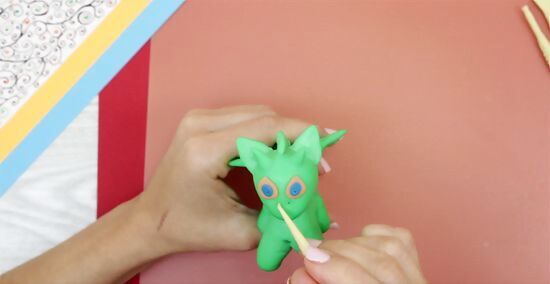
Give your dragon a face. The small size of this amateur model will limit the amount of detail you are adding unless you have a very steady hand and very precise needles. However, you should be able to use your knitting needles to gently carve out the shape of two eyes and a mouth line around the outer rim of your triangular head.
Firing the Clay and Finishing Touches
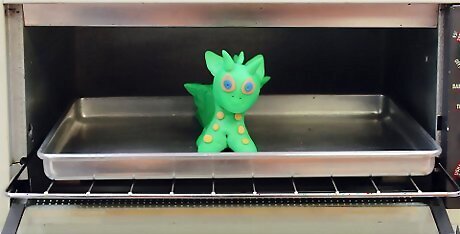
Fire your dragon. "Firing" refers to the process of heating clay until it sets permanently in the shape it is formed. This is usually done in a kiln, but your polymer clay can be baked in your oven. Check the temperature at which your clay should be baked as listed on the label or instructions your clay came with. Pre-heat your oven first. Putting your clay in the oven before it is at the target heat can have a negative impact on the firing process. Watch the dragon while it is baking. The wings, legs, tail, and sometimes the head can burn. This is especially important if you're not going to paint the dragon, as the burning will be visible.
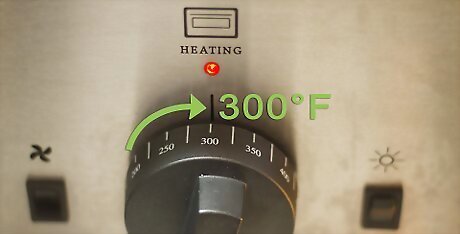
Set a timer and wait for baking to finish. The length of time you should bake your dragon at should also be indicated on the label or instructions that came with your clay. Set a timer so you don't forget to remove your dragon; baking it too long can cause it to crack! While you are waiting for your dragon to bake, you might put away your remaining clay according to the storage directions on its packaging. Clean and put away your knitting needles. Prepare your primer, painting area, and painting supplies.
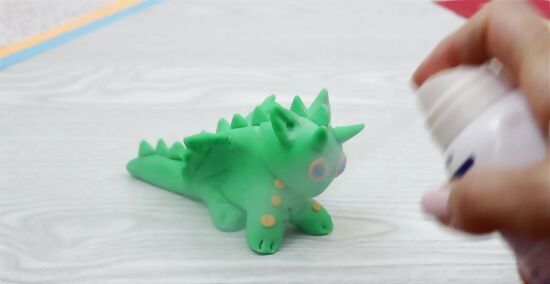
Prime the body of your dragon. White is a great priming color. It offers a solid base that is high contrast, making it easy for you to see where you have already painted and where you have yet to paint. Primer will also help preserve your acrylic paint; clay can be very porous and may absorb a lot of paint without primer.
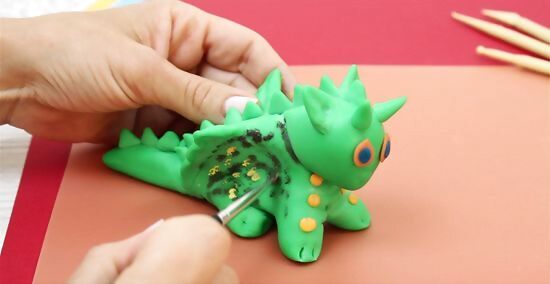
Paint the body of your dragon. If this is your first dragon, you might want to choose a single, bold color. This will help you get a feel for how the paint and clay interact, how quickly it dries, where it collects, clumps, and trouble areas as well. After you have painted your solid base, allow your paint to dry fully.
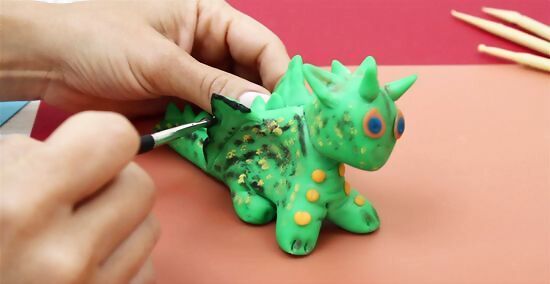
Paint contour and contrast lines. Look at your dragon from various angles. Where you notice naturally occurring shadows and contours, you can add a thin line in black to give sharper contrast. A little black on the downward-facing areas of your dragon will give the impression of shadow, making your model look more realistic. Depending on how much or little contour, contrast, or shading you have added, you may have to wait for the paint to dry before moving on.
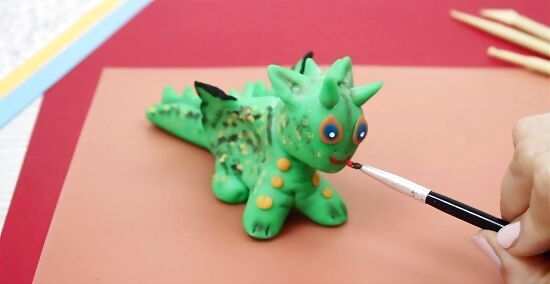
Paint the eyes and face of your dragon. Make these as detailed or as abstract as you'd like. You can leave white primer visible for the whites of your dragon's eyes and add a dot of black complete the eye, but you could also glue googly eyes. Allow any wet paint to dry fully.
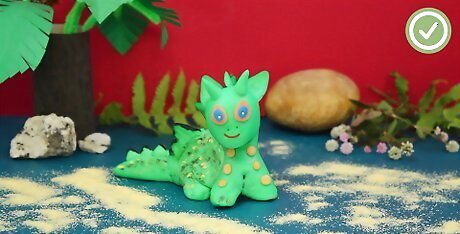
Display your dragon proudly. Now that you've sculpted, fired, and painted your very own dragon, you should show it to your friends and get some pointers. Refine these basic methods and use them to make larger, more intricate models.


Comments
0 comment