views
Making a Card With Centerfold Pop Up Art
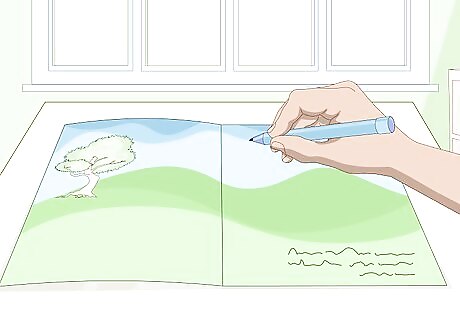
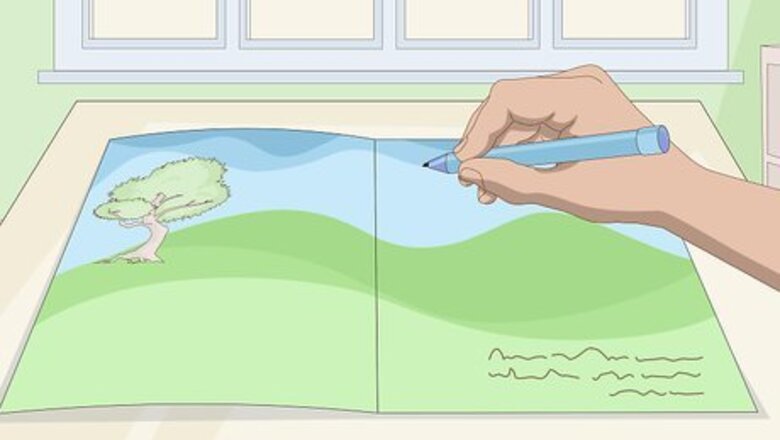
Create your design. Start with a card that says all the words you need to. Put your messages where you want them to go, so you know where your center design will go. Make sure nothing you want to be visible will be underneath your centerfold design.
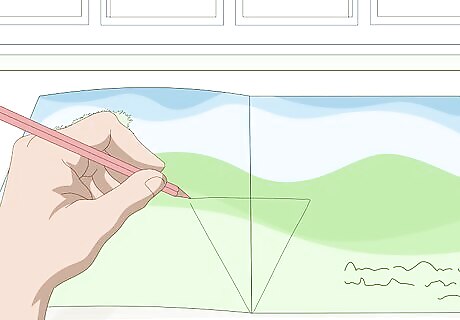
Draw an inverted triangle on your card. Picture a spot around the centerfold that you want to be covered by flowers. Draw a rough outline around this spot so you know what spots it will cover. It should start at the bottom of the card and extend upwards and outwards, like the shape of an ice cream cone.
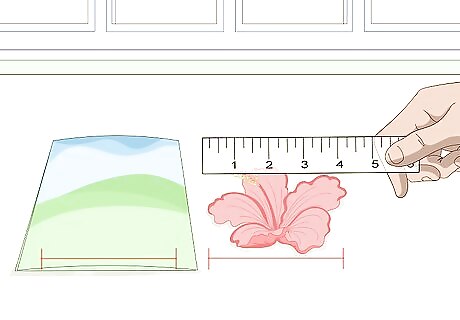
Measure the dimensions of your centerfold flower. You don't want your centerfold flower to be wider than your card. Fold your card shut and measure the width.The widest part of the pop out flower should not be more than this amount.
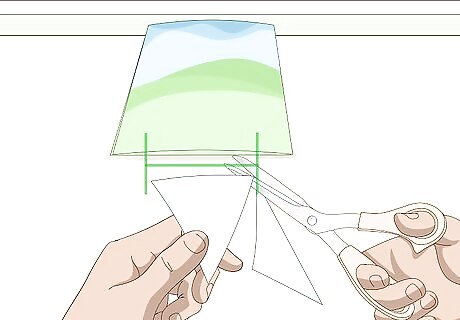
Cut a triangle out of construction paper. The top dimension should be no wider than your card's width (when closed). You can make a centerfold design much smaller than this, however. As long as your design is not wider than the width of the card, folded, you can place it at any height on the centerfold.
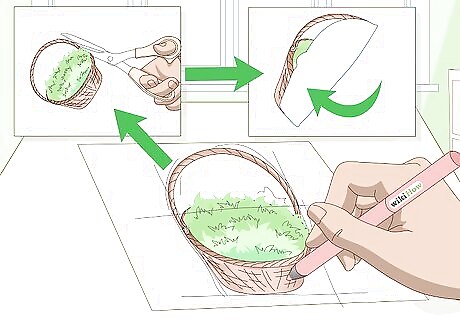
Draw your design. This is where you use markers or construction paper to create a design. It is advisable to make it symmetrical, but you don't need to. Keep track of the design you will want to cut out of the top once you have finished drawing the design. After you're done, cut any excess paper from the top and sides. Erase and pencil marks you made to plan for the centerfold design. Fold your design in half.
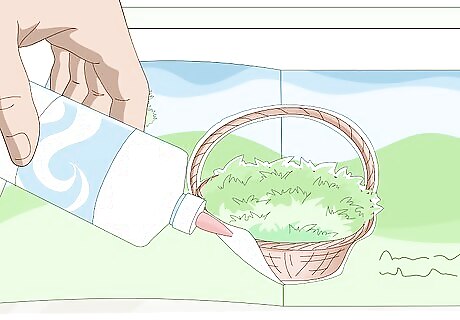
Glue the edges of the centerfold to your card. Lay out your card and your centerfold design. Line up your centerfold design with the crease of your card. Rubber cement will hold your centerfold the best, but standard glue will work as well. It will make your card more secure to fold an inch along edges of the triangle so it doesn't come off the card.
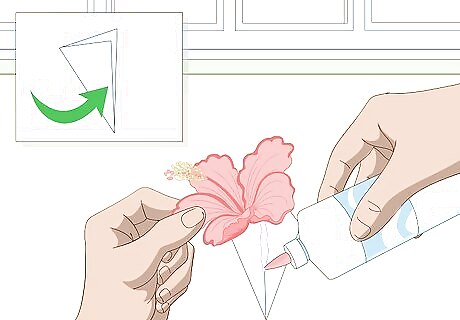
Crease the center of the triangle and glue on flowers. You want to fold the triangle the opposite direction of the way the card folds. In other words, if you open the card, the triangle should pop out toward you. Now glue the flowers on the triangle. If they are going over the center crease of the triangle, fold them as well so they will not get damaged when the card closes.
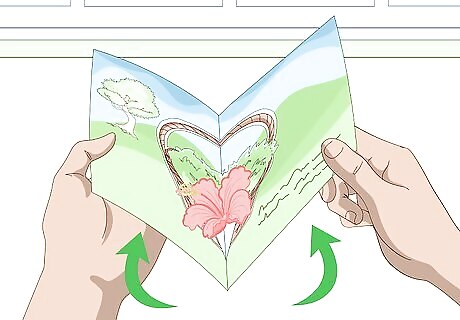
Carefully close your card. Once the glue holding on the triangle and flowers have dried, carefully close your card. When it is opened again, the flowers will pop up. The centerfold flower is different from the regular pop out flower.
Making a Card With Simple Pop Out Flowers
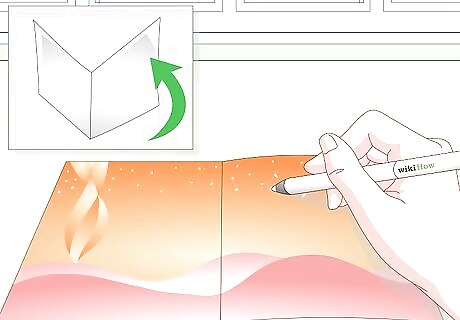
Start with your card. Take any size piece of paper and fold it in half to make your card. Of course, you can make the card as big or small as you want and fold it to open sideways or flip up. Decorate the front and inside of your card however you wish. Add bows or glitter to make it original. When you decorate the inside, plan how many flowers you want, how large you want them, and where you want them.
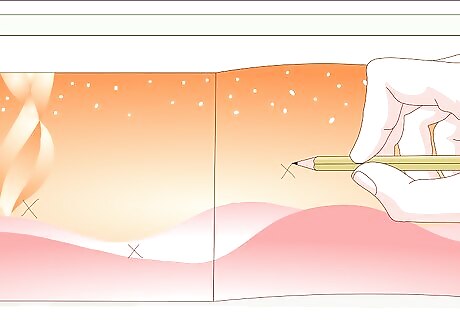
Mark the spot for your flowers. Once you’ve decorated your card, open it and use a pen to mark with an X where you plan to place your pop up flowers. This will give you a final number of how many you need to make. Once you mark the spots, put your card in a safe place so that you can make your flowers.
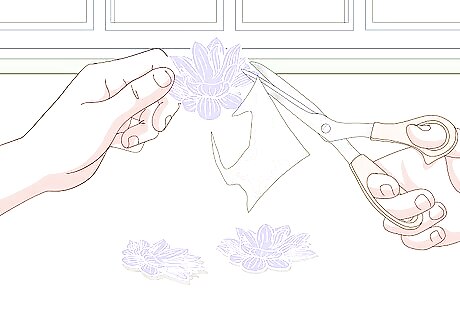
Cut out your flowers. Using colorful paper, outline as many flowers as you had X’s on your card. You can make them all the same kind and color or you can vary them. Try cutting out two flowers and gluing them together. Rather than gluing them directly on top of one another, twist one so that the petals from the bottom are seen in between the petals of the other. The size of your flowers and the length of your springs depends on how much wobble you want the flowers to have. Larger flowers will be heavier and flop around more, while smaller flowers will stay in place easier. Make sure you aren't obstructing your text with overly large flowers. The easiest flower to draw will have four to five petals and you can easily draw one by placing a small circular item on your paper (a penny is a good starting point). Next, simply trace a bubbled outline around the circle to make your flower.
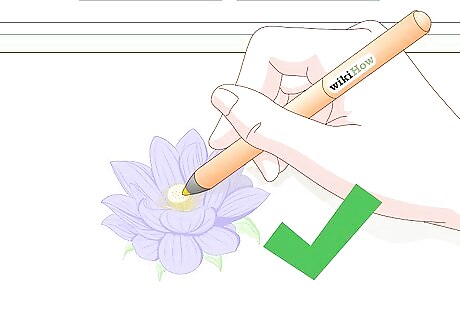
Add extras to your flowers. Now that you have all of your flowers cut out, you can decorate them. Use glitter, markers, or chalk to add fun to the future pop up flowers for your card. To make them 3D, you can fold the petals to give them some structure. Simply crease the petals down the middle so that the petals stand up.
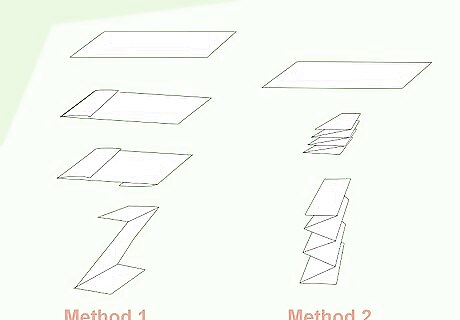
Make the pop up springs. There are 2 methods for this. For one, cut strips of construction paper three inches long and the width of your flowers. Cut as many strips as you have flowers. Take a strip and fold ½” up. Keep this fold and make a second fold by going the opposite way. This will create a Z shape, with one strip longer than the other. Repeat this back and forth fold all the way up your strip of paper. Notice that it creates a spring. Alternately, you can cut strips an inch or two longer, and fold them like an accordion. This will really make your flowers pop.
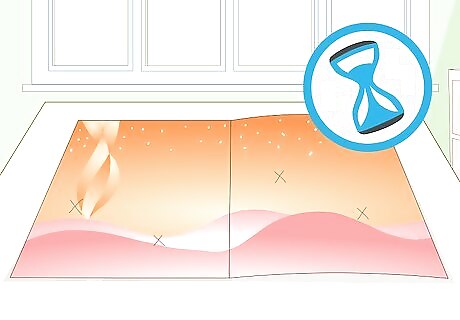
Wait for your card to dry. If you’ve added glitter, glue, or anything else to your card that needs time to adhere, wait for it to dry before you add your flowers. This way you can move your card freely to place your flowers where you want.
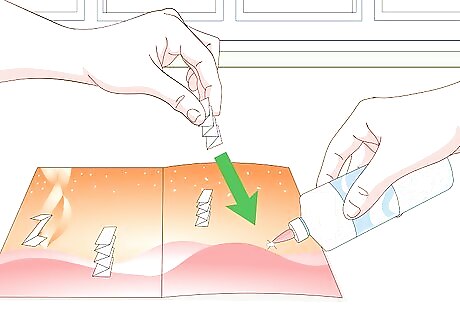
Glue the springs to your card. Rubber cement will hold your springs the best, but standard glue will work as well. Place a drop of adhesive on your X and place the bottom fold of your spring on it. Hold it in place for a few seconds. Repeat with all of your X’s and springs.
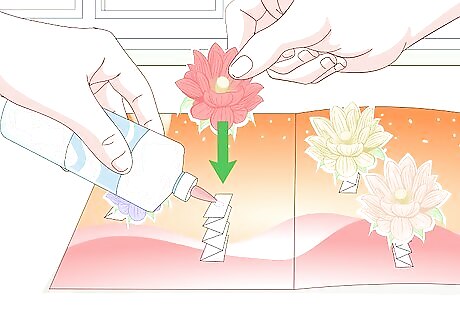
Glue your flowers on. Now that you’ve glued your springs to your card, place a drop of adhesive to the top flap of a spring. Using both hands, place one of your flowers on this spring. Pinch the top flap of your spring and your flower together to ensure it sticks.
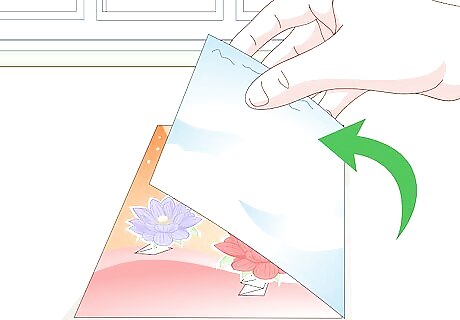
Carefully close your card. Once the springs and flowers have dried, carefully close your card. When you do so, it will squish the flowers to the card. When it is opened again, the flowers will pop up.


Comments
0 comment