views
Go shopping.
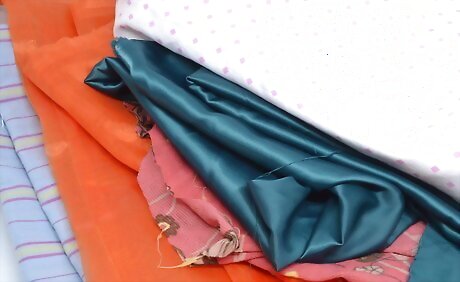
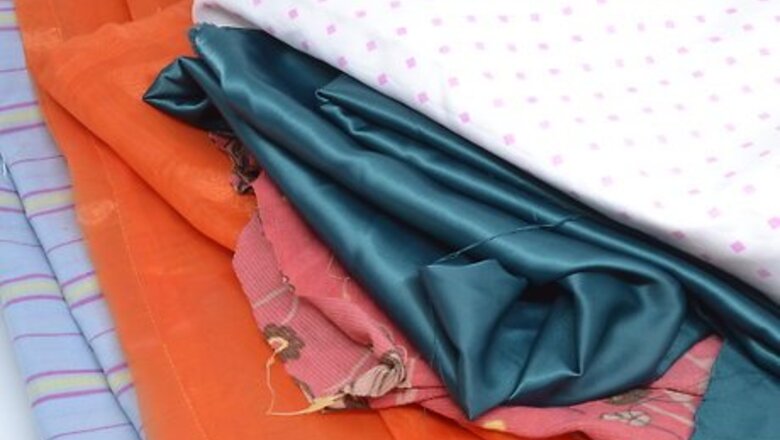
The best silk fabrics are usually light Georgette, organza, and crepes. The best designs and widest variety can be found in privately owned fabric stores, but keep your eyes open. You might find a piece when you least expect it. Burned out velvet's and even crisp fabrics can be used for scarves, especially for wearing with an outdoor coat.
Get the right size.
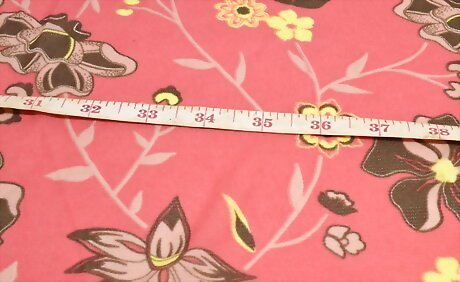
Silk is commonly sold in 36", 45" and 60" widths. So, if you want a square scarf you would ask the salesperson to cut the same length as the width: 36" x 36", 45" x 45", 60" x 60". Your finished size would be 35 1/2" by 35 1/2", etc. If you want a rectangular scarf, you have more choice. Some people think a 72" length looks best when you wear a suit. Left loose, that length of scarf starts at one hem of a jacket, follows the neckline, and then falls to the other hem of the jacket. For variety, tie a long scarf into a big floppy bow or give it a loose, low knot and wear a simple, single color blouse underneath. You can try various lengths, using a measuring tape, to find the one that suits you best or select the scarves you love best and take the measure from them. You have more choice in the width of a scarf, because you can crumple or fold the fabric or even wash the fabric in very hot water to take some of the body out of the fabric so that it hangs gracefully. You can make two rectangular scarves when you purchase a 72" length of 36" or 45". One scarf to keep and one to give to a friend or family member.
"Rip" the fabric across and then lengthwise.
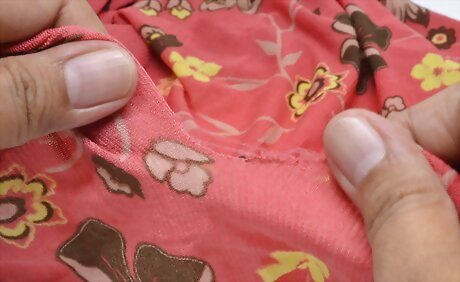
It's better to rip the fabric than cut it with scissors. This leads to a straighter edge for the hems. However, ripping can cause soft, loosely woven fabrics to stretch out of shape. If you can't iron the edge straight and outstretched again after ripping, the scarf hems will be troublesome to sew.
Iron the hems.
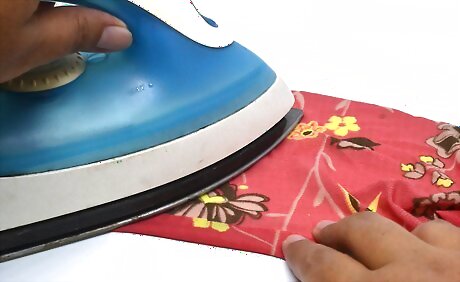
Turn the fabric under once at a ⁄4 or ⁄3 in (0.64 or 0.85 cm) width and iron it. Then, turn the fabric under again and iron the hem once more. If you water wash your scarves you can spray the fabric with distilled water and use steam when you iron the hems. Some people fear water spotting but water spotting was probably more common with inferior dyes in the last century. Iron the hems all around the scarf before sewing them. Some people are good at hand-rolling a hem as they sew. Others prefer to iron them flat and then sew the two or four sides (if the fabric has a good design for it, you may choose not to hem the selvage sides on a square scarf).
Use a loose whip stitch.
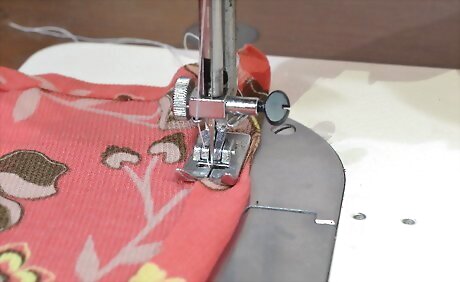
Hide the long portion of the step in the tunnel of fabric created by the hems. Some people use a rolling attachment on their sewing machine to hem their scarves. Others use a blind hemmer. And others sew scalloped edges, something that can be particularly effective with a soft silk fabric.
Wash the scarf and iron it.
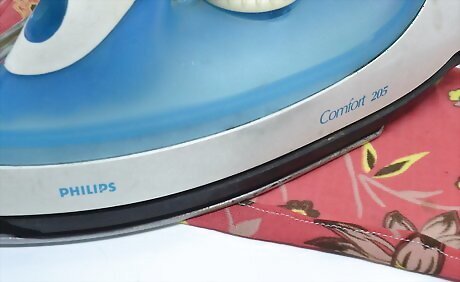
You're now ready to wear your new scarf.




Comments
0 comment