views
Using a Mason Jar and Vacuum Pump
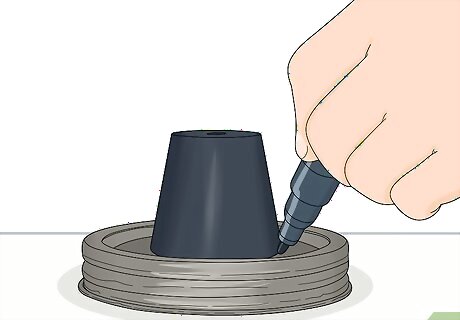
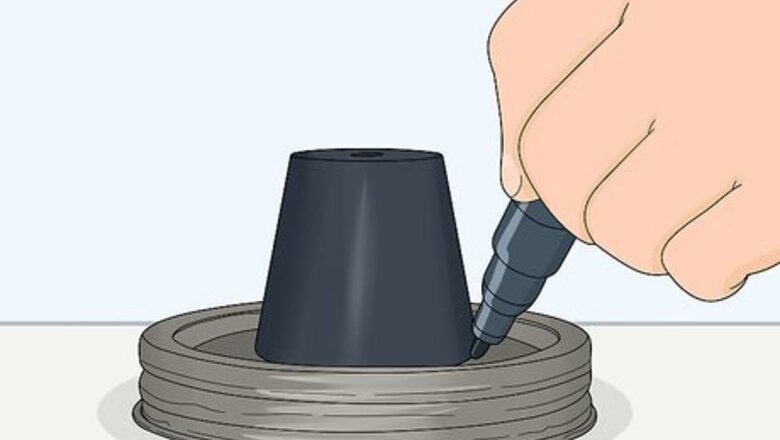
Trace the rubber stopper onto the lid of the mason jar. Place the mason jar lid on a flat surface. Set the rubber stopper on top of the mason jar lid. Use a permanent marker to draw around the rubber stopper, marking where you'll need to cut.

Cut a hole in the lid with tin snips. You may need to punch a hole first with a nail and hammer, then cut it out with the tin snips. Go around the inside of the line you traced, as you want the stopper to fit snugly. If your stopper is small enough, you can also use a drill to make the hole. Place the lid on a flat surface you don't mind drilling into, and clamp it in place. Turn the drill on. Apply gentle pressure until the drill bit goes through the lid.
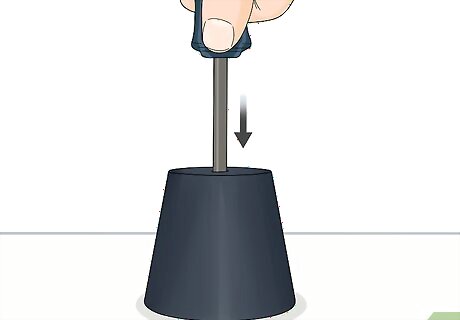
Cut a hole in the rubber stopper. Shove the stopper in the hole in the lid until it fits tightly. If the nozzle of your vacuum pump can go through without a hole, just push it in. Otherwise, use an awl, ice pick, or screwdriver to dig out a hole big enough for the nozzle. However, make sure the hole is JUST big enough for the nozzle. Don't leave any extra space.
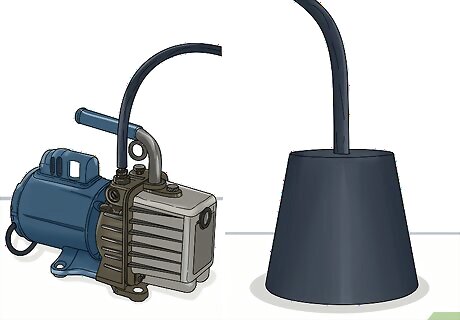
Stick the nozzle from the vacuum pump into the rubber stopper. Connect up your vacuum chamber to the vacuum pump. Make sure the nozzle fits snugly in the rubber stopper. Find vacuum pumps at your local hardware store or online.
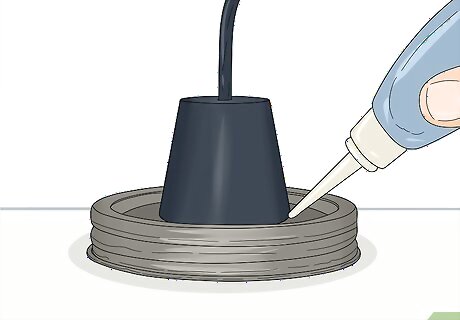
Squeeze super glue around the rubber stopper. Use a steady stream of glue on the outside edge of the stopper, going all the way around. Make sure the glue gets down in the crack between the stopper and the lid. A fast-acting glue works best.
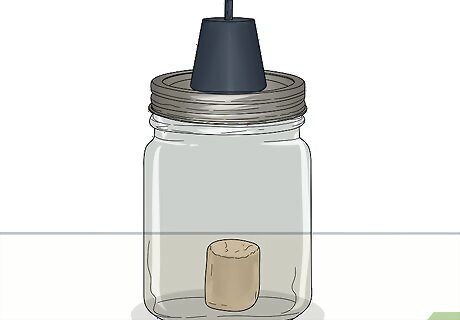
Put something in your vacuum chamber and screw on the lid. You can use things such as a marshmallow or a tied-off balloon that has a tiny bit of air in it to experiment with your chamber. Put the item in the mason jar, and screw the lid on tightly. Use an item that's only about 1/3 to 1/4 the size of the jar, as it will likely expand in the vacuum.
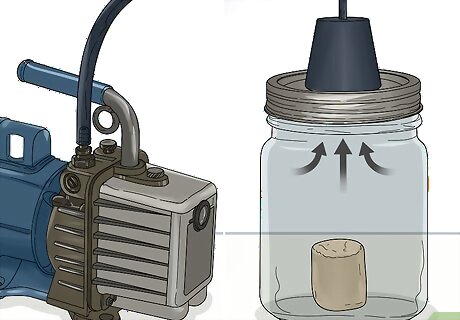
Remove the air by turning on the pump. Put the nozzle in the rubber stopper, making sure it is tight and secure. Turn on the vacuum pump to remove the air. Once it is out, turn off the pump immediately. If you try to keep pumping air, you could damage the pump. You can even just use a reversed bike pump to pull out the air for a simpler vacuum.
Making a Lid for a Cooking Pot Pressure Cooker
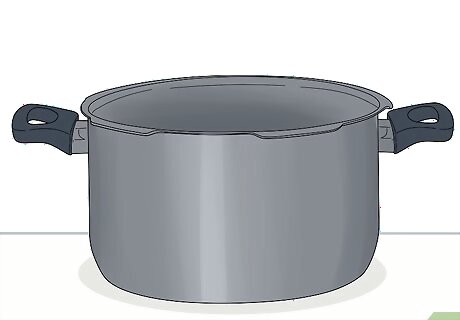
Find or buy a pressure cooker pot. You don't actually need the lid from the pot. However, pressure cooker pots are stronger than standard cooking pots, so they will hold up better to the vacuum. You can use a regular stainless steel pot, though make sure it's sturdy enough. If you want to use a regular pot, try pushing on the side of it. If you can push it in at all, it's too soft for a vacuum chamber.
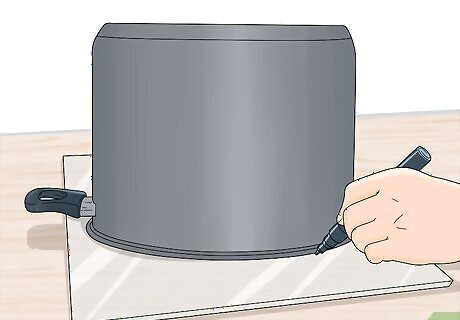
Trace the top of the pot on a piece of a crystal clear acrylic sheet. The acrylic needs to be at least ⁄4 in (1.9 cm) so it doesn't crack. Use a permanent marker to trace the shape on the paper side of the acrylic.
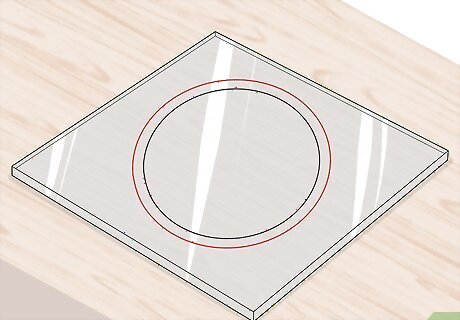
Mark another, larger circle around the one you just made. Make the new circle about ⁄4 inch (0.64 cm) bigger than the smaller circle all the way around. It's fine if it's even a little bigger than that. You just need a big circle wide enough to cover the whole pot.
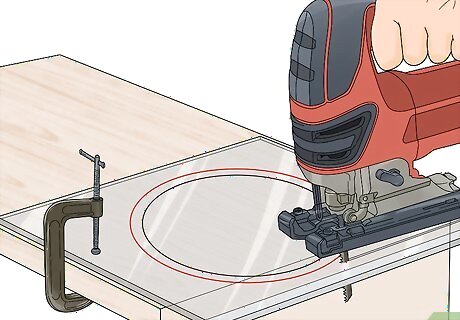
Cut the circle out with a jigsaw. Clamp the acrylic to the table so it stays in place while you're cutting. Leave the circle you want to cut over the edge of the table so you can cut it with the jigsaw. To cut it, set the jigsaw on the edge of the acrylic and turn it on. Push it into the acrylic until you meet the edge of the circle, then follow the circle around. Always push the jigsaw away from you; don't cut towards yourself.
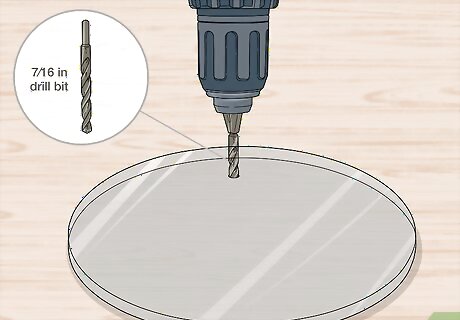
Drill a pilot hole in the circle with a ⁄16 in (1.1 cm) drill bit. You can put the hole anywhere you want in the acrylic, but near the edge is probably better, so you can see what's going on inside. However, make sure to put it at least 1 inch (2.5 cm) inside the edge of the acrylic so you don't affect the seal. Drill on the paper side of the acrylic. Peel the paper off the acrylic when you're done.
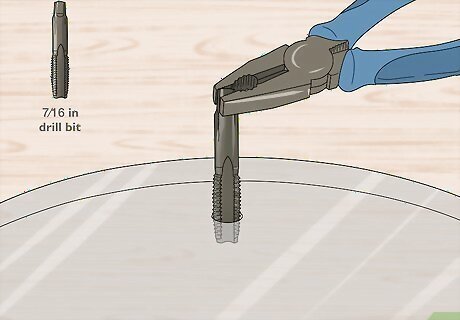
Use pliers to screw in a ⁄4 inch (0.64 cm) NPT tap. A tap makes the ridges for a screw, and this one will make the ones you need to attach the vacuum tube to the acrylic. Insert the tap with the ridges into the hole you just made, and use pliers to twist it down into the hole. Remember to twist to the right. "NPT" stands for "national pipe thread." Once you've screwed it in, take it back out. You're just making threads in the hole.
Make a batch of proto putty from silicone and cornstarch. Start by squirting some liquid food coloring in a bowl; this makes the putty colorful, but the moisture also helps activate the silicone. Pour in enough silicone 1 caulk (100% silicone) to make enough putty for a large band that will go all the way around the lid. Mix the two together with a popsicle stick. Work quickly, as this will set in about 10 minutes or less. In a second bowl, pour in enough cornstarch to mostly fill the bowl. Dump the silicone and food coloring mixture into the bowl, and use your hands (with gloves on) to mix the silicone into the cornstarch. Coat the silicone with cornstarch to keep it from sticking. Knead the mixture for about 2 minutes, adding cornstarch if it feels sticky.
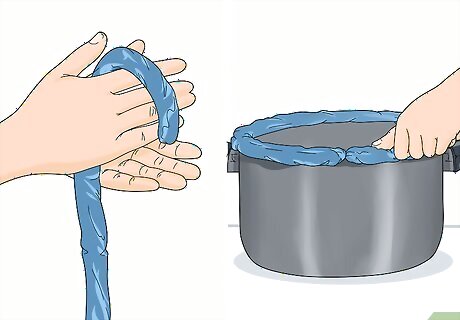
Roll the proto putty into a thick rope that will fit around the rim of the pot. Place the rope on top of the rim of the pot, going all the way around. Press it down lightly with your fingers to set in place, then put the acrylic circle in place on top of it. Press down on the acrylic so that it squishes the dough out until it's flat, forming a seal with the acrylic. Leave it to set for about 10 minutes, and it should form a rubber-like seal around the top of the pot. You can now peel the lid and the proto putty away from the pot as needed, then put it back in place.
Attaching the Pot to the Vacuum Pump
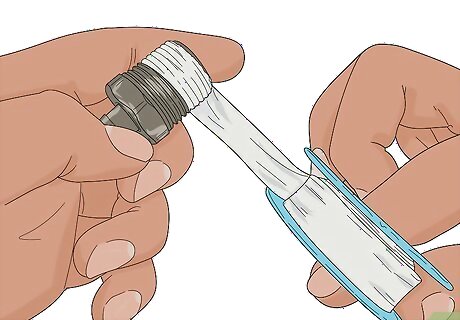
Wrap the threads of each fitting in thread tape. Wrapping the threads increases the seal. You need to have a good seal to create a vacuum.
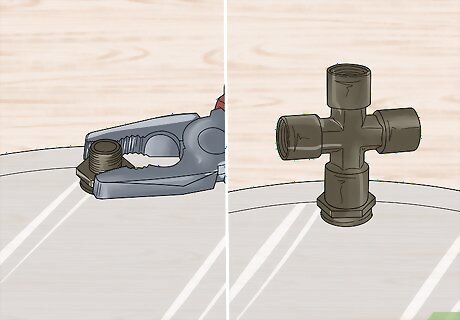
Screw in a male-to-male nipple and a metal cross into the lid. Each of these should be ⁄4 inch (0.64 cm) to fit the hole. Screw the nipple into the hole you made in the acrylic. Screw the cross into the part of the nipple sticking out of the acrylic. Use pliers to make sure these are screwed in well.
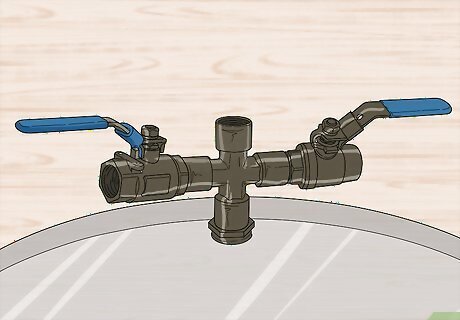
Thread a ⁄4 inch (0.64 cm) NPT ball valve on each side of the cross. These shut off-valves allow you to control the air in and out. You need one on each side of the metal cross, as one controls the air in, and one controls the air out. Use pliers to twist them into place. It's best to have the valve switch on top if you can manage it.
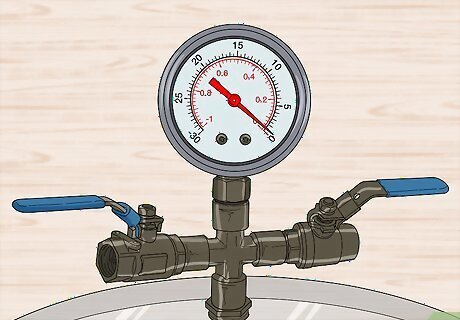
Screw in the liquid-filled vacuum gauge. Screw this into the top of the metal cross. Use pliers to make sure it's in tight. You don't absolutely need this gauge, but it will tell you how much of a vacuum you're pulling. If you're not using one, cap off the top with a fitting or use a t-fitting instead.
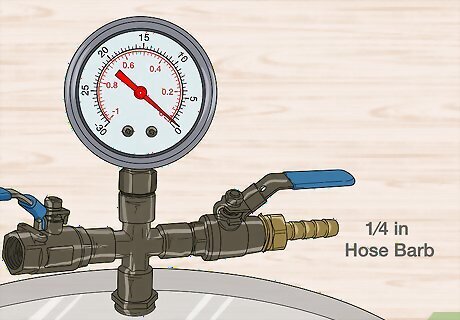
Screw a hose barb into one valve. A ⁄4 in (0.64 cm) hose barb is a way of connecting the hose to the valve. Turn it into one end of a valve, tightening as you go with pliers.
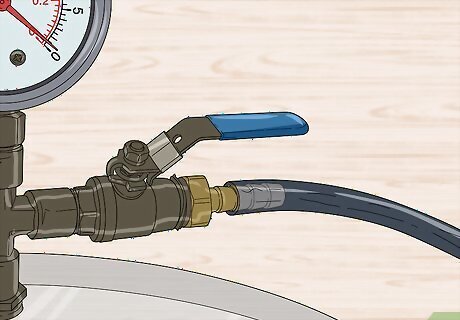
Attach thick-walled clear poly tubing hose to the hose barb. Push the tubing over the hose barb at the end of the valve. It should just slide over it, though you may need to twist it a bit to get it all the way on. Choose ⁄4 inch (0.64 cm) for the inside diameter of the tube, but make sure the walls of the tube are as thick as you can get them so the tubing doesn't collapse when you try to use the vacuum.
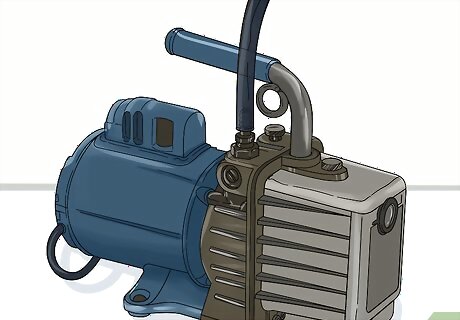
Attach the hose to the vacuum pump. Look at the diagram for your vacuum pump to determine which port will suck in the air. Unscrew the cap, and screw in a 90-degree elbow hose barb with a ⁄4 inch (0.64 cm) diameter. This barb will allow you to rotate the hose as needed. Push the hose over the barbed end of the hose barb, twisting lightly to get it in.
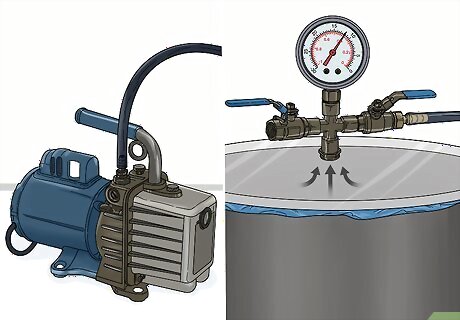
Use your vacuum chamber by turning it on and turning the valves. Turn on the vacuum pump to start pulling pressure in your chamber. Use the valve connected to the hose from the metal cross on the pot's lid to control how much air is being pulled out. The other valve lets air in when you want to stop drawing a vacuum.


Comments
0 comment