views
Using iFunBox for Windows or macOS
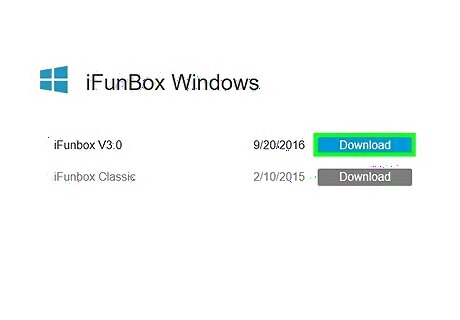
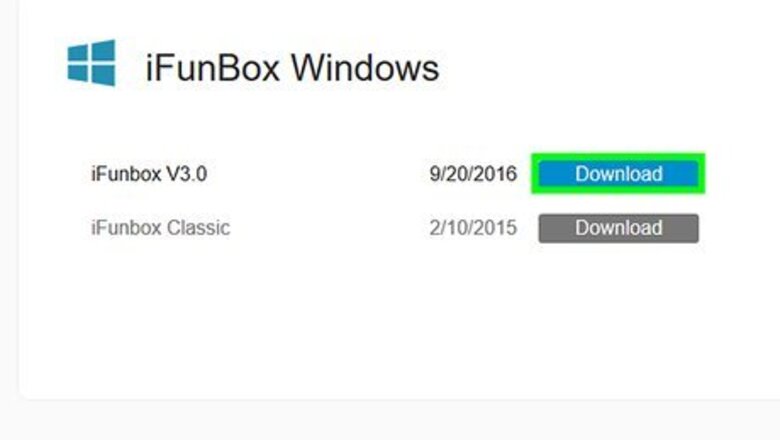
Install iFunBox on your computer. Although there many apps that claim to transfer files from your iPhone to a computer for free, most are limited in functionality unless you pay for an upgrade. iFunBox is an option available for both Windows and macOS that is both completely free and recommended by power-users who have tested the product. You can download the app from http://www.i-funbox.com/en_download.html. Once you've downloaded the installer, double-click the downloaded file and follow the on-screen instructions to install. If you're using Windows, an alternative to iFunBox is MediaMonkey. The difference is that MediaMonkey also acts as a general iTunes replacement—you can use it to listen to music, manage your library and tags, and transfer songs to and from your iPhone as you would with iTunes. See this method to learn more.
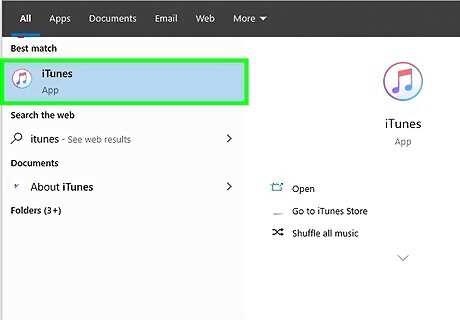
Install the desktop version of iTunes (Windows only). iFunBox needs iTunes to work. The thing is, you can't be using the version of iTunes that comes from the Microsoft Store—you'll need the version you download from Apple's website. If you're using the Microsoft Store version, follow these steps: To find out if you're using the Microsoft Store version, open the Microsoft Store from the Start menu and search for iTunes. When you find it, click its icon and scroll down—if you see an Install button, you are not using the Microsoft Store version. If you see Launch, you must uninstall the app. Uninstall the current version of iTunes by right-clicking it in the Start menu and selecting Uninstall. Go to https://www.apple.com/itunes in a web browser. Scroll down and click Windows next to "Looking for other versions?" Click the download link for your version of Windows. Double-click the iTunes installer and follow the on-screen instructions to install.
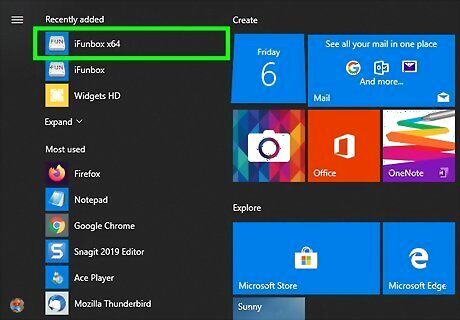
Open iFunBox. It'll be in the Applications folder on a Mac, and in the Start menu on Windows. If you're using a 64-bit version of Windows, click iFunBox 64 in the Start menu to launch the app.
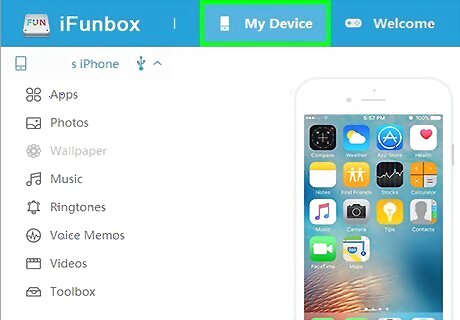
Connect your iPhone to the PC. Use the USB cable that came with your PC or one that's compatible. If your iPhone was already connected to the PC, unplug it and plug it back in so it's recognized by iFunBox.
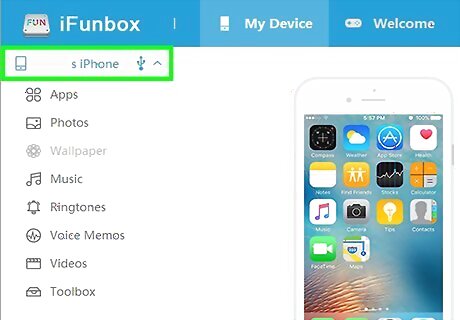
Select your iPhone in the left panel. Depending on your operating system, the contents of your iPhone may expand automatically in the left panel.
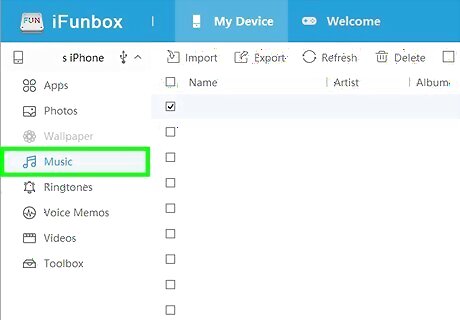
Navigate to the Music folder. If you're using a PC, just click Music in the left panel to get there. If you're using a Mac, follow these steps: Click the arrow next to your iPhone in the left panel. Click Raw File System in the left panel. Double-click the iTunes_Control folder in the right panel. If you want to move all of your music files to your Mac, don't open the Music folder. Just stay on this screen. If you want to select certain songs, double-click the Music folder now.
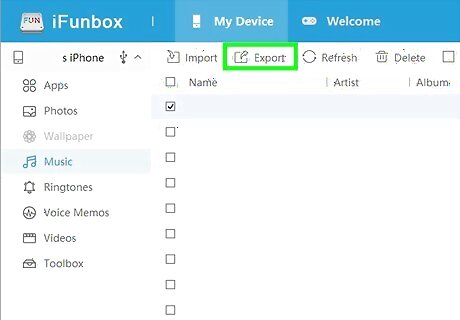
Copy the music to your computer. The steps are pretty different for Mac vs. PC: Mac: You can just drag the Music folder from iFunBox to your desktop (or to the desired folder in Finder) to start copying the files. If you prefer to copy individual songs only, double-click the Music folder and just drag those songs over instead. PC: To select all of the music on your iPhone, check the box next to "Name" at the top-left corner of the song list. To select certain songs only, just check those songs' corresponding boxes. Then, to copy, click Export at the top of the window, select a destination folder, and click Save to start the transfer.
Using MediaMonkey for Windows
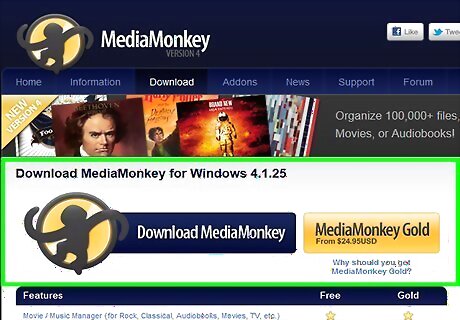
Install MediaMonkey on your PC. MediaMonkey is a free music management app that acts as an alternative to iTunes. And unbeknownst to many, it also lets you access the music that's already on your iPhone so you can copy it to your PC. You won't have to pay extra for this feature or download any questionable software. Download the installer from https://www.mediamonkey.com/download. Once downloaded, run the installer and follow the on-screen instructions. Another alternative to MediaMonkey is iFunBox, although you won't be able to use that app as a general iTunes replacement for listening to music and managing your library.
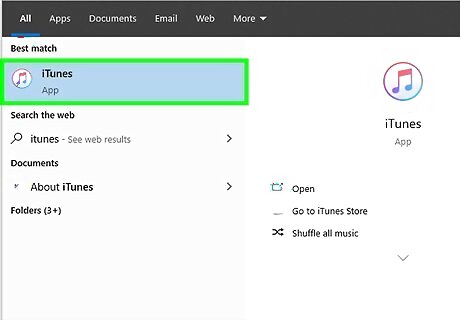
Install the desktop version of iTunes. MediaMonkey needs iTunes to work. The thing is, you can't be using the version of iTunes that comes from the Microsoft Store—you'll need the version you download from Apple's website. If you're using the Microsoft Store version, follow these steps: To find out if you're using the Microsoft Store version, open the Microsoft Store from the Start menu and search for iTunes. When you find it, click its icon and scroll down—if you see an Install button, you are not using the Microsoft Store version. If you see Launch, you must uninstall the app. Uninstall the current version of iTunes by right-clicking it in the Start menu and selecting Uninstall. Go to https://www.apple.com/itunes in a web browser. Scroll down and click Windows next to "Looking for other versions?" Click the download link for your version of Windows. Double-click the iTunes installer and follow the on-screen instructions to install.
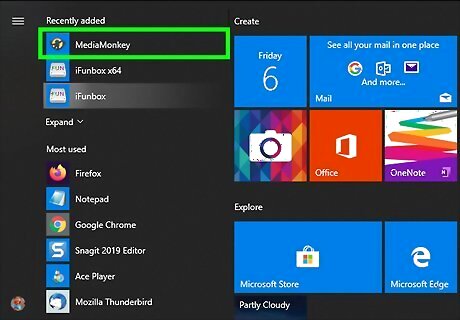
Open MediaMonkey. It's in the Start menu.
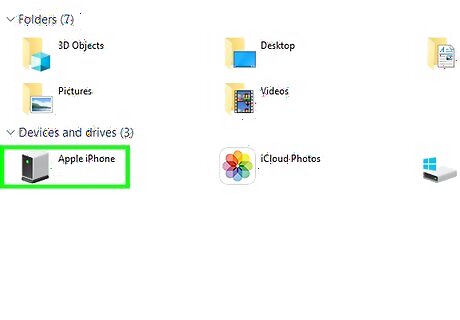
Connect your iPhone to the PC. Use the USB cable that came with your PC or one that's compatible. If your iPhone was already connected to the PC, unplug it and plug it back in so it's recognized by MediaMonkey.
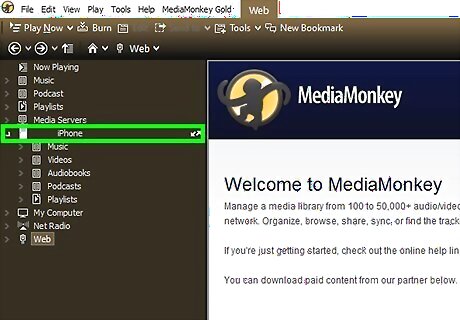
Click the arrow next to your iPhone. It's in the left panel. This expands all of the folders on your iPhone.
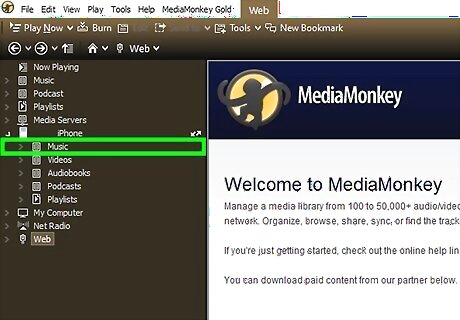
Click the Music folder. All of the music on your iPhone will appear.
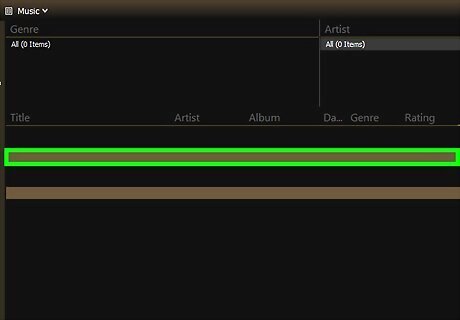
Select the music you want to transfer. To select all of the music at once, click any of the songs and press Ctrl+A.
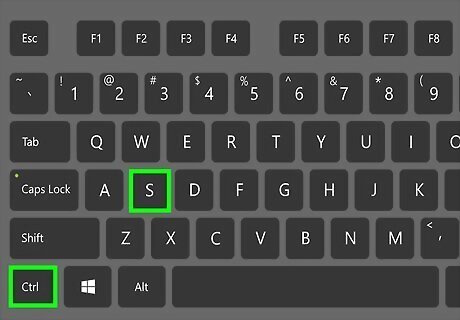
Press Ctrl+S to synchronize the tags. This ensures that the tags stay intact during the transfer. If prompted to do so, click Yes' to start the process.
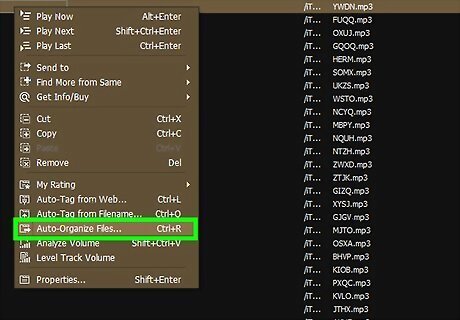
Right-click the selected files and select Auto-Organize Files. The selected music will appear in a dialog window.
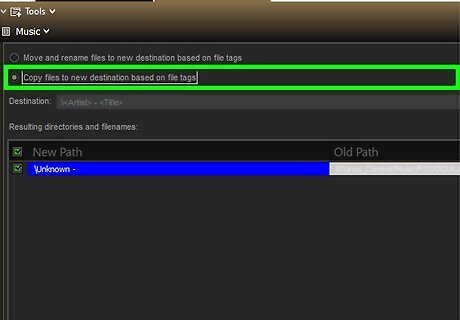
Select Copy files to new destination based on file tags. It's the second option at the top of the window.
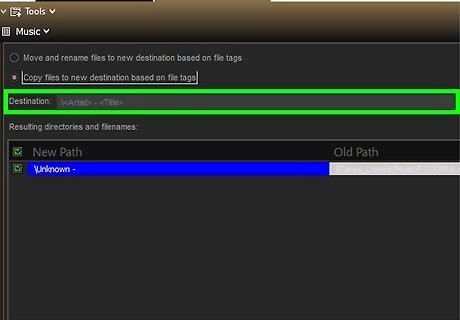
Choose where to copy the files. To select a folder, click the icon that looks like a sheet of paper with a triangle and horizontal line at its bottom-right side—it's to the right of the "Destination" drop-down menu. Then, select the folder you want to copy the files to and click OK to confirm.

Click OK at the bottom of the window. The music files will now copy from your iPhone to the selected folder. You can listen to the files in any app you choose, and even add them to your iTunes library if you wish. The transferred songs will be added to your MediaMonkey library in case you want to start using the app to listen to music. There's no obligation, however.
Downloading Purchased Music from the iTunes Store
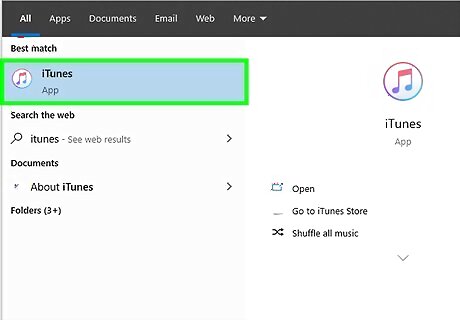
Open the Music app (Mac) or iTunes (PC). The Music app has replaced iTunes as of the release of macOS Catalina. If you haven't yet updated your Mac to the latest version, see How to Check for and Install Updates on a Mac Computer before you continue. If you're using a PC, open iTunes in the Start menu. Use this method if you've used your iPhone to buy music from iTunes and want to be able to listen to that music on your computer. You must be signed in to your Mac or iTunes using the same Apple ID you used to purchase the music on your iPhone.
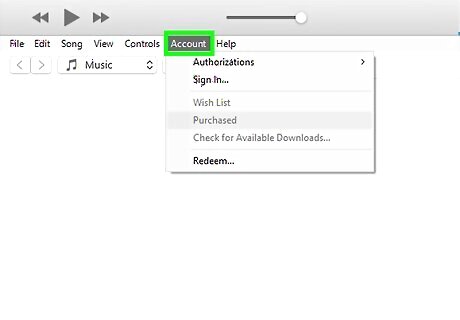
Click the Account menu. It's in the menu bar at the top of the screen.
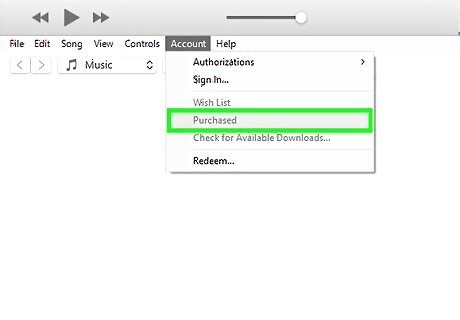
Click Purchased on the menu. If your account is part of a Family Sharing plan, click Family Purchases instead.
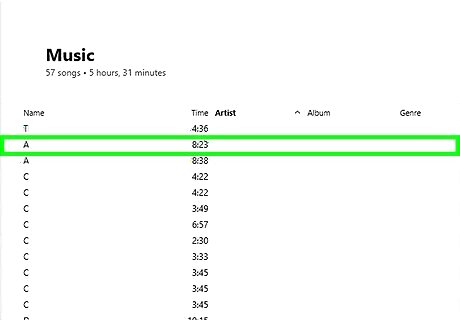
Locate the music you want to download. If you're a part of a Family Sharing plan, click the user who purchased the music you want to download.

Click the Download iPhone App Store Download Button icon on a song or album. Clicking the cloud icon next to a song or album title will download it to your Mac. Repeat this step for all music you want to download.
Syncing Your Music Library to iCloud
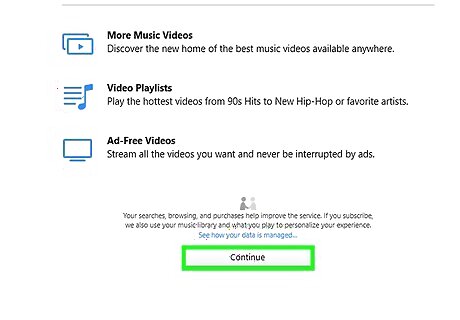
Subscribe to iTunes Match or Apple Music. As long as you subscribe to either Apple Music or iTunes Match, you can sync the music from your iPhone to iCloud so it's available on your computer (and vice-versa). Both of these services are subscription-based (paid), but offer different features. Apple Music ($9.99/month) gives you access to a huge library of streaming music in addition to allowing you to sync your existing music. Check out How to Join Apple Music to sign up. iTunes Match is cheaper than Apple Music ($24.99/year), but it doesn't include unlimited access to Apple's streaming service. If you just want to sync your music, here's how to sign up for iTunes Match: Open iTunes on your PC, or the Music app on your Mac. Click Store at the top of iTunes (PC) or iTunes Store in the sidebar (Mac). Scroll down and click iTunes Match at the bottom of the store. Click Subscribe. Sign in with your Apple ID and password. Confirm your payment information and click Subscribe.
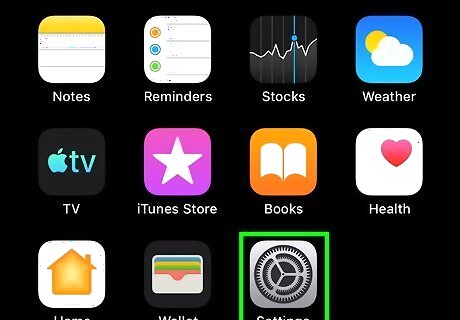
Open your iPhone's Settings iPhone Settings App Icon. You'll find the app's gear icon on one of your home screens.
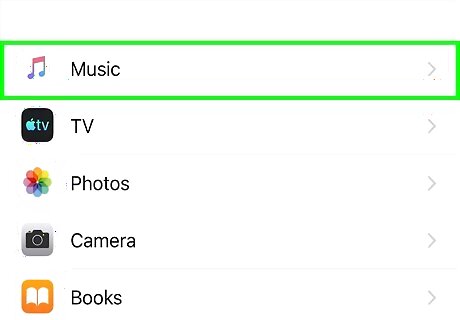
Scroll down and tap Music. It's the option with a music note icon.
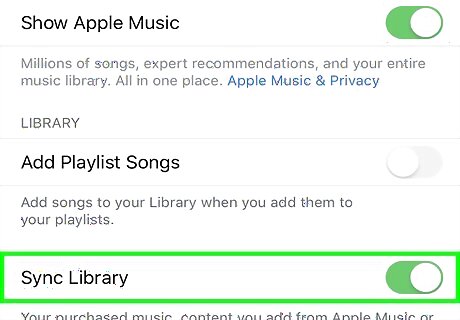
Slide the "Sync Library" switch to the On iPhone Switch On Icon position. This will sync all of the music on your iPhone to the cloud so it's available on your computer. This option only appears if you subscribe to either iTunes Match or Apple Music.
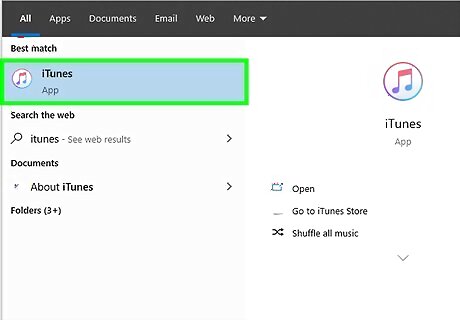
Open iTunes (on a PC) or Music (on a Mac). Now that you've set up your iPhone to sync, you'll need to do the same on your computer. If you're not already signed in using the same Apple ID you use on your iPhone, sign in with that Apple ID now.
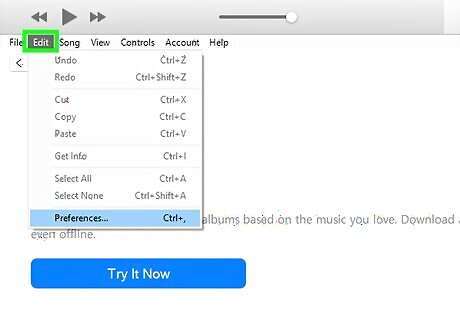
Click the Music menu (Mac) or Edit menu (PC). A menu will expand.
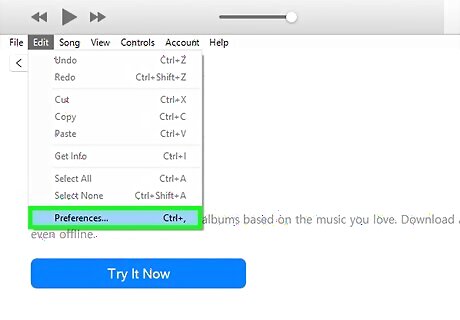
Click Preferences on the menu. This will open your preferences to the General tab. Click the General tab at the top of the window if it doesn't open by default.
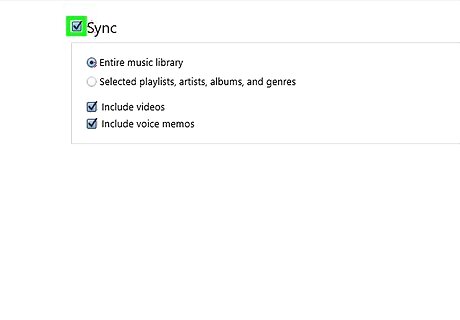
Check the box next to "Sync Library." It's at the top of the window.

Click the OK button. It's at the bottom-right corner of the window. The music you've synced on your iPhone will now begin to sync with your computer (and vice-versa).






Comments
0 comment