views
Creating a Workable Area (Layer)
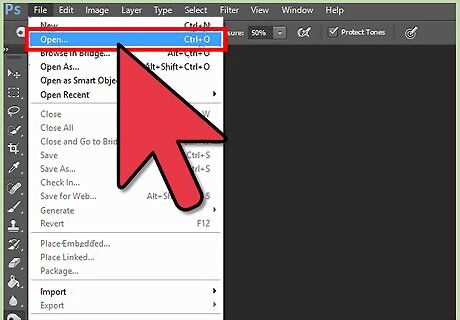
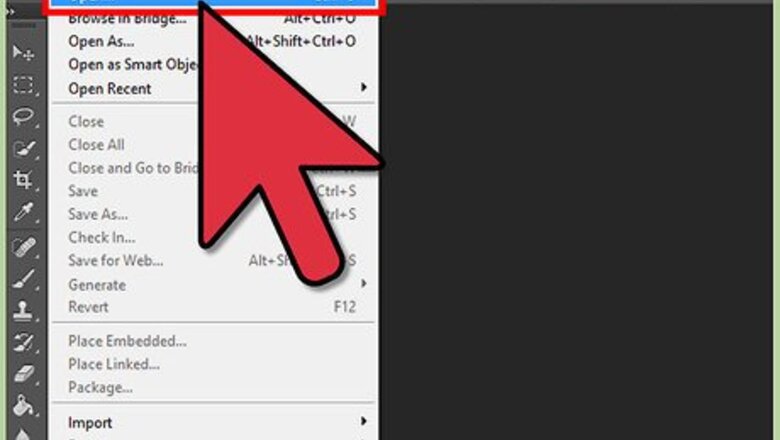
Open the image in Photoshop. Open Photoshop on your computer and click “File” → “Open”. Navigate through your folders and find the image you want to edit. Once you find it, double-click the image file to open it in Photoshop.
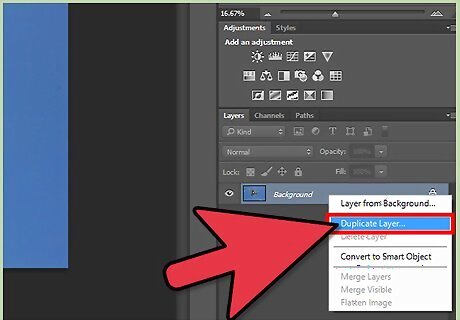
Create a duplicate layer. To use the Puppet Warp, you’ll want to create a duplicate layer of the image. This helps prevent you from altering the original. Find “Background Layer” in the Layer palette. Click the Lock icon beside “Background Layer” twice to convert the layer into a normal one. A dialog box will appear asking if you would like to make it into a layer. Click “OK”, then right-click on the layer and select “Duplicate Layer”. You now have the original normal layer and the duplicate layer of the image, as indicated in the layer palette.
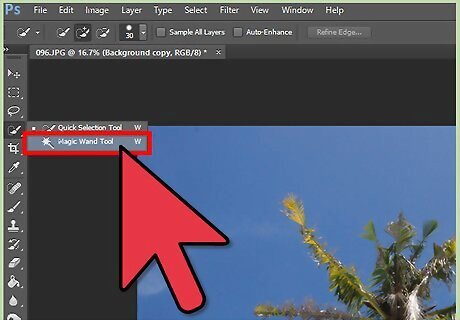
Select the workable area. The workable area is the area that you want to change using the Puppet Warp tool. To select it, keep the duplicate layer selected in the layer palette. Click the Magic Wand (wand-like icon) tool in the left toolbar and select the background of the image, apart from the area you want to manipulate. After selecting it, press Shift+Ctrl+I (Windows) or Shift+Cmd+I (Mac). This will alter the image and select the area you want to manipulate.
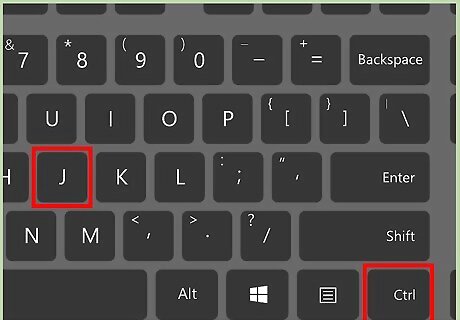
Create a transparent layer of the workable area. After selecting the workable area, press Ctrl (or Cmd) +J. This will create a new transparent layer with transparent background along the workable area only.
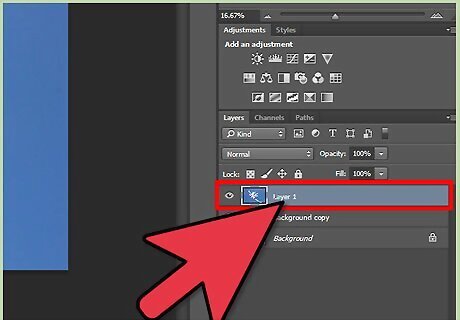
Select the new layer. Click the new transparent layer in the Layer palette.
Using the Puppet Warp
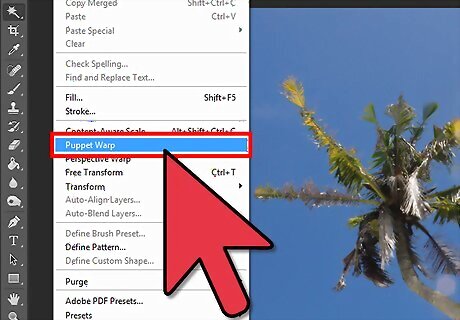
Select the Puppet Warp tool. Click “Edit” and select “Puppet Warp.” This will create a wire mesh over the selected area, which will enable you to manipulate the image.
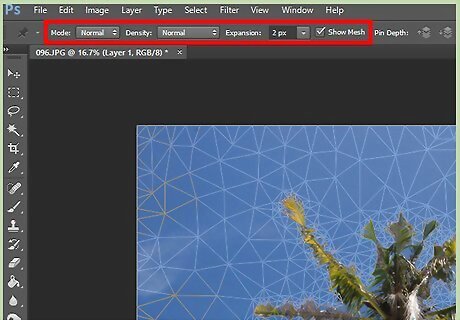
Customize the mesh. Once the mesh appears on the image, the Puppet Warp options will be displayed: “Mode,” “Density,” “Expansion,” and “Show Mesh.” You can customize these options depending on your usage and preference. The arrow beside “Mode” gives you three different options: “Rigid,” “Normal,” and “Distort.” Rigid is a less stretchy mesh, Distort is an extremely stretchy mesh, while Normal lies somewhere between both of them. If you choose a less stretchy mesh, you will be limited to a lower degree of transformation. “Density” gives you three options: “Rigid,” “Normal,” and “Distort.” “Expansion” is used to expand or contract the mesh by increasing or decreasing the pixels. Just like “Mode,” both Density and Expansion have similar features enabling similar options. By checking and unchecking the “Show Mesh” option, you can either show or hide the mesh on the image.
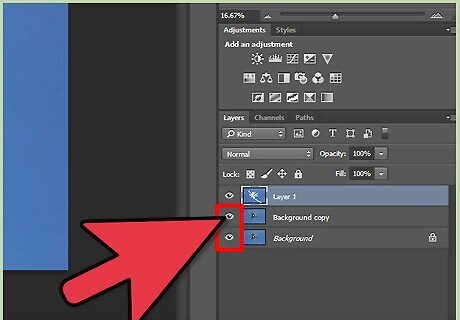
Hide the other layers. After customizing the image, disable the visibility of the original and duplicate layer below the transparent layer. This is so you won’t be distracted from your work. To do this, check the eye icon in the check box beside the name of the layers. After that, select the transparent layer again.
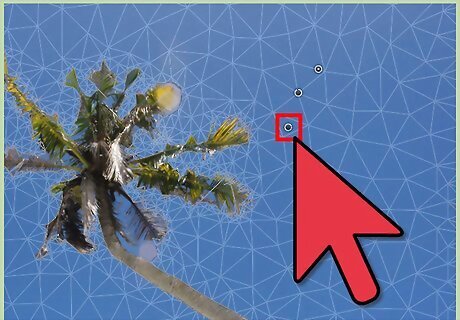
Drop pins across the image. To do this, click the area you want to manipulate. This will anchor the movement of the area. For instance, suppose you have selected the body of a woman raising a hand and you want to bend her arm a bit. Add pins at the points where you want to manipulate along the hand as well as along the elbow. If you want to remove a pin, click it and press the Backspace key. This will delete the pin. After adding the pins, press Esc to disable the wire mesh. Make sure all the pins are in place before pressing Esc since you can no longer add pins afterwards except by clicking Edit → Puppet Warp at the top menu again.
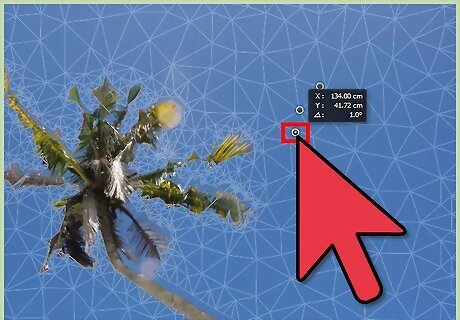
Manipulate the image. To manipulate the image, you must drag the pins to their new positions. If you want to select multiple pins at a time, keep the Shift key pressed and select the pins by clicking on them. You can also manipulate the pins using arrow keys, rather than dragging. For the hand example, dragging the pins will change the position of the hand. To bring the hand down, you can move the pins at different joints of the hand. To rotate a pin (e.g., the elbow joint), keep Alt pressed down and bring the mouse cursor near to the pin but not directly over it. Now, drag the cursor around in order to rotate it. The degree of rotation will be displayed on interface at the top side.
Save your work. Don’t forget to save your changes when you’re done. Just press Ctrl (Cmd)+S, enter a filename, select a destination folder to save in, and click “OK.”


Comments
0 comment