views
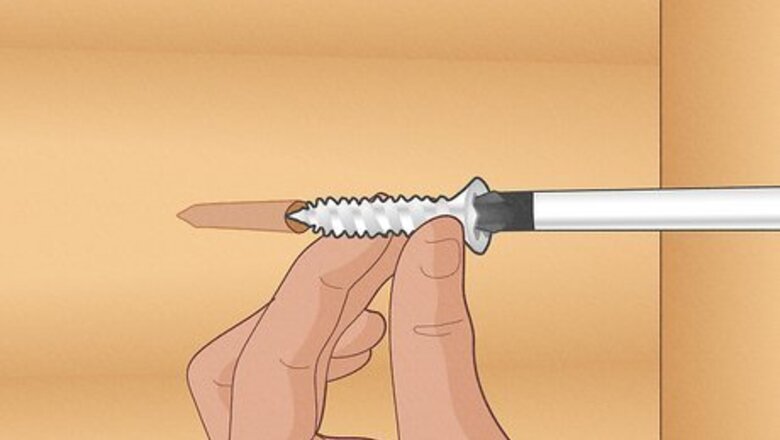
- Drive a wider and longer screw into the hole for the easiest fix that works on both wood and metal.
- Insert wood glue-coated toothpicks into a wooden hole. Let the glue dry for 3 hours, then snap off the ends of the toothpicks and re-drill your screw.
- Use auto-body filler on bigger holes in either metal or wood. Another option for metal is to re-thread the hole with a tap-and-die set.
Fixing Stripped Holes in Wood
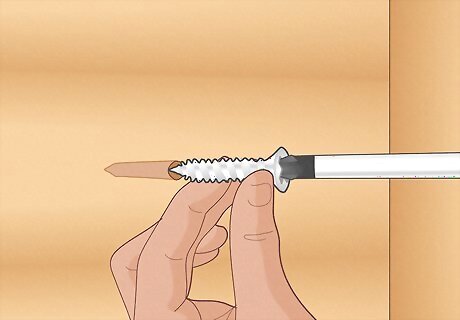
Drive a wider, longer screw into the hole. It's a dead-simple fix. Driving a larger screw widens the hole and carves new grooves, so there’s no prep work and no cleanup. But it doesn’t work in every situation, like when you need to use a particular kind of screw or when the project can’t accommodate larger screws. In those cases, it’s best to resort to filling the hole with another method. This method also works with other surfaces, like metal or concrete.
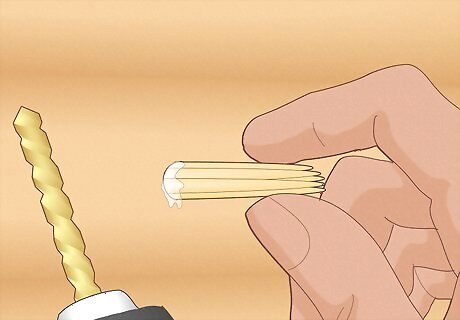
Use wood glue and toothpicks to fill the hole, then re-drill it. It’s a handy carpenter’s trick that works on almost any wood surface. Just take a handful of toothpicks and, one at a time, dip them in wood glue and insert them into the hole until no more toothpicks can fit. Let the glue dry for 3-4 hours, then use a hammer to break off any extra material, and sand it down flat with 80-grit sandpaper. Viola! A brand-new surface to drill your screw into. This also works with any thin wooden object, not just toothpicks. Use matches (with the flammable ends cut off), chopsticks, or even golf tees. Similarly, coat a small dowel plug in wood glue and insert it into the hole, then wait for the glue to dry before re-drilling it. Or, place the end of a cable tie (with the smooth tip cut off) into the hole, then screw in your screw and snip away the excess—no need for glue!
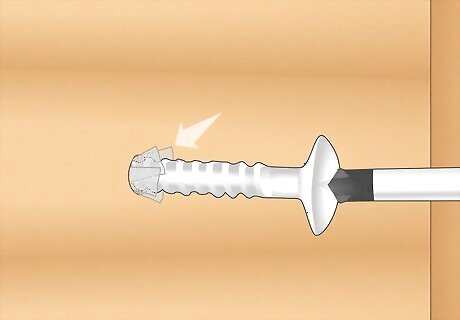
Use a stripped screw hole repair kit to make the hole like new. Screw hole repair kits come in all shapes and sizes, and pretty much all of them do the job just fine. Perhaps the most common kits include metal meshes that you cut into strips and place into the hole, then drive your screw into. Other kits provide wooden pieces that you glue into the hole, like the method above. Most follow the same basic idea of filling the hole, but be sure to read the instructions on the packaging before use.
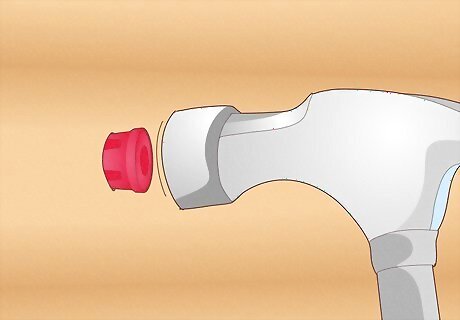
Sink a plastic wall anchor into the hole for a quick, cheap fix. Measure the length of your screw with a tape measure, then select a wall anchor that approximately matches the screw’s length and the width of your hole. Then, insert the anchor into the hole (using a screwdriver or hammer to sink the plug completely). Finally, just re-drill your screw, and you’re good to go. Wall anchors often come in tiered sizes that work with a number of screws. If you’re buying anchors at a hardware store, bring the screw with you and ask someone for correctly sized plugs. Some wall anchors can also be snapped or cut to match the length of the screw.
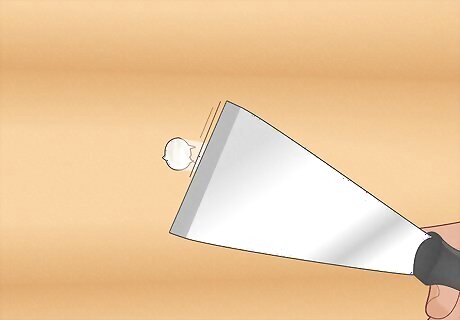
Fill the hole with auto body filler and re-drill the screw. First, make the hole larger by boring into it with a power drill equipped with the next largest bit. Then, mix auto body filler according to the instructions on the packaging. Once mixed, use a flat paint mixer to scoop the filler into the hole, plugging it completely. Spray some WD-40 onto the screw, then twist the screw into the hole with the wet filler. Let the filler dry for 5 minutes, then remove the screw. Let the filler cure overnight, and sand down the excess filler. Finally, turn your screw into the new hole. Auto body filler usually consists of 2 solutions that, when mixed, form a quick-drying, sturdy paste that’s perfect for filling stripped screw holes. This method also works on metal surfaces and is especially handy on large holes where other methods might not work as well.
Fixing Stripped Holes in Metal
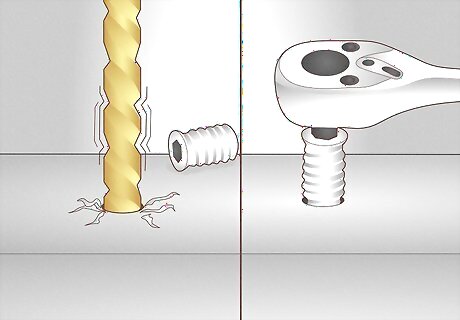
Place a threaded metal insert into the hole to hold the screw. First, consult your screw’s packaging to find its diameter and threads per inch. Then, select a corresponding threaded metal insert from your kit. Use a drill bit to bore a hole slightly larger than the stripped hole (your kit comes with a handy chart that indicates the proper size). Twist the included tap into the fresh hole with a socket wrench to make new threads, then turn the threaded insert into the hole with the provided tool. Finally, turn your screw into the re-threaded hole. Threaded metal inserts come in a number of designs, and often come with included instructions and specialized tools. Follow the instructions included in your kit carefully.
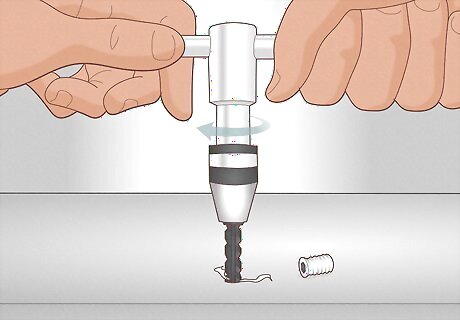
Use a tap-and-die set to create new threads in the metal. Metalworkers typically use a tap to create screw threads in metal surfaces, and it works for fixing a stripped hole, too. First, select a larger screw than you were using, and consult its packaging to find its diameter and threads per inch, then select a tap that matches these. Then, drill a fresh hole into the stripped hole that’s one size smaller than your screw. Finally, thread the hole by twisting your tap into it, applying slight pressure toward the hole. Then simply turn your screw into your new hole. Note that for best results, many metalworkers use a drill press to drive the tap, which is a specialized bit of machinery. But for thin or soft metal, you can use hand tools included with your tap and die set.
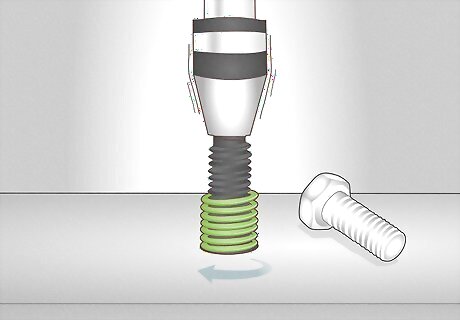
Place a Helicoil insert into the hole to create new threads. A Helicoil insert is similar to a threaded metal insert, but is more durable and has a smaller footprint. First, drill a new hole one size larger than the old, threaded hole. Then, use the tap included in your Helicoil kit to make new threads for the hole. After, insert the Helicoil with the specialized, included tool, and break off the small metal tab at the bottom of the Helicoil with that same tool. Finally, twist your screw into the newly prepared hole. Helicoils are useful for minimizing the size of the repaired hole while still using the original-sized threads, without any special measurements.


Comments
0 comment