views
Copying the Music
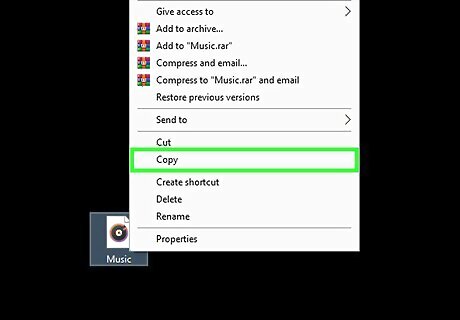
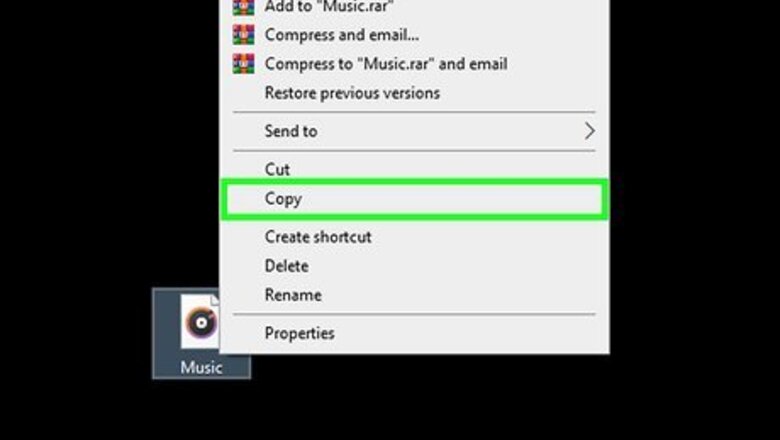
Copy the music you want to add. Open the directory on your computer where your music files are saved. Select all the files that you want to add to GTA SA by highlighting it, press the right-click on your mouse, and select “Copy” from the pop-up menu. Make sure the music files are MP3 file format. Any other format will not play inside the game.
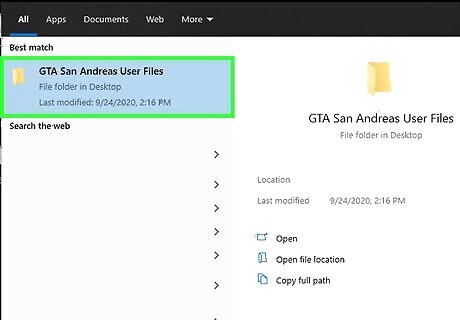
Open the “GTA San Andreas User Files” folder on your hard drive. Press the Windows key on your keyboard to open the Start menu. Type in “GTA San Andreas User Files” on the search text field and select the “GTA San Andreas User Files” folder from the result that will appear below to go to the GTA San Andreas User Files folder.
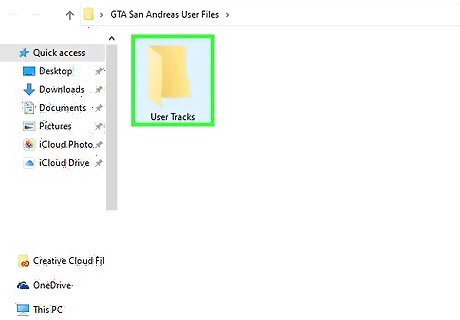
Go to the “User Tracks” folder. Inside the “GTA San Andreas User Files” folder, you'll find another folder called “User Tracks.”
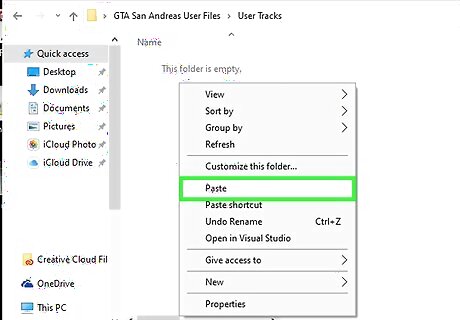
Paste your music. Double-click on the “User Tracks” folder to open it. Right-click anywhere inside the folder, and select “Paste” from the pop-up menu to copy the music files you selected earlier here. There's no limit to the number of music files you can copy here, but you need to have at least four music files inside the folder for you to be able to play them in the game.
Importing the Music

Open GTA SA. Click the game icon found on your desktop to launch it. Wait for the game to finish loading and show the main menu. Once you're on the main menu screen, you can choose either “Continue” to proceed with your existing saved game or select “New Game” to start fresh. You'll then be taken to the game screen.
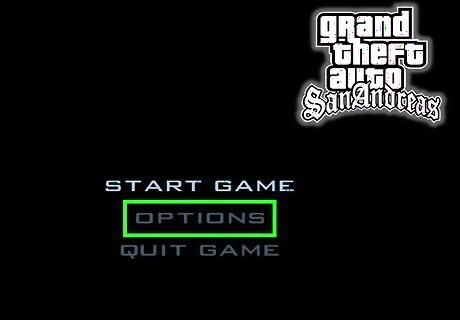
Go to the Game Settings. Inside the game, press the “ESC” button on your keyboard to open the in-game menu. Press the arrows keys on your keyboard and select “Settings” from the navigation bar on the upper portion of the in-game menu screen. Press the Enter key to enter and view the Game Settings screen.
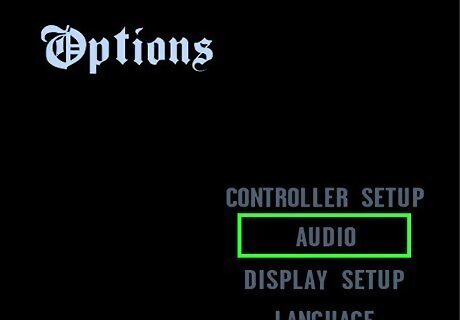
View your game's audio settings. Scroll down the menu panel on the left-hand side of the screen and choose “Audio.” The audio settings for your game should open up on the main panel of the Settings screen.
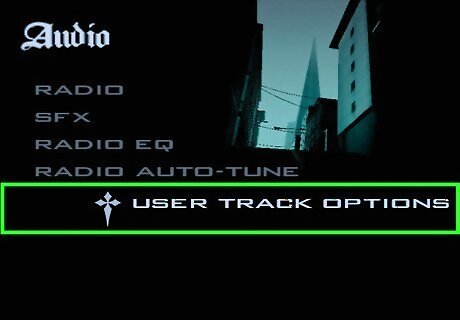
Scan for music. Scroll down the main panel and choose “Perform Full Scan for Music” option from the list of choices available, and the game will look for music files inside the User Tracks folder of the game. All other options will temporarily disable and grey out while the game is scanning for music files. The time it will take for the game to scan the “User Tracks” folder will depend on the number of music files you've put inside.
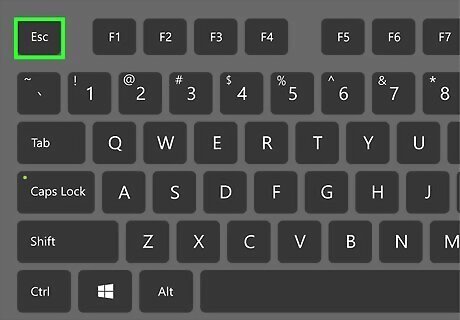
Exit the Settings. Once the scanning is complete and audio options are enabled again, press the “ESC” key on your keyboard to exit the in-game settings screen and go back to the game screen. Your changes will be automatically saved.
Playing the Music

Get inside a car. Approach any vehicle of your choice and press the "Return" or “F” buttons on the keyboard to get inside and ride a car. Once you're inside, the car radio will automatically play. Every vehicle has a radio, so you're not limited to just cars.
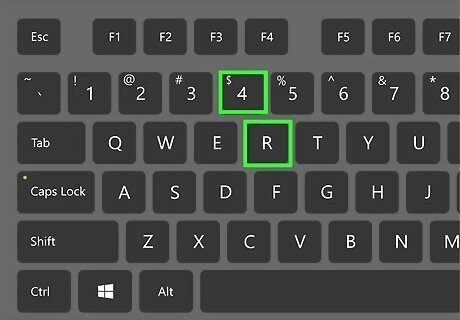
Play your music. Inside the vehicle, press the “R” or “4” buttons on your keyboard to change radio stations and select the “User Track Player” station. This station plays all the music you've copied to the “User Tracks” folder.
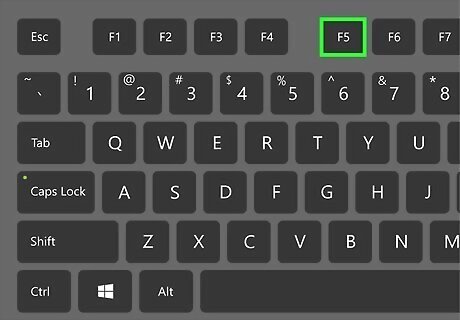
Switch between songs. To change the song that's playing on your personal playlist, press the equal “F5” button on your keyboard and the next track will be played on the radio.


Comments
0 comment