views
Installing an Outdoor Bar
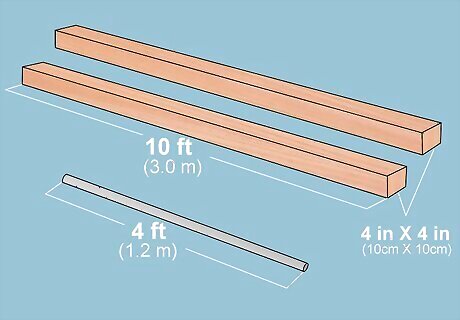
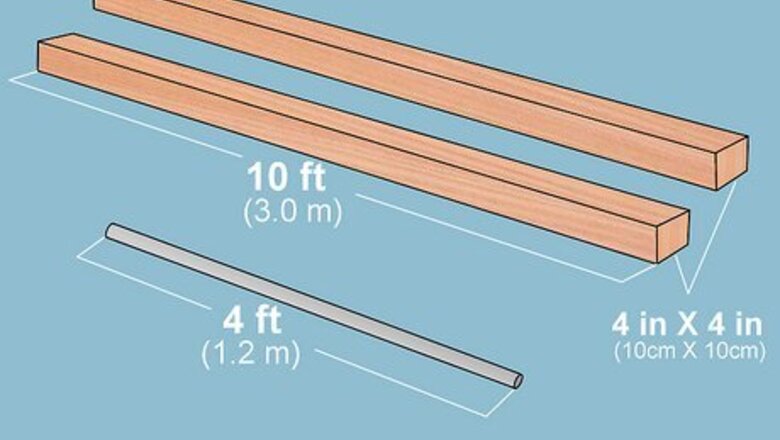
Get pressure-treated wood posts and a steel pipe. To make the stands that will support the pull-up bar, get a pair of 4 in × 4 in (10 cm × 10 cm) posts about 10 ft (3.0 m) in length. Make sure they’re pressure-treated so they resist rotting. Then, get a galvanized steel pipe about 4 ft (1.2 m) long to fit between the posts. The length of these items will vary depending on your needs. For example, choose longer posts to give yourself more ground clearance. Most home improvement stores will cut these items for you if you ask. If you have the proper hand saws, you can also cut them to size yourself.
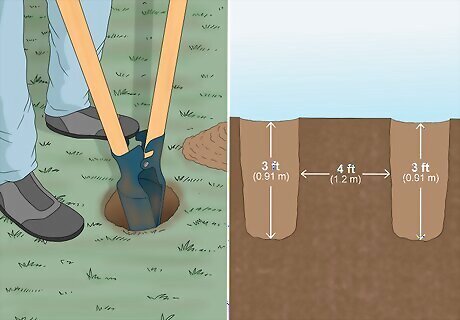
Dig a pair of 3 ft (0.91 m) deep holes in your yard. Space the holes 4 ft (1.2 m) apart, or the length of the steel bar you plan on using for your pull-up bar. Make each hole big enough to hold a 5 US gal (19 L) plastic bucket. Set buckets inside the holes to test their size. The buckets will fit snugly inside the holes when they are the right size. Make the holes roughly the same diameter and depth so the pull-up bar is level later.
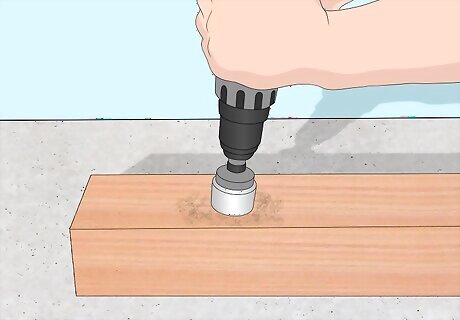
Drill horizontal holes through the top edges of the posts. Measure 4 in (10 cm) down from the top end of each post and mark the spot with a pencil. Then, use an electric drill with a 1 ⁄4 in (3.2 cm) bit to create a hole barely wider than the diameter of the steel bar. Drill all the way through both posts. To keep the posts sturdy, leave at least 2 in (5.1 cm) between their top ends and the holes.
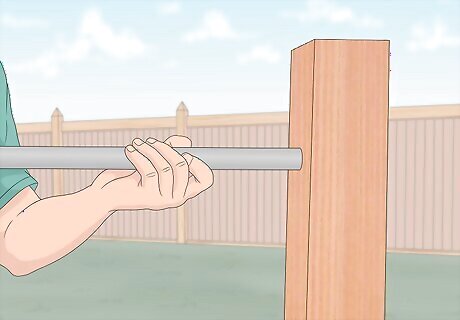
Thread the steel bar through the posts. Lay the posts down flat on the ground and slide the steel bar through the holes you made. Make sure the posts are spaced about 4 ft (1.2 m) apart, wide enough for the bar’s ends to barely emerge from the posts. Another option is to use metal posts and elbow joints. Replace the wood posts with a pair of equally-sized metal pipes. Thread them into 90-degree elbow joints with clockwise twists. The pull-up bar fits into the opposite ends of the joints.
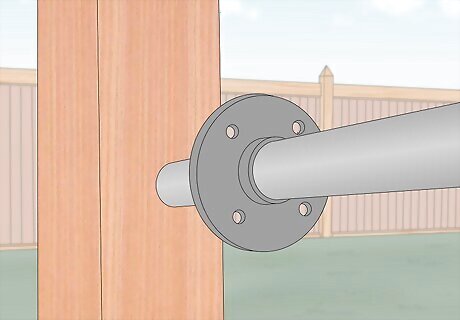
Connect the pull-up bar to a pair of metal flanges. Flanges are small connector disks with a series of holes for screws, making them a great way to anchor a metal bar to wood mounts. Slide a single flange onto each end of the bar, twisting them clockwise until they rest against the outside part of each wood post. Position the flanges so their flatter side is against the wood. Flanges have slightly different sides. Make sure the flanges are flush with the wood so they connect properly. If your bar is short, forgo drilling holes through the posts. Instead, set a flange on the inside portion of each post. Secure them in place, then thread the bar into them by turning it clockwise.
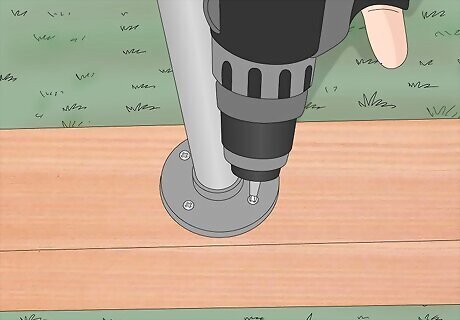
Screw the flanges to the wood posts. Hold the flanges firmly against the wood. Note the series of screw holes on them and mark these on the wood posts with a pencil. Then, pre-drill the holes with a 1 ⁄8 in (3.5 cm) drill bit. Finish by securing the flanges with 3 in (7.6 cm) galvanized wood screws placed in each hole.
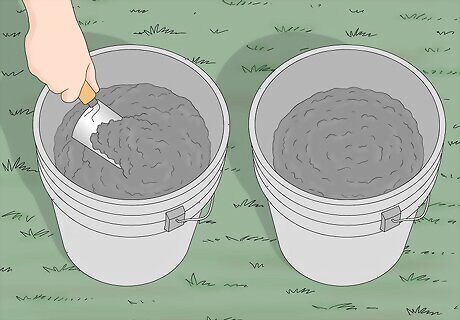
Mix 2 batches of concrete in separate plastic buckets. Choose 2 big mixing buckets you don’t mind burying. The buckets need to be about 1 ft (0.30 m) and 3 ft (0.91 m) deep. Use about 1 bag of 80 lb (36 kg) concrete mix for each bucket. Follow the manufacturer’s instructions to mix the concrete with water to the proper consistency. The buckets give the bar more stability. If you put the concrete directly into the ground, it may shift over time. Putting the posts directly in the ground is possible if you brace them with stones or other objects. Set the posts in the holes, then surround them with large objects that aren’t easy to move.
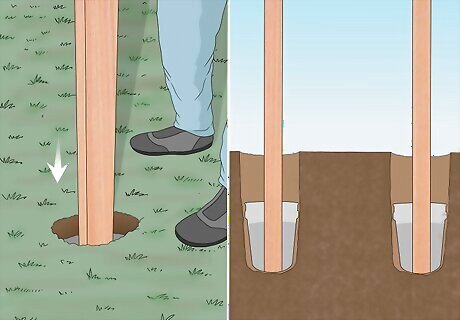
Put the buckets of concrete in the ground and install the bar. Set the buckets in the holes you dug earlier. Center them in the holes and test them with a carpenter’s level as needed to position them as evenly as possible. Then, lift up the pull-up bar and plant the wood posts in the middle of each bucket. Have someone help you pick up the bar in order to plant the posts perfectly in the center of each bucket.
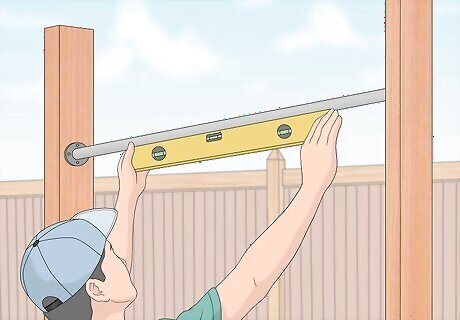
Check the bar with a level as you wait for the concrete to dry. Hold a carpenter’s level against the top edge of the pull-up bar. When the bar is level, the liquid in the tool will stay centered. Adjust the bar as needed, then give the concrete plenty of time to dry before trying it out. The concrete takes about 24 hours to dry. Give it plenty of time to settle before putting weight on the bar.
Creating an Indoor Bar
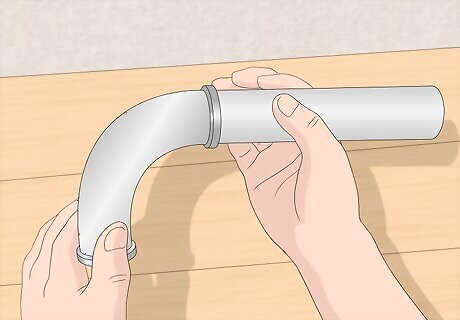
Thread steel pipes into 90-degree elbow joints. Start with a pair of 18 in (46 cm), ⁄4 in (1.9 cm) wide galvanized steel pipes and ⁄4 in (1.9 cm) wide 90-degree elbow joints. Set an elbow joint on each pipe. Twist the pipes clockwise until they are solidly threaded inside the joints. These pipes and joints connect the pull-up bar to the wall. They need to be relatively short in order to make the bar stable.
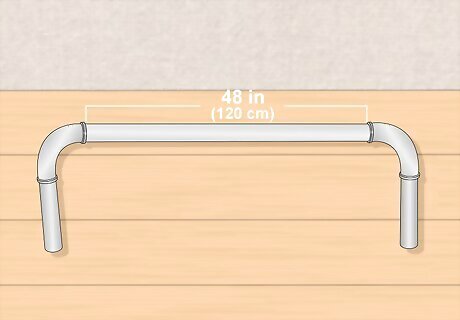
Fit a longer steel pipe into the elbow joints. A bar about 48 in (120 cm) long and ⁄4 in (1.9 cm) wide will give you plenty of space to do pull-ups in your home. Set the bar into 1 of the joints, turning it clockwise by hand to secure it. Then, fit the other joint on the bar’s opposite end. Adjust your pull-up bar by using pipes of different lengths. For instance, choose a shorter bar if you don’t have space for the 48 in (120 cm) bar.
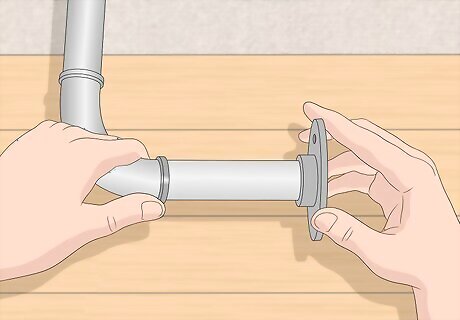
Attach flanges to the ends of the shorter bars. Get a pair of ⁄4 in (1.9 cm) thick metal flanges, which you will need to fasten the bars in place on the wall or ceiling. Place a flange on the free end of each of the 18 in (46 cm) bars, turning it clockwise to thread it. Make sure the flatter ends of the flanges face away from the bars. Flanges are available at most home improvement stores. Choose flanges that have 4 screw holes and fit the diameter of the longer bar.
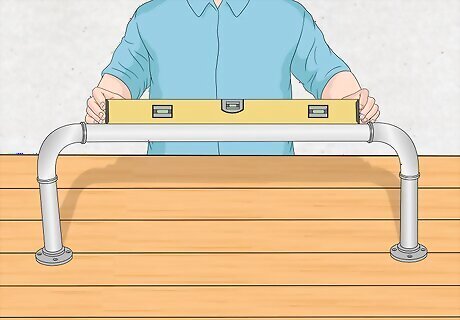
Test the bar with a carpenter’s level to gauge its evenness. Set the bar on the floor with the flanges flat on the ground. Set a carpenter’s level on top of the bar. Watch for the fluid in the middle of the level to move to 1 side, indicating that the pull-up bar is uneven. Continue twisting the bars into the flanges and elbow joints until they are all threaded evenly. The bars need to be threaded evenly into the flanges and fittings. You most likely will need to make a few adjustments to get everything perfect. Ensure the elbow joints are well-connected by attempting to turn them clockwise with a pipe. The joints will tighten but not move out of position.
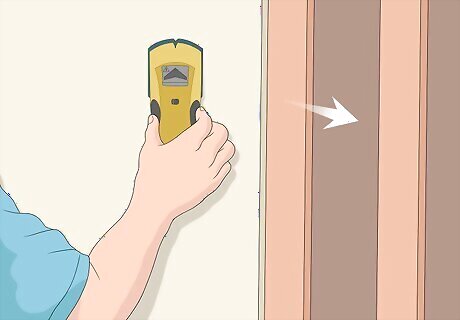
Locate the support beams or studs where you wish to install the bar. The easiest way to find the studs is with an electronic stud finder. Hold the stud finder up to the wall or ceiling. It scans walls to find the weight-bearing beams in the walls of your home. The pull-up bar has to be installed on studs or support beams. These beams are the framework of your home, so they are strong enough to withstand the extra weight. If you don’t use them, you will rip the pull out bar out of the wall as soon as you lean on it.
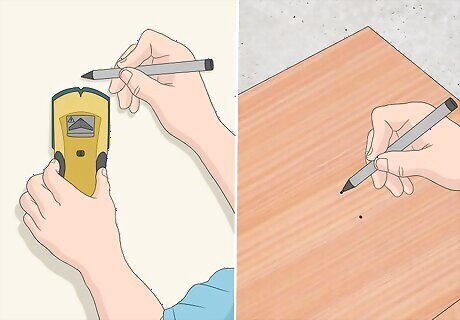
Mark the locations of the studs and holes on the wood support. You will need a 2 ft × 6 ft (0.61 m × 1.83 m) piece of wood about 8 ft (2.4 m) long. Hold the board up against the wall, over the studs you located earlier. Plan on using 2 or 3 screws per stud, positioning the holes about every 2 in (5.1 cm) along the board’s width. Hold the bar against the board before you finalize the measurements. Make sure the flanges don’t cover the spots where you need to screw the board to the studs. If you’re working on a brick or concrete wall, you have more freedom when placing your bar. You don’t need to find studs. Place the bar wherever you want it in the room.
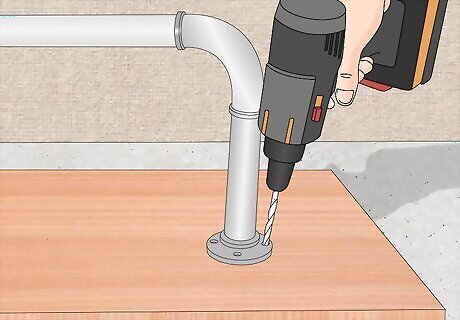
Attach the flanges to the board with wood lag screws. Mark the screw holes in the flanges on the board, then pre-drill them with a ⁄8 in (0.95 cm) drill bit. Line the pre-drilled holes up with the screw holes on the flanges. Set a ⁄4 in (1.9 cm) wood lag screw in each hole and use a socket wrench to secure them to the board. Check the pull-up bar to make sure it looks level and firmly attached to the board before moving on.
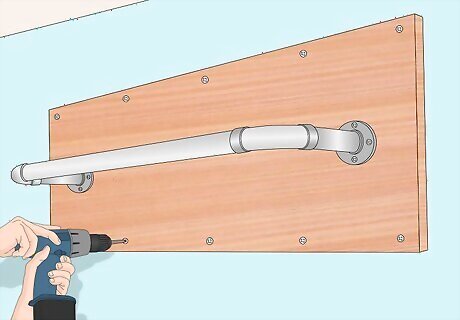
Connect the wood board to the wall or ceiling. To finish installing your pull-up bar, place the board over the studs again. Using a ⁄8 in (0.95 cm) drill bit, drill into the positioning marks you made earlier. Then, fasten the board to the wall with about 8 lag screws 31 in (79 cm) long and ⁄8 in (0.95 cm) wide. Space the screws about 2 in (5.1 cm) and use a socket wrench to secure them in place. For concrete or brick walls, use a masonry drill bit to drill into the ball. Hold the pull-up bar to the wall with concrete lag anchors and lag bolts. Test the pull-up bar to make sure it’s strong and level. Undo the screws as needed to readjust the positioning.


Comments
0 comment