views
Creating a Quick Silhouette
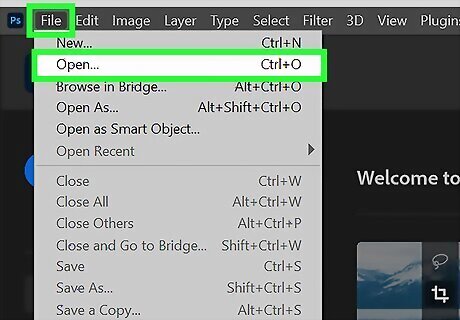
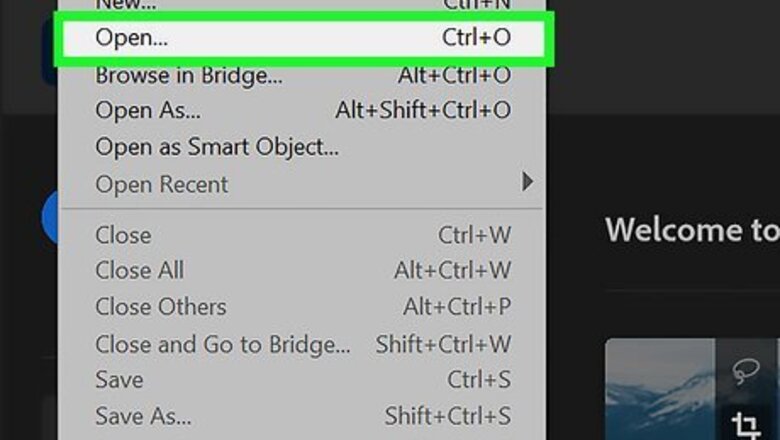
Open up an image with simple, easily differentiated background. This method is perfect for simple, easy images where the subject is clearly separated from the background. If the object you're silhouetting is a very different color, has some distance, or is just easy to separate, this method will work perfectly. If, after opening the image, you see that there is a padlock on the layer, simply double-click on the layer and hit "Enter" to unlock the layer.
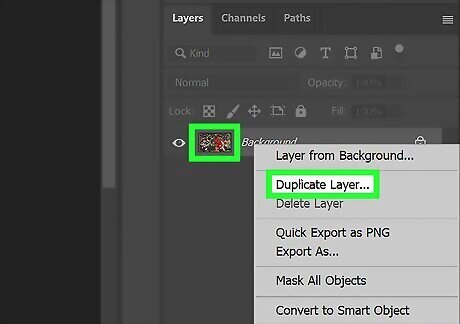
Duplicate the layer to ensure you don't ruin your original image. To do so, simply right-click on the layer and select "Duplicate." You can also click on "Layer" → "Duplicate Layer" from the top bar, or press ⌘ Cmd+J or Ctrl+J.
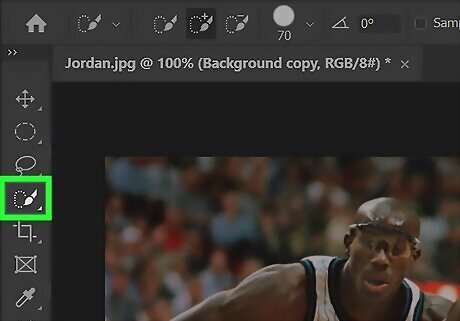
Use the Quick Selection (w) tool to rapidly select the object you're making a silhouette. For more precise work you'll need to refine this selection, but for a basic silhouette you should be able to quickly click and drag Quick Selection Tool over the image to select the object. If you can't find the Quick Selection tool, it should be the fourth button down from the toolbar, and you may have to click and hold on the "Magic Wand" to reveal it. For even more control: Hold either Alt or ⌥ Opt while clicking to remove parts of your selection. Use the two [ and ] keys to make your selection tool bigger or smaller, making it less or more precise. Switch to the Magic Want to quickly select all pixels of similar colors. Ctrl-Click to add selection, alt-click to subtract it.
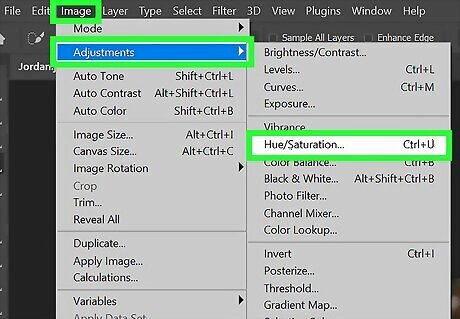
Pull up the "Hue and Saturation" adjustments for your selection. With your selection still on, click on "Image" → "Adjustments" → "Hue and Saturation." You can also get to this menu by: Selection "Hue and Saturation" from the Adjustment's panel, usually right above your layers panel. Pressing either ⌘ Cmd+U or Ctrl+U
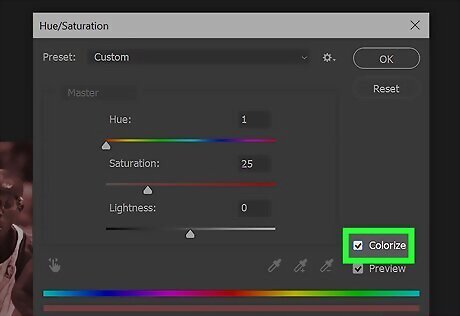
Check the "colorize" box in Hue/Saturation then pull all three sliders straight to the left. Take the Hue and Saturation sliders to "0," and the lightness to "-100." The hit "OK." Your image should be silhouetted, or, at least, much darker. If the silhouette is too light the first time, just open the Hue/Saturation options again and do it once more. You can keep lowering lightness until you have your silhouette.
Making Vector Silhouettes
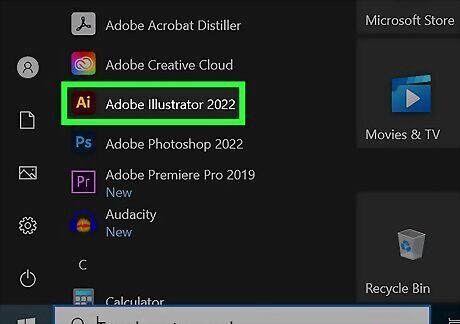
Use vector silhouettes if you want to adjust, grow, shrink or export your silhouettes without losing quality. Vectors can be easily rescaled without losing image quality. If you're using the silhouette professionally, or just want a more versatile final image, this is the way to go. Adobe Illustrator (AI) uses vectors almost exclusively. If using AI, skip the quick route and use this method.
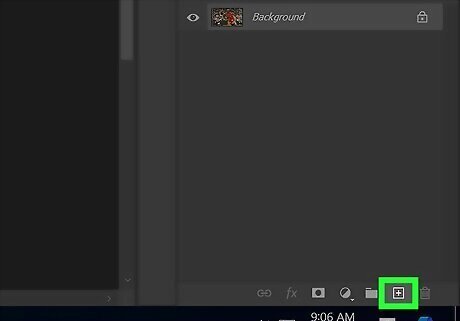
Create a new layer above your original image. If you've duplicated the layer already to ensure that you don't ruin the original image, you should be fine. Just make sure you have a second layer to work with above your original image. To create a new layer, press ⌘ Cmd+⇧ Shift+N or Ctrl+⇧ Shift+N
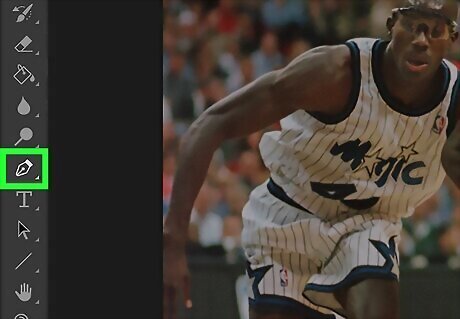
Select the image you want silhouetted with the Pen Tool. Choose the Pen Tool (P) from the toolbar. In the menu that appears at the top of Photoshop, find the small drop-down menu that says "Path." It should be to the top right of the screen, but only when the Pen Tool is on. Change this menu to say "Shape."
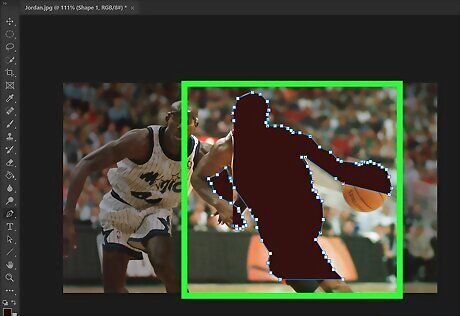
Use the Pen Tool to trace out your entire silhouette. Taking your time, trace out the shape of your silhouette. To make things easier to see, lower the opacity of the new layer you're working on by changing "Opacity" from the top of the layers panel.
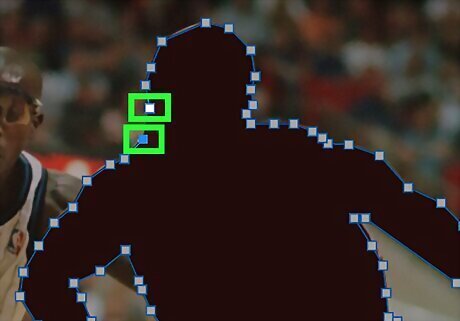
Connect the dots back to finish your silhouette. Once you return to the starting point your dots should disappear and the shape will form in front of you. Raise the opacity back up to 100% to see your silhouette.
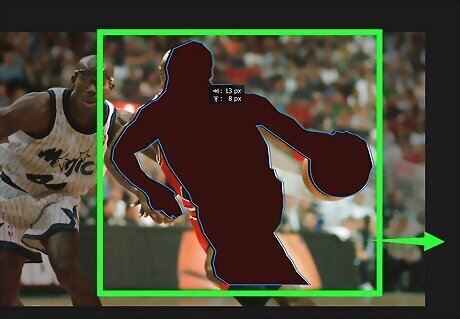
Click and drag the silhouette into its own image, to Illustrator, or leave it to finish your silhouette. Once this shape is made, you can do anything with it that you might normally. If you want to isolate it so your image is only the silhouette, either delete the layers below it or click and drag the image to a new Photoshop document.
Separating Your Image from the Background
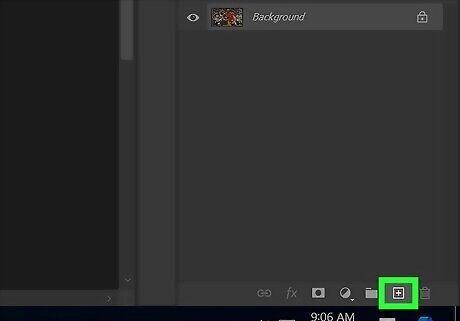
Duplicate your original image layer to get a spare copy for your silhouette. To make a professional quality silhouette, you'll need to take a little time to effectively select the object you're silhouetting. Since some of these techniques require deleting or altering the original image, it is best to just duplicate the layer now and leave the original with it's little padlock, preventing you from ruining it. To duplicate a layer, simply right-click it in the layers panel, then select "Duplicate Layer..."
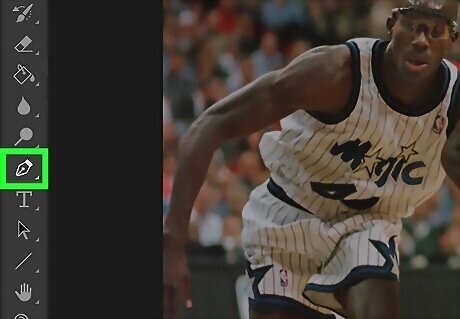
Use the Pen Tool (P) for the most exact, perfect outlines to make silhouettes from. The Pen tool is, in many ways, Photoshop's most powerful too, though it takes getting used to. Select it from the menu, or press P, then click to create little points around your outline. When you complete the entire selection, you'll have a "Path," or solid line around your entire image. When done, simply right-click on the path and choose "Make Selection." If you're working with a very curvy shape, try the "Free Form Pen Tool," found by clicking and holding the Pen Tool in the toolbox. The pen tool is perfectly precise, but only if you know how to handle it. Take some time to experiment with it, especially with curves. It will trace the best shape for you, with practice.

Use the Magic Wand (W) tool to separate a simple 1-2 color background. For example, say you've got a woman standing against a mostly blue sky, and you want to silhouette her. Instead of selecting her, you can select the sky behind her, removing it from the layer. Simply use the Magic Wand to select the background, the delete it away to leave just the silhouetted object. Change the tolerance at the top bar to make the Wand more or less precise. A higher number (75-100) selected a wider range of colors while a low tolerance (like 1-10) will only select very similarly colored pixels.
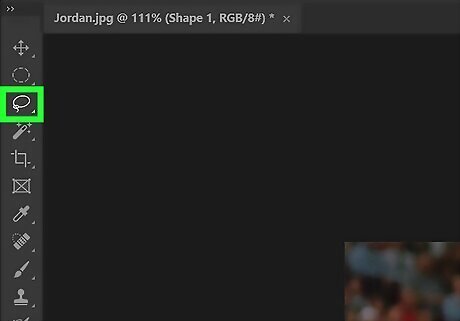
Use the remaining selection tools to trace out simple objects. The most intuitive tools for creating selections, these generally require a steady hand and some patience, though they are easy to use. For all of them, simply click and drag around the object with your tool to create a selection. You can add more to a selection by holding Ctrl/Cmd when you click, or subtract from a selection by holding Alt/Opt. Quick Selection: Looks like a paintbrush with a circular dotted line around the brush. This object selects everything roughly the same color or clarity, following the edges of shapes. Lasso Tools: You have a lot of options here, each of which requires you click the mouse, then manually trace out the object. Clicking again creates an anchor point while completing the circle or shape ends the section. Shaped Selections: Looks like a dotted square, but you can click and hold it for more shapes. This simply allows you to easy create geometric shaped selection. When used with Ctrl/Cmd or Alt/Opt, a good way to add or subtract little bits from the selection to refine it.
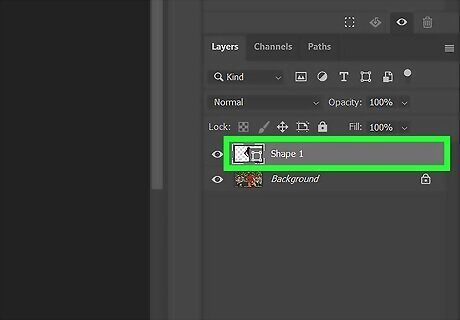
Ctrl-Click on a layer from the layers menu to automatically select it. If you have an isolated object you want to silhouette, and it's already in its own dedicated layer, Photoshop will trace it for you. Simple hold the Ctrl or ⌘ Cmd key and click the little picture of the layer -- your selection edge will appear automatically.
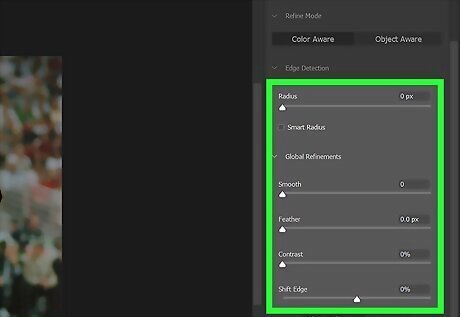
Use "Refine Edge" to get the perfect selection. This menu is a powerful tool to make subtle changes to your selection. Open it up through "Selection" → "Refine Edge." From there, you have a variety of options: Radius: Allows you to shrink the edge of the selection. Smooth: Rounds and smooths out points and corners. Feather: Blurs the edges of everything. Contrast: Makes the selection more pointed and sharp -- the inverse of "smoothing." Shift Edge: Grows or shrinks the selection by percentage.


Comments
0 comment