views
Designing Your Table Runner
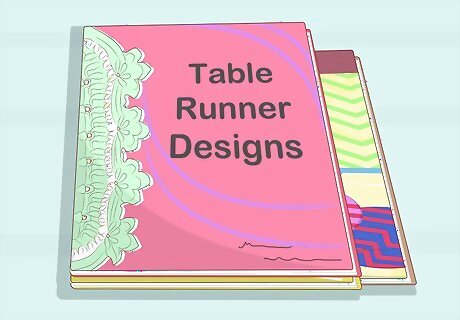
Look at patterns for inspiration and guidance. Using a pattern can help to take the guesswork out of creating your table runner. A pattern will recommend the best type of yarn and hook size. It will also specify how many stitches to cast on and provide instructions for how to work the rows. Check online for patterns or check your local craft supply store. Craft supply stores sell books of patterns, but they also often have free patterns created for specific types of yarn. Check the yarn aisle to see if there are any free table runner patterns you can pick up.
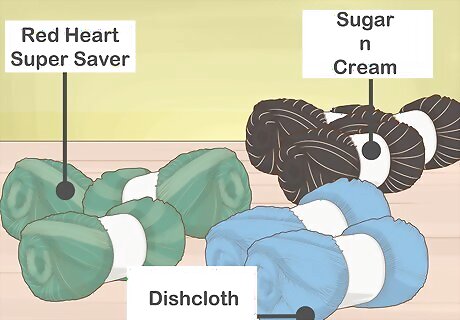
Choose the yarn type. Since your table runner may see a lot of wear and tear, you may want to use a yarn that holds up well when you wash and dry it, such as a cotton or cotton blend yarn. However, you can use any type of yarn you like to make your table runner. For example, you could go with a dishcloth yarn, such as Sugar n’ Cream, or opt for a less expensive acrylic yarn, like Red Heart Super Saver.
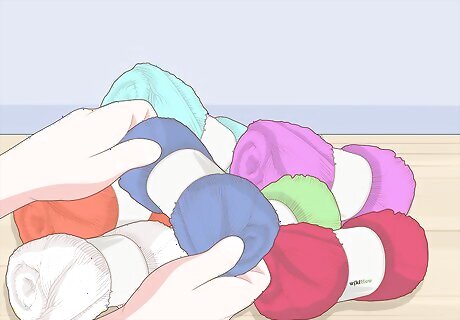
Select a yarn color. You may use any color you like or use a variety of colors to create your table runner. Try using a yarn color that will go well with your kitchen or dining room décor. For example, if your kitchen has a theme of sunshine and sunflowers, make a table runner using yellow, brown, and orange yarn.
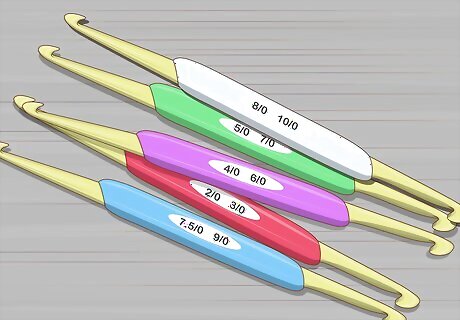
Select a crochet hook. Yarn labels usually include a recommended hook size. Check your yarn label to determine what size hook you will need. Lighter yarn types require smaller hooks and chunkier yarns require larger hooks. If you are using a pattern, check the pattern to see what size hook is recommended.
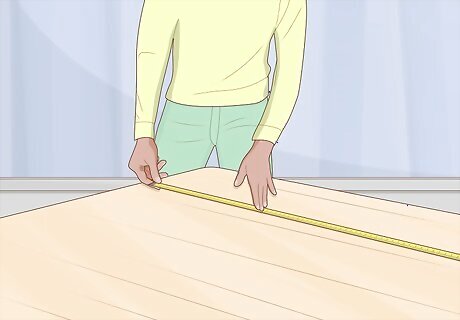
Measure your table to decide on table runner proportions. Table runners come in many different lengths and widths and you may want your table runner to be longer or wider depending on the table. You may also choose if the runner hangs over the edges of the table or just covers part or all of the top of the table. For example, if you want to use the table runner on a large dining room table, then a 16 inches (41 cm) wide by 72 inches (180 cm) long table runner might work well. Or if the table is just a small kitchen table, then you might only want the runner to be 12 by 36 inches (30 by 91 cm).
Creating the Foundation Row
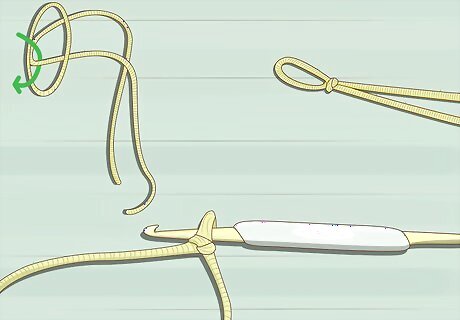
Make a slipknot. Loop the yarn around your index and middle finger twice, and then pull the first loop over the second loop. Slide the loop onto your crochet hook and tug on the tail to tighten the knot around the base of the loop.
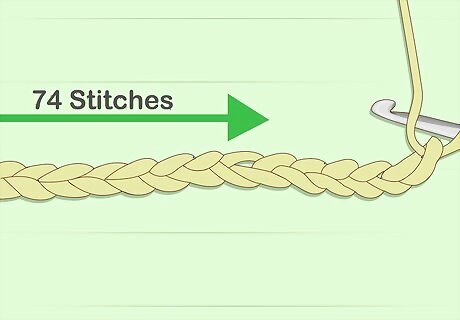
Chain the number of stitches required for the desired length. Loop the yarn over the crochet hook and pull this new loop through the slipknot to create your first chain. Repeat this to create more chains. Make as many chains as you need to get the required length for your table runner. If you are using a size F crochet hook with cotton blend yarn, then you can start by chaining 74 stitches. You may also use the chain to determine how many chains you will need. You can measure your table ahead of time or place the chain over your table to check the length. Remember that your table runner can be the same length as your table or it can be shorter or longer than your table.
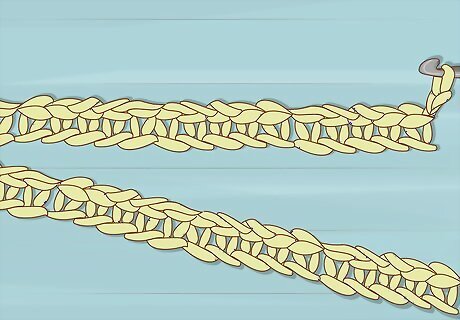
Single crochet all the way down the chain. When your chain is the desired length, insert your crochet hook into the second stitch from the hook. Then, loop the yarn over the hook and pull the new loop through the stitch. Yarn over again, and pull through both stitches on the hook to complete the stitch. Repeat the single crochet stitch to the end of the row.
Working the Length of the Runner
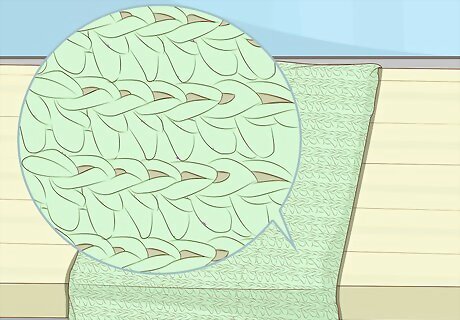
Use single or double crochet stitches for a simple runner. You may continue to work your table runner in single crochet, double crochet, or a combination of the 2 stitches. This will allow you to create a simple design that will lay flat. Try using single crochet stitches or double crochet stitches for all rows, or alternate between single and double crochet rows.
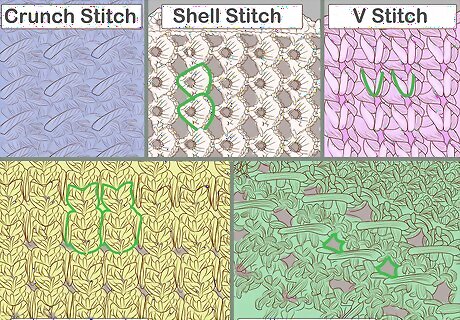
Work the rows in a decorative stitch for a more intricate design. If you want to create more intricate stitches in your table runner, then there are several different decorative stitches you can try. Some good options include: Crunch stitch for a bumpy texture Shell stitch for a shell design throughout your table runner Loop stitch for a shaggy look Abstract cat stitch to make your table runner look like cats V-stitch for an easy, flat design
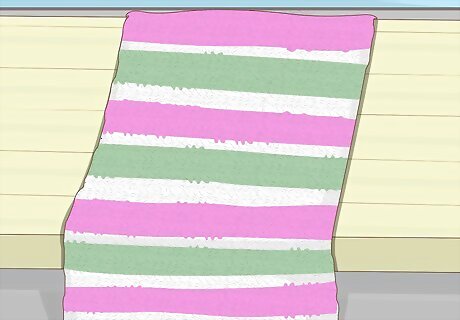
Change colors as often as desired. Use the same color for the entire table runner, or change colors every row or so for a striped effect. Tie the new yarn to the base of the old yarn strand so it is close to the last stitch you worked. Use the new strand to work the next stitch and drop the old yarn. Cut the old yarn about 3 inches (7.6 cm) from the base of the stitch. Hold it against the new strand to weave it into the next few stitches. Try changing colors every 2 rows for narrow stripes, or change colors every 6 rows for thicker stripes. For example, you could change back and forth between red and white every 6 rows for thick red and white stripes. Or you could change between a multitude of colors every 2 rows for a thin striped rainbow effect.
Finishing the Runner
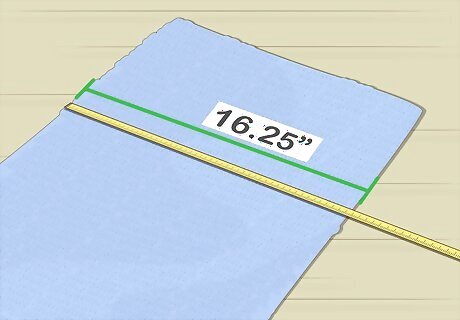
Work until the runner is the desired width. Keep crocheting your table runner in the stitch and yarn color(s) of your choice until it is the desired width. This may go quickly if you are making a short table runner, or it may be a longer project if you are making a long table runner. If you are going for a specific length, then measure the table runner’s width when it looks like you are getting close. For example, if you want the table runner to be 16.25 inches (41.3 cm) wide, then start measuring when it looks like it is getting close to this width and then measure every few rows until you reach the desired width.
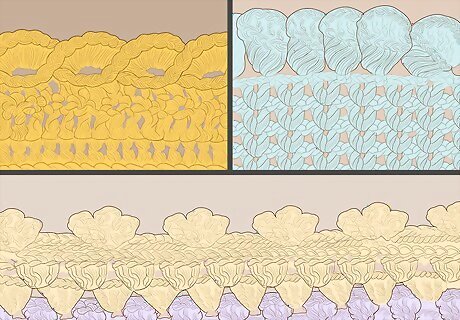
Add a border if desired. You can add a simple border of single crochet stitches around the edges, or you can add a decorative border using a special edging stitch. Some decorative border stitches include: Triple picot border Petal cone edging Reverse shell stitch
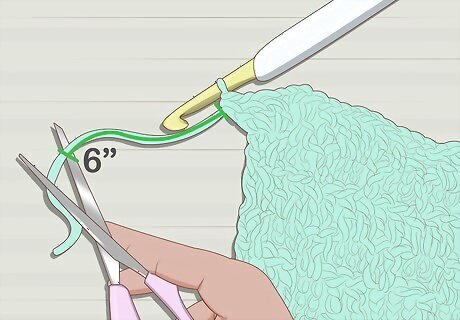
Tie off the last stitch. When you are completely finished with your table runner, cut the working yarn about 6 inches (15 cm) from the last stitch. Then, pull the end of this yarn through the stitch to create a knot. Tug to tighten the knot and then cut the excess yarn extending from the stitch so there is only about 0.5 in (1.3 cm) left. Your table runner is now finished!





Comments
0 comment