views
Drawing a Graduation Cap from Above
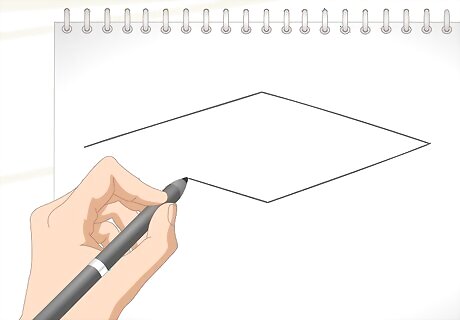
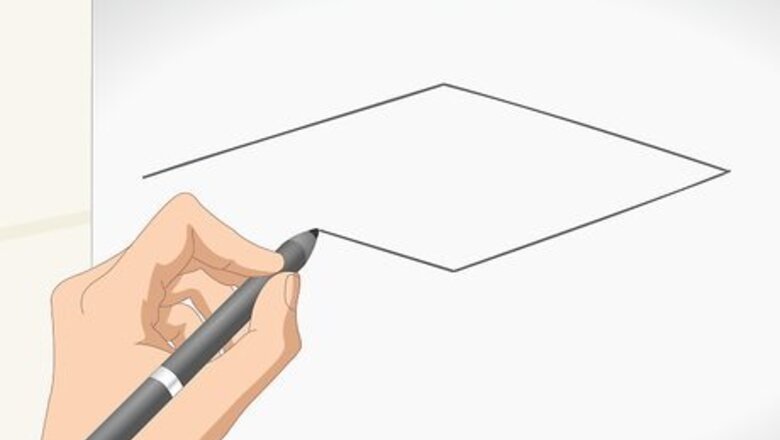
Draw a horizontal rhombus for the top of the cap. Start by drawing a straight diagonal line going up from the edge of your paper. Don’t make the line too long, or else you won’t be able to fit the rest of the cap on the page. At the end of your first line, add another diagonal line going down that’s the same length and angle as the first one. Make a line that is parallel to the first one you drew starting from the end of the second line. Finally, connect the ends of the first and last line you drew. The rhombus will look like a sideways diamond where each side is the same length. You can use a straightedge or ruler if you want to make the sides of your rhombus precise.
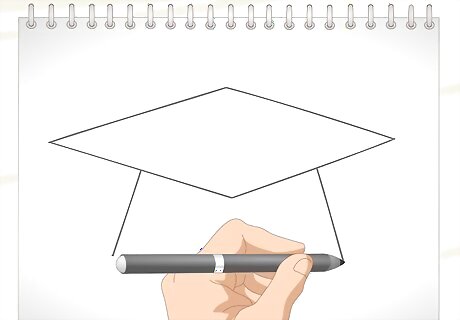
Add 2 slanted vertical lines down from the sides of the cap. Start your line halfway along one of the bottom sides of the cap. Extend the line down slightly slanted away from the center of the cap so it’s half the length of one of the rhombus’s sides. Draw another diagonal line down from the center of the other bottom side so its the same length as the first one you drew. The diagonal lines coming down from the top of the cap form the sides of the skullcap, which is the part that goes around your head.
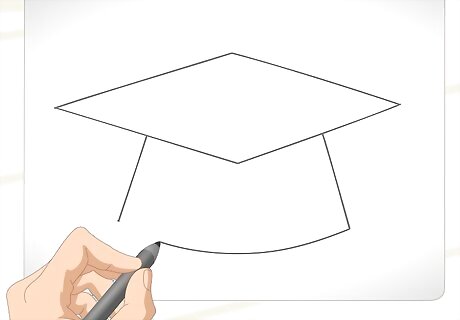
Connect the bottoms of the slanted lines with a curved line. Begin at the end of one of the slanted lines, and sketch a slow arch down going toward the other slanted line. Make the lowest point of the arch line up with the center of your rhombus to make the hat look like it’s in perspective. Connect the end of the curved line to the end of the slanted line on the other side to finish the skullcap. Sketch in your lines lightly just in case you have to erase and draw the curved line again.Tip: The bottoms of some graduation caps come to a point in the middle. If you want to add a point to the bottom of the skull cap, draw upward arches coming from the ends of the slanted lines. The ends of the arches will form a point in the middle of the cap.
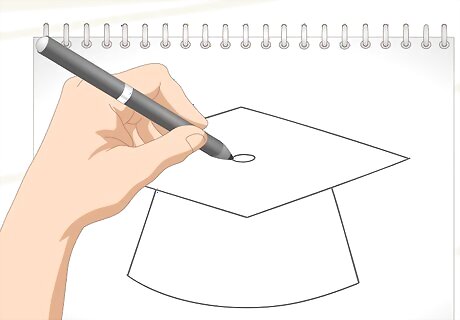
Make a small oval in the middle of the rhombus for the button. The board of a graduation cap usually has a button that holds the tassel in place. Find the middle of the rhombus you drew and draw a horizontal oval that’s about the size of your fingernail.
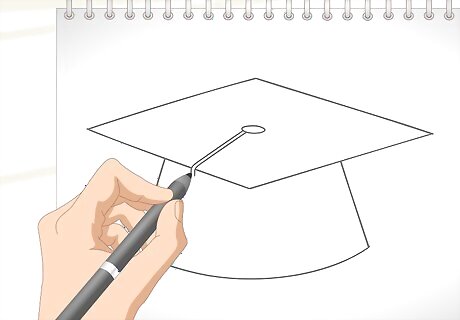
Sketch 2 parallel lines curving over one side of the cap to draw the string. The string from the tassel hangs down directly from the button. Draw a line coming from the side of the button and extend it to one of the bottom sides of the cap. Once you reach the side of the cap, curve the line down to make it look like it’s hanging over the edge. End the line halfway down the sides of the skullcap. Make another line that’s parallel to the first one you drew so there’s a small gap between them to finish the string. You can draw the string coming down from either the left or right side of the button.
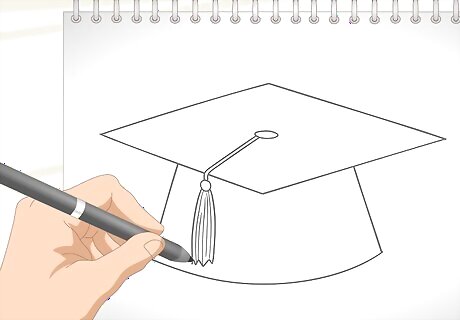
Draw the tassel on the end of the parallel lines. The tassel on a graduation is made up of many strings tied together that hangs down from the cap. Draw a small circle at the ends of the parallel lines to form the base of the tassel. Then draw straight lines coming down from the sides of the circle for the strings. Close the bottom of the tassel with a horizontal zig-zag line to make it look like the ends of the strings are different lengths. You're now finished with your drawing! If you want to add more detail to the tassel, make straight vertical lines coming down from the circle to make it look like the individual strings.
Making a Graduation Cap from Below
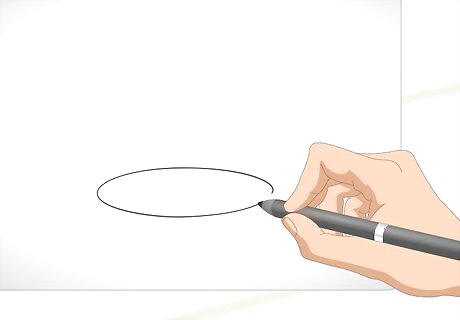
Make a horizontal oval near the bottom of your paper. Start in the middle of your paper so you have room to draw the top of the cap later on. Draw a narrow, horizontal oval so the center of the page lines up with the center of the shape. The oval will be the bottom of the skullcap where you put your head. The rest of the cap will be about twice the length as the oval, so don’t make the oval too large or else your drawing won’t fit.
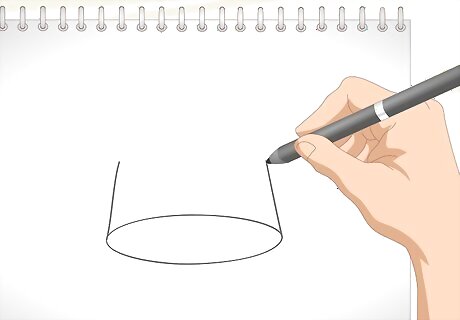
Draw 2 slightly angled vertical lines coming up from the ends of the oval. Begin your line on the left side of the oval, and extend it up at a slight angle toward the center. Make the line so it’s about half the length of the oval so it doesn’t extend too tall. Make another slanted line coming up from the right side of the oval to form the other side of the skullcap. Draw your lines so they’re the same length, or else the graduation cap won’t look correct when you’re finished.
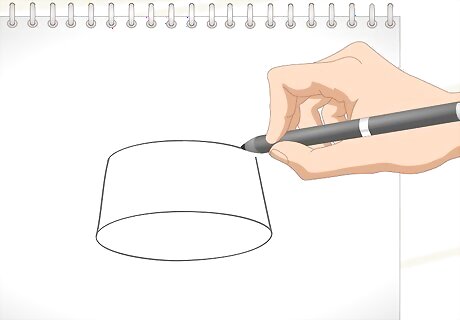
Sketch in a curved line on top to finish the skullcap. Put your pencil on the end of the slanted line on the left side, and draw an upward arch so the highest point lines up with the center of the oval. Curve the line back down so it connects with the end of the slanted line on the right. The shape of the skull cap will look like a cylinder with a slightly wider bottom when you’re done.
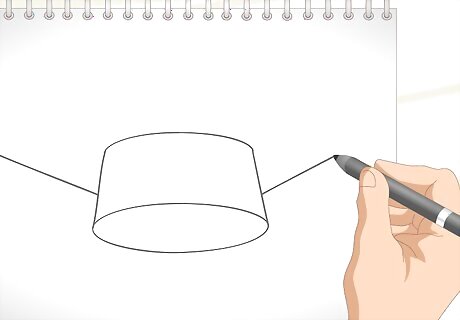
Draw 2 diagonal lines coming out from the sides of the cylinder. Begin on the left side of the skullcap so you’re about a third of the way down from the top. Make a straight, diagonal line extending out from the side that’s about half the length of the oval. Then draw another diagonal line on the right side of the cap that’s the same length. These lines will be the back of the board that’s on top of the graduation cap.
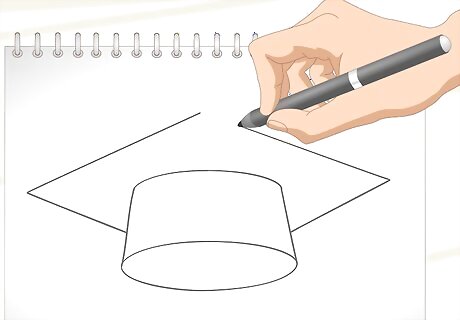
Put in 2 angled lines that come to a point to make the top of the cap. Start at the end of the diagonal line on the left side of the cap. Lightly sketch a diagonal line going up toward the middle of the cap so it’s parallel with the bottom line on the right side. Then draw a line coming from the end of the diagonal line on the right so it’s parallel with the bottom left line. The 2 lines you drew form a point that lines up with the middle of the cap. The top shape of your cap will look like a sideways diamond. You will not be able to see the button on the top of the cap.
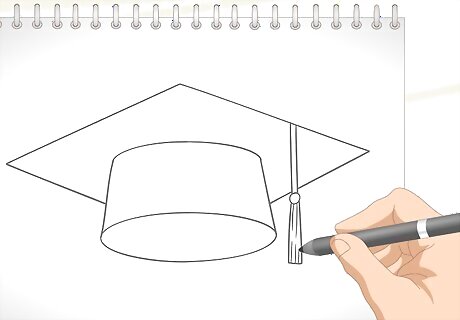
Add the tassel coming down from one side of the cap. Choose the halfway point on the top of the cap on either the left or right side. Draw 2 parallel lines coming down from the top of the cap so they end a third of the way down the side of the skullcap. Make a circle the size of your fingernail at the ends of the line. Add a rectangular shape connecting to the bottom of the circle so it hangs down past the bottom of the cap to finish the tassel. You have now completed your drawing! You can add straight vertical lines inside the tassel if you want to add more detail to it.






Comments
0 comment