views
Building a Rocket & Launcher
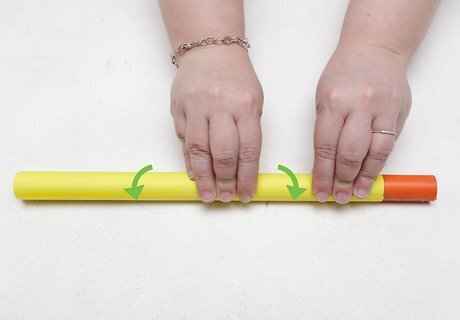
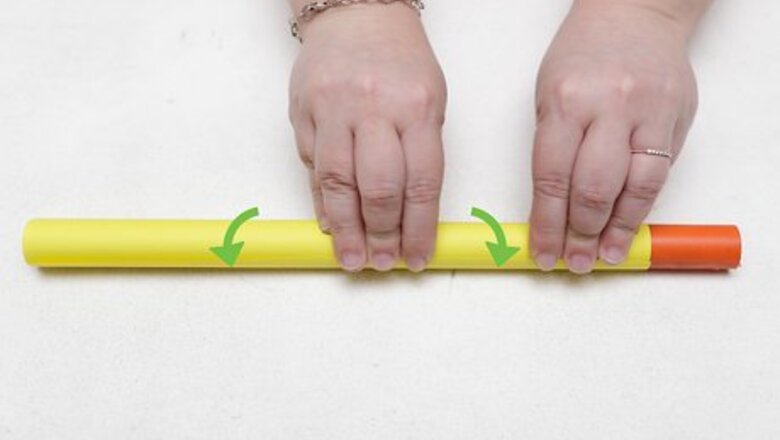
Grab the cardstock. Lay it flat on a table. Place your copper pipe lengthwise on top of the paper so the rocket is long and thin. Make sure the top edge of the paper is even with the rest of the page. Use your copper pipe (or any other thin, round tube) to create the shape of the rocket by rolling the paper around the pipe. Tuck the paper underneath the pipe simultaneously as you roll. This will ensure the body is as snug as possible. If the tube slides smoothly and freely as you’re rolling, you’re in good shape.
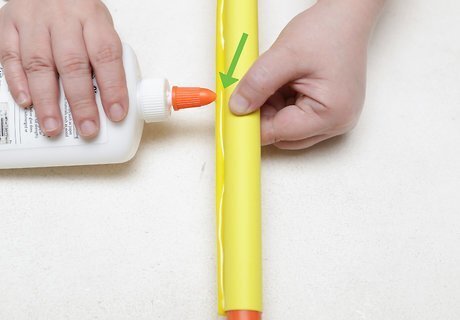
Glue the tube. Once your paper is tightly wound around the pipe, unroll it so only a third of the page is around the pipe. Hold the paper in place with one hand and using the other hand, grab the glue. Rub a strip of glue the entire length of the page. Roll the paper a little more to cover the newly placed glue spot. Repeat this action of rolling a little, placing glue, rolling a little and placing glue, until the tube is sealed. Pay special focus to the last edge you glue. Ensure it is extra secure so it doesn’t unravel during flight. Continue to rub and roll the solid tube for several minutes to make sure everything is holding in place and sticking accordingly. Think of the tube as a rolling pin for dough and simply roll it back and forth.
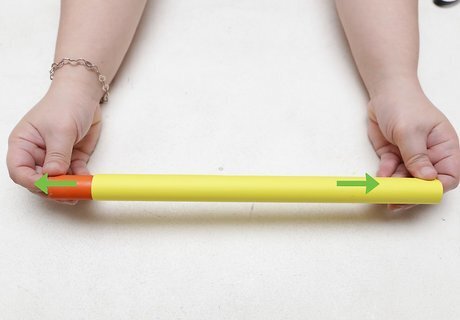
Remove the tube slightly. Holding the pipe upright with one hand, slide the pipe out the bottom about half an inch. This will leave the same amount of space (half an inch) exposed at the top that is not supported by the tube.
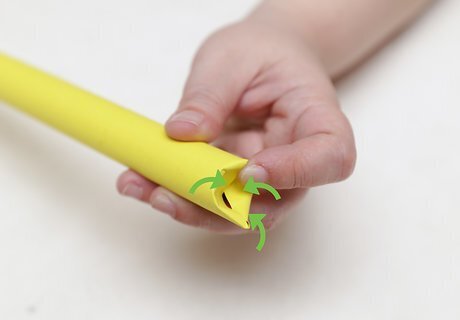
Bend the edge. Using a single finger, bend the unsupported edge at the top of the tube down. This will create a three or four layered end. Press hard against the pipe so it is firm. Once you’ve smashed the edge, press the crimped end on the table to really smash it in.
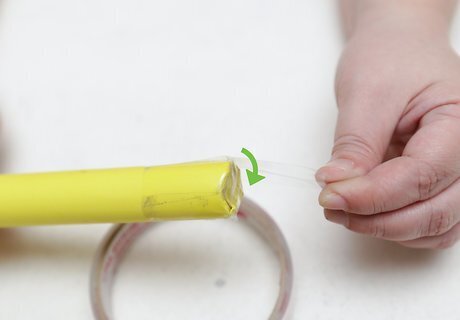
Tape the bent edge. Using scotch tape, grab two, inch and a half pieces or so of tape. Place the tape over the bent end of the cardstock. Make sure the tape is crossed for added security. This will prevent the edge from popping open once shot.
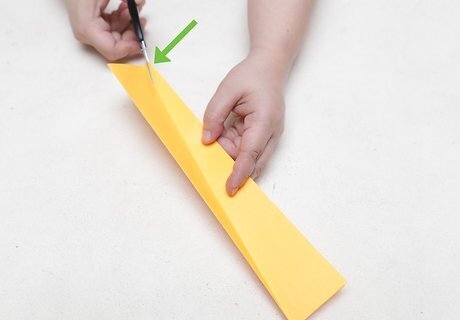
Create the fins. Using a separate sheet of cardstock, fold the paper in half lengthwise. Holding the opened side of the paper, cut upward diagonally on the opposite corner of the page. When you open the fin, you will have created a large triangle with the bottom measuring about two to two and a half inches wide.
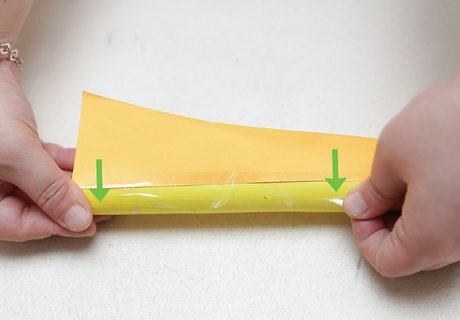
Secure the fin onto the rocket. Align the bottom of the triangle along the base of the rocket (non-taped end). Place a piece of tape over the tip of the triangle so the tip lays flat but the wings are perpendicular to the rocket. Use only a single piece of tape here so the fins have a little flexibility.
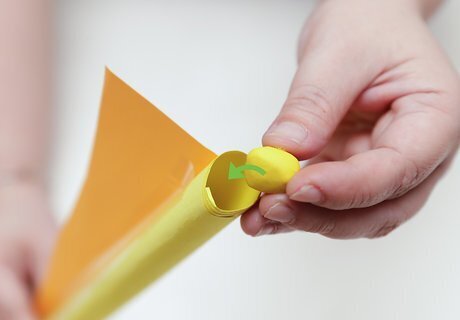
Add weight to the front of the rocket. You can do this with a little play dough. Using a small amount, about the size of a dime, make a ball of dough. Drop into the open end of the rocket. Use your copper pipe to push it to down all the way. Be careful not to press too hard as you’ll puncture the taped end.
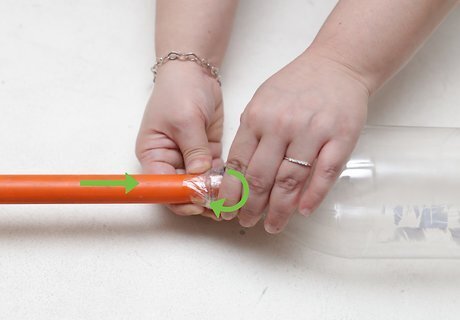
Make the launcher. Get your empty, plastic two liter bottle and ½ inch diameter, foot long PVC. Slide the PVC into the bottle. It will fit nice and snug. Tape the PVC and bottle together to prevent any wiggling.
Making a Manual Launcher
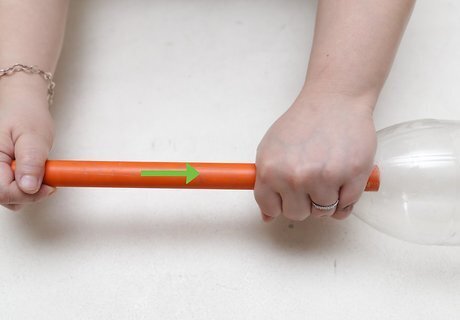
Use a liter bottle. Get your empty, plastic two liter bottle and ½ inch diameter, foot long PVC. Slide the PVC into the bottle. It will fit nice and snug.
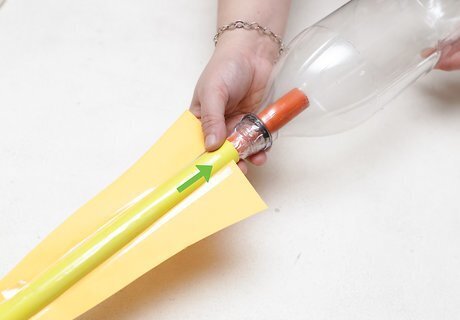
Slide the rocket onto the launcher. When you are ready to fire your rocket, head outside as these can sometimes travel up to 100 yards. Squeeze the plastic bottle as hard as you can to shoot the rocket into the air or at a distant target. Make sure the people around you know you’re about to fire.
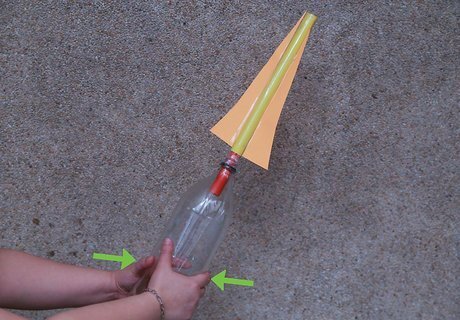
Stomp to launch. Pace the plastic bottle on the ground. With the rocket attached to the PVC, stomp on the middle of the bottle as hard as you can and watch the rocket fly. Make sure the people around you know you’re about to fire so you don't hit them.
Making a Compressed Air Launcher
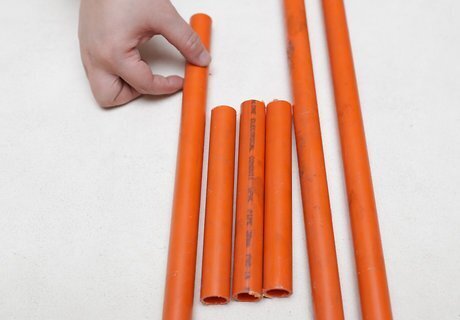
Cut PVC. If you have one long PVC pipe, it will need to be cut into three 12” long pieces and three 6” long pieces. Cut them using a handsaw or hacksaw. If purchasing PVC from a hardware store, ask them to cut pieces to the required lengths to save time at home.
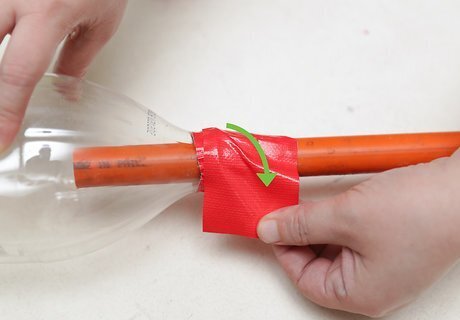
Insert pipe into bottle. Grab your liter bottle and firmly insert one of the 12” long pieces into the end. Use duct tape or electrical tape to secure the connection around the mouth of the bottle.
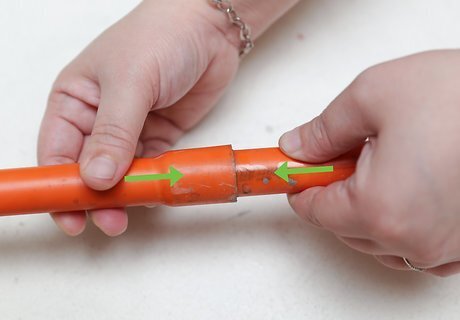
Add a connector. Snap a connector onto the end of the 12” long PVC piece. Add another 12” long piece of pipe to the opposite end of the connector.
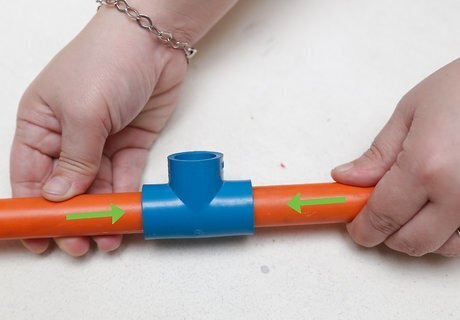
Add a tee. Connect a PVC tee to the end of the second 12” long PVC pipe. The bottom of the tee should point vertically, as this is where the rocket will shoot from. Connect the final 12” pipe by placing it into the tee.
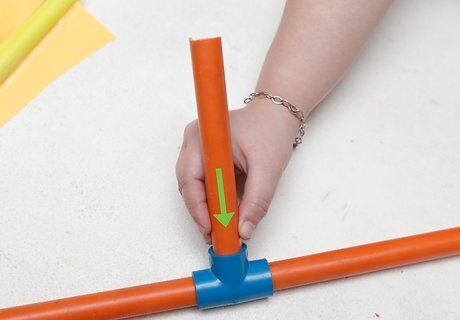
Connect 6” PVC. Insert a 6” long pipe into the remaining tee opening. Place another tee on the opposite end of this by pushing the bottom of the tee onto the 6" long pipe. You will have two openings pointing in opposite directions.
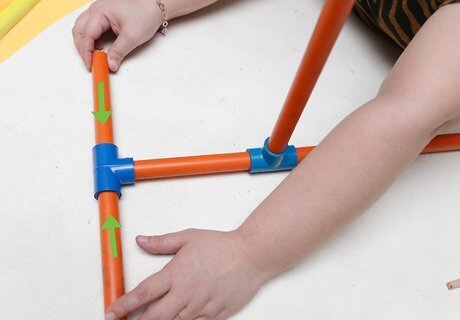
Insert final 6” pipes. Take the two remaining 6” pipes and insert one on either end of the tee. Place ½” end caps on either end so air doesn’t escape when in use. The final launcher will be a “T” shape with a single vertical rod sticking up front its center.
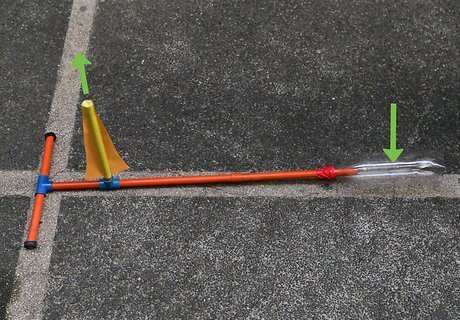
Set rocket in place. Place your paper rocket onto the vertical launch pipe. Stomp on the bottle to shoot the rocket into the air! You can add blocks underneath the pipes. Doing this will send the rocket soaring across the sky in an arch, rather than straight up into the air. Play with the design by adding two vertical pipes or more to launch multiple rockets simultaneously.


Comments
0 comment