views
Folding the Black Pieces
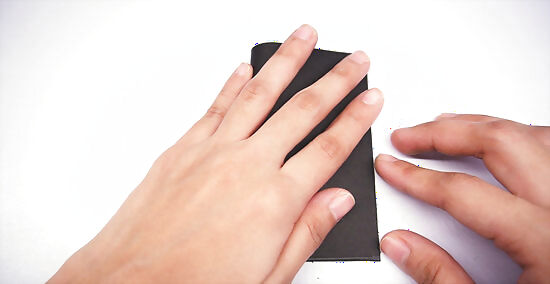
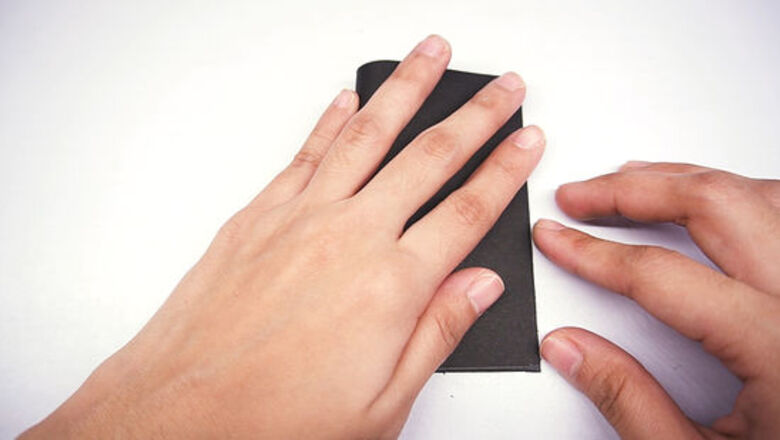
Fold a 5 in × 4 in (13 cm × 10 cm) piece of black paper in half horizontally. Each piece will make 1 black pentagon. Bring one 4 in (10 cm) edge over to the other. Line them up, then crease the fold in the center. This will make a life-sized soccer ball. You can buy paper that’s already 5 by 4 inches (13 cm × 10 cm) at a craft store, or cut standard-size sheets of paper into the proper dimensions. Origami Soccer Ball Variations For a standard soccer ball, use black and white paper. To add a little extra flair, opt for bright colored paper or metallic foil paper instead of the traditional hues. For a mini soccer ball, pick smaller sized paper. Just be aware that it will be harder to work with! If you’re a beginner, stick with origami paper rather than cardstock or something heavier. Origami paper is thinner and easier to fold.
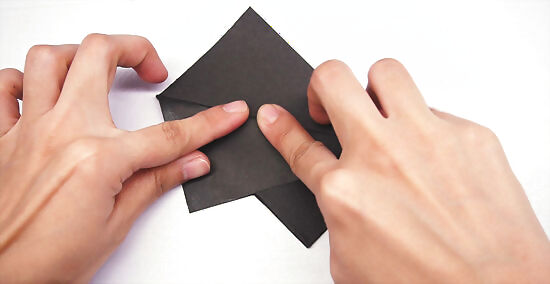
Pull 1 flap back, creasing it on the diagonal, then repeat on the other side. Bring 1 of the open corners back towards the folded edge so that it creates a diagonal fold from the top corner to the bottom one. Run your finger along the fold to crease it. Do this with the other flap, too. The folded outside edges should line up just past the original center fold.
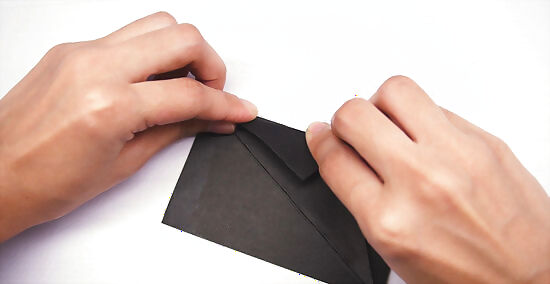
Fold in the 2 outside edges and the bottom edge to make a diamond. Line the edges up with the original horizontal fold. Crease the 3 small folds to ensure they won’t pop open. Two of the folds should be facing one another on opposite corners. For example, 1 fold will be on the upper left and the other will be on the bottom right. The 3rd fold will be on a different side of the diamond.
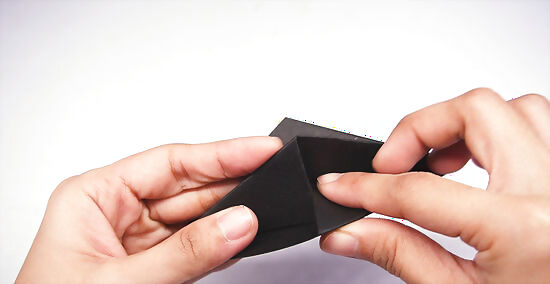
Tuck the 2 folds facing each other into one another. Bring the corner of 1 fold over the corner of the other, then tuck it underneath. This should “lock” the 2 folds together, closing the diamond shape on 1 side. If the 2 corners don’t slide into place easily, you may need to refold them. They won’t tuck properly if the folds weren’t aligned properly originally.
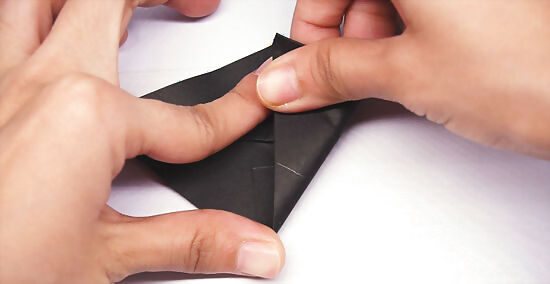
Fold the side of the diamond with the 3rd flap up to the opposite side. Take the bottom corner with the smaller fold and line the tip up with the opposite edge of the diamond. Crease it firmly in place. The tip of the corner should hit the opposite edge slightly off center.
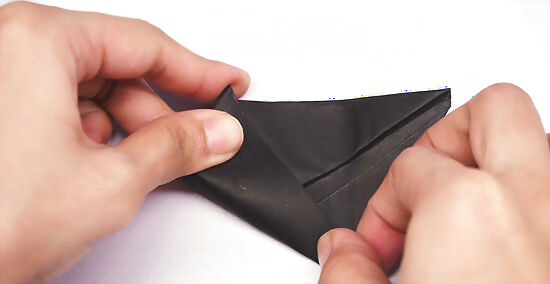
Bring the other corner of the diamond to the opposite side, then unfold it. This is the same fold that you just made, but with the other half of the diamond shape. Pull the corner up to meet the opposite edge and crease the fold. Then open up your most recent folds so you have the diamond shape again. The edge of this fold should line up perfectly with the crease of the fold on the other side.
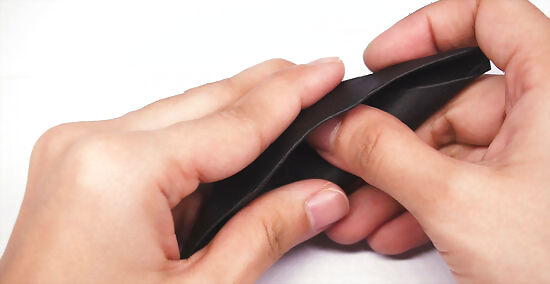
Tuck the side of the diamond with the small flap into the center fold. There should be a pocket formed in the center of the diamond. Pull the half of the diamond that has the smaller flap into that pocket. You’ll now have a triangle. Don’t crumple the paper as you tuck it into the pocket. Instead, slide it in flat so it rests neatly inside.
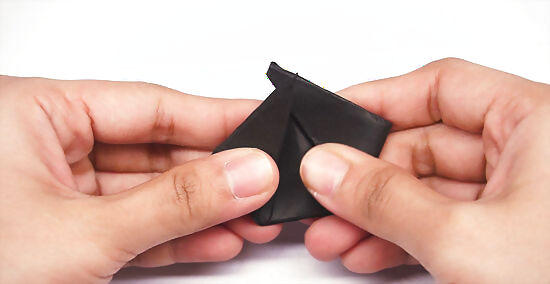
Fold the 2 outer corners of the triangle into the creases on each side. Take the right corner and line it up with the crease on the right half of the triangle. Do the same on the left side. Apply pressure to the folds to crease them securely. The 2 creases that you’re folding into are the ones you made before you tucked the piece into the center of the diamond. If you don’t see the lines, you may not have creased the paper deeply enough. Re-fold them.
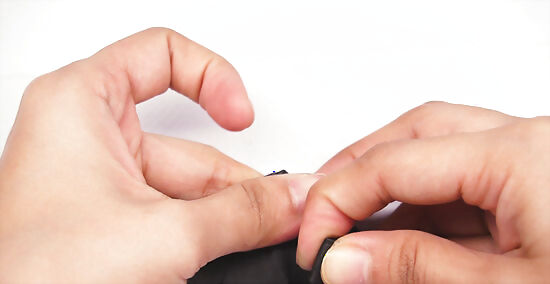
Bring the 2 corners into the center to form the pentagon shape. Fold along the left and right creases, tucking both sides in towards the center. This will finalize the black piece. Because you have so many folds in the pentagon, the paper may be difficult to fold. You’ll have to press down very firmly to make the final creases so it holds its shape.
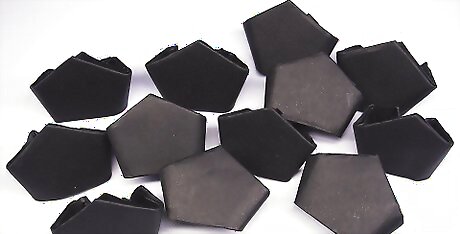
Repeat the folding process for the rest of the 11 pieces of paper. You need 12 black pentagons in total to build your soccer ball. Try to make them all about the same size so they fit together properly at the end. Set these aside in a safe place while you create the white pieces.
Making the White Pieces
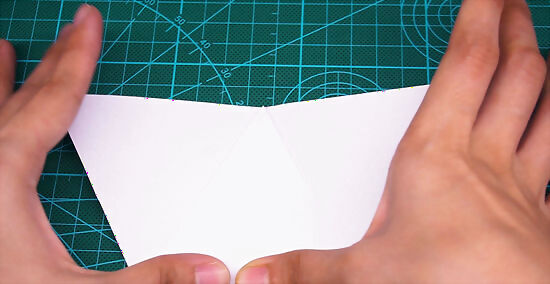
Fold each corner of the triangle up to the center of its opposite base. Line up the tip of 1 corner with the middle of the edge across from it. Fold to make a crease, then open it back up. Repeat with each of the 3 corners. You can either cut standard sheets of paper into triangles with 6.5 in (17 cm) sides, or fold the paper. If you use paper that’s bigger or smaller to change the size of your finished soccer ball, make sure you always have equilateral triangle shapes, where all of the sides are the same length.
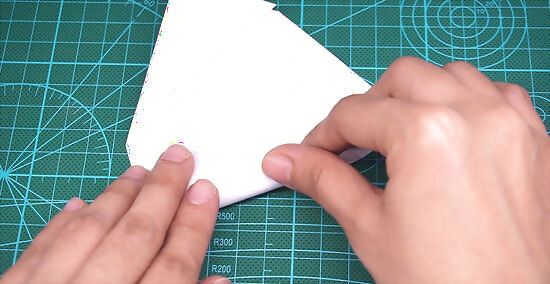
Fold each corner in half, lining up its edge with the crease. Bring 1 edge of the corner up and onto the crease formed previously when you folded the corner in. Crease the corner in half so it stays in place, then repeat with the remaining 2 corners. It doesn’t matter which direction you fold the corners in, as long as they’re all folded going the same way. For example, if you fold the first one up to the left, fold the next 2 to the left as well.
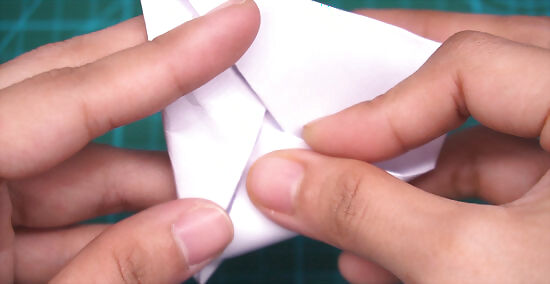
Bring the corners into the center, tucking the 3rd one under the first 2. Fold the corners in along the crease. When you fold the last corner, slip its point underneath the other 2, securing all of the corners in the center. Keep the paper smooth when you tuck the corners together so that the triangle lies flat. Avoid crumpling any of the corners or folds.
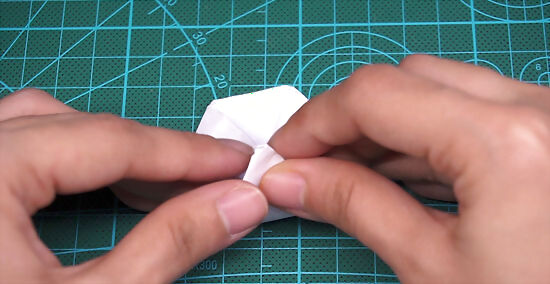
Fold the corners into the middle of the triangle. There should be a tiny opening in the exact center of the triangle, formed by your previous folds. Bring the tip of each corner to that point and crease the folds, creating a hexagon shape. If you don’t line up your corners in the exact middle of the triangle, the hexagon sides won’t be even.
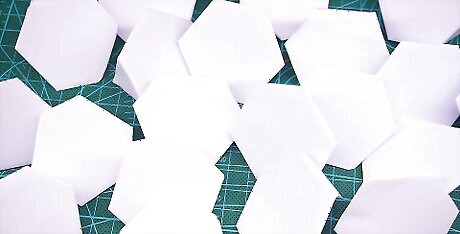
Repeat the folding process for the remaining 19 pieces of white paper. Form hexagons out of all of the white triangles. You should have 20 completed pieces when you’re done. Try to keep each hexagon as close to the same size as possible.
Putting the Ball Together
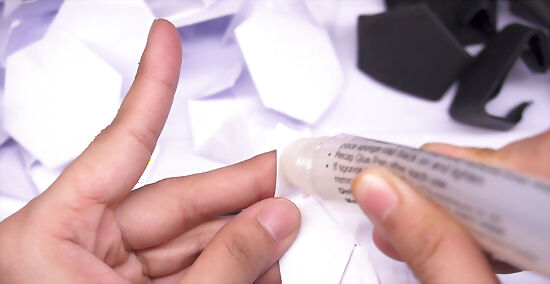
Swipe glue on the loose corners of each white and black piece. This will hold the ball’s shape when you put all of the pieces together. Use a glue stick to apply adhesive to the 3 loose corners on each white hexagon and the 2 flaps on each black pentagon. Don’t apply too much glue to the paper or it will become oversaturated and soggy. Put the glue on as you go so it doesn’t dry out before you need the piece.
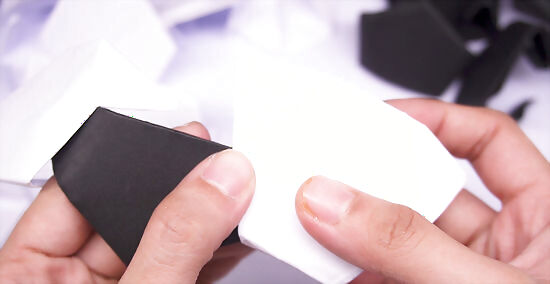
Insert the black corners into the open white edges. As you place the white corners into the black pieces, do the same with the black corners. Once they have glue on them, slide them into the openings on the sides of the black pentagons. Hold the sides together to adhere the black corner onto the white paper. Don’t fold or smash the corners as you insert them into the white pieces. They should lie flat.
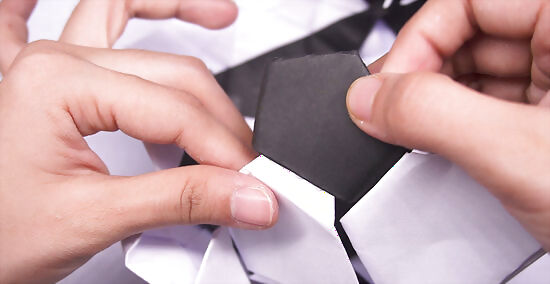
Slide the white corners into the open black or white edges. After you apply the glue, insert the white piece into the open sides of either the black or white hexagons. Press the 2 sides together to hold the white hexagon in place. Hold the 2 sides together until the glue is dry. If you’re using a glue stick, this should take 1 to 2 minutes. Half of the white hexagons will have all of their corners in black pieces. The other half will have all of their corners in white pieces.
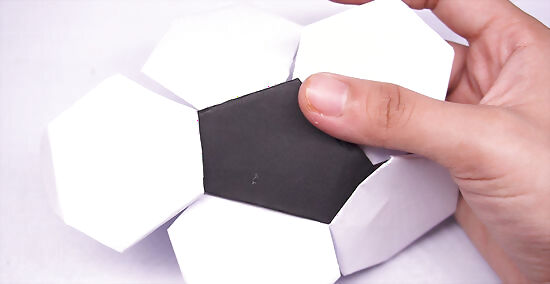
Surround each black pentagon with white pieces to create the ball. Each black piece will be flanked by 5 white hexagons. Repeat this pattern, joining the black and white pieces and forming a sphere as you glue everything into place. As you put the pieces together, they should naturally form a ball shape. A black piece should never be touching another black piece. If you need help visualizing where each piece should go, look up a picture of a standard black and white soccer ball online.If you want a fuller ball shape, stuff the soccer ball with paper shreds. They’ll help the ball stay in a sphere instead of collapsing.
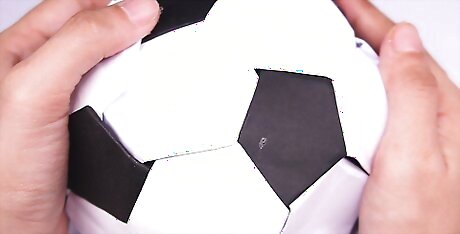
Finished!





Comments
0 comment