views
Planning the Garden Plot
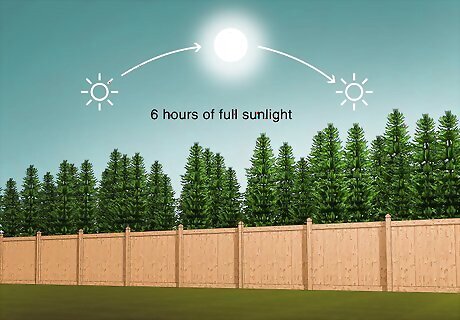
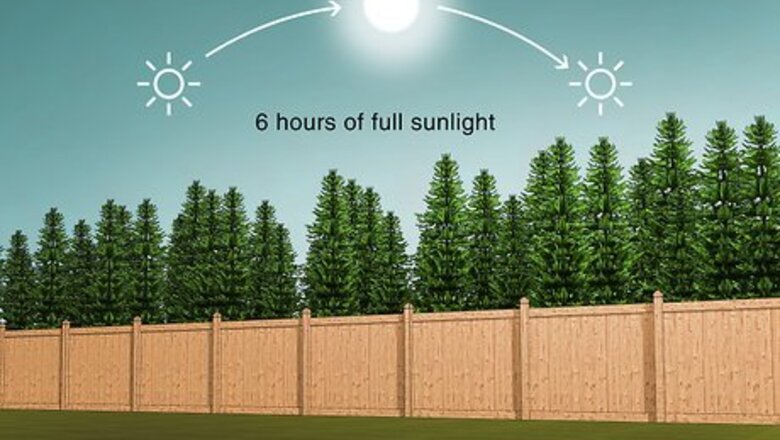
Pick a spot that fits the sunlight needs of your plants. Vegetables and flowers usually require at least six hours of full, continuous sunlight a day to thrive. However, some plants prefer shade or little sun. Check the growing instructions for the plants you want to grow before you choose your spot. If your plants need full sun, find a spot in your yard where there is a lot of direct sun for the majority of the day. If your plants need partial shade, observe your yard throughout the day to see where the shady spots are. Put your garden in one of these patches.
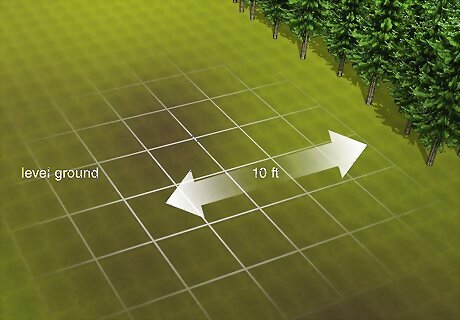
Choose a spot that is level and even. The garden plot should be on flat, even ground. This will ensure water is evenly dispersed in the plot and everything grows evenly. If you have to choose a spot that is sloped, you will need to terrace the beds by building them up with boards, flat rocks, or wood slabs. Make sure the spot is at least ten feet from trees and shrubs. You do not want the roots of trees or shrubs to get into the garden plot, as this can disrupt the plants. The shade of trees and tall shrubs can also negatively the garden plot.
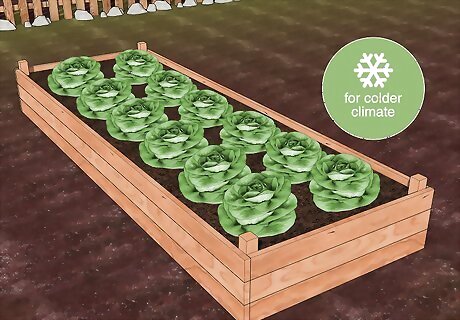
Use raised beds if you’re in a colder climate. Raised beds are boxed in wood above the ground. Raised beds are good for colder climates because the soil warms up faster in spring and you can plant sooner. This type of garden bed usually results in a higher yield of crops, especially vegetables. You can buy raised beds made of cedar or recycled plastic at your local hardware store. You can also build your own raised garden beds.

Go for in-ground beds in a warmer climate. In-ground beds are more common than raised beds and are ideal for warmer climates. In-ground beds require less watering than raised beds. They also do not cost anything but they do require you to bend down to weed and maintain. In-ground beds are more susceptible to weeds and pests than raised garden beds. They also usually yield less crops.
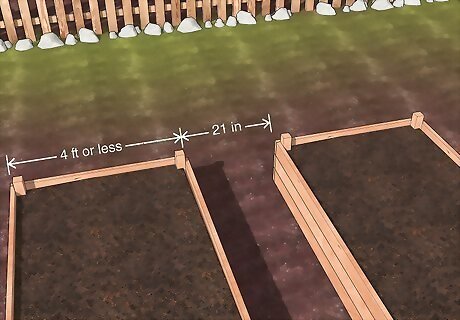
Decide how many beds you are going to plant. Usually a garden plot will have several beds. Multiple beds allows you to grow several different plants in one plot. You can then rotate the different beds to have healthy crops every year. A smaller plot of 100-200 square feet can fit four to six beds. A larger plot can fit eight to ten beds. The beds should be 4 feet or less wide so they are easy to weed and tend. You should also include 21 inch (53 cm) pathways between the beds so you can roll a wheelbarrow through it. If you buy a raised garden bed box, you may not need to worry about having a pathway between the beds. Instead, make sure you place the boxes with enough space between them to walk through.
Mark Out the Plot
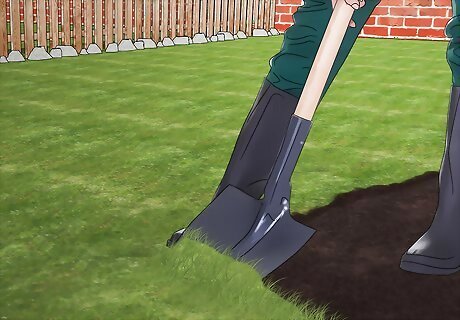
Get rid of the existing lawn. If you are putting the garden plot in your yard, you will likely need to remove existing topsoil and grass. Slice under the sod with a spade and cut it into small handfuls. Then, take off the sod and put it in your compost or use it to patch up bare spots in your yard.
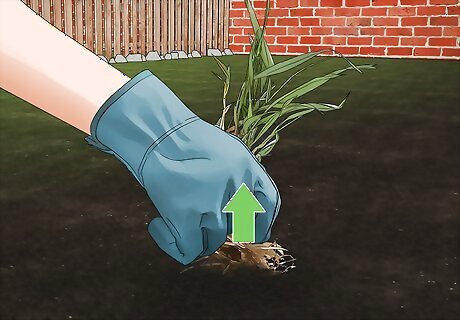
Remove weeds and debris. Not all plants that are considered weeds are harmful, so before you remove weeds, figure out which existing plants will be harmful and try to take over your garden. You can use a weed guide online to figure out what kind of plants are growing in your yard. If you're growing larger plants, like trees and bushes, you can simply mow the surrounding weeds regularly to keep them at bay. If you're growing perennials, place mulch at the base of the plants to prevent weeds from growing. For annuals, place layers of cardboard on the ground with a layer of compost on top before you start planting. This will smother all the weeds and leave you with a clean slate for gardening. You should also remove any surface garbage in the plot. Dig out any inorganic matter in the plot like bottle caps, plastic, or newspaper.
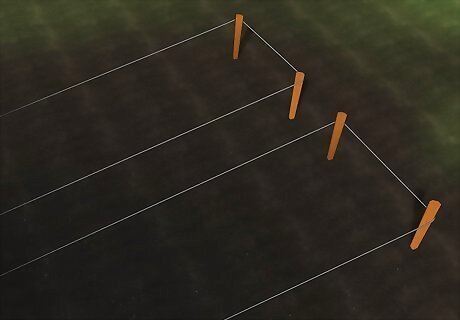
Mark the plot with string and stakes. Use string and stakes to mark where the plot is going to be in your yard. This will make it easy for you to clear the area to prepare the plot for planting. Put stakes on each corner of the plot and attach string to each stake.
Preparing the Soil
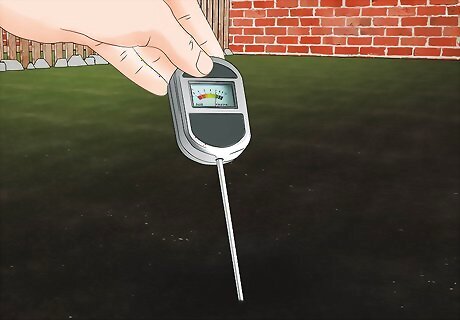
Test the soil. Having the soil tested will ensure the soil has the right balance of pH and nutrients to grow plants well. You can use a home testing kit to test the soil. You can find home testing kits at your local hardware store. You can send a sample of the soil to your local cooperative extension service or bring it to a garden center for testing.
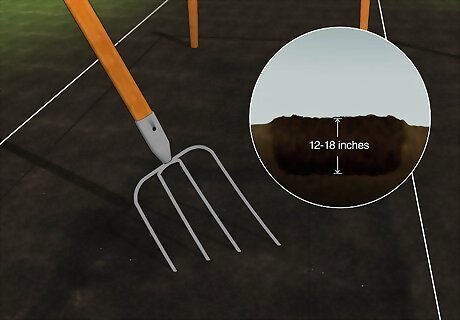
Dig the plot. Use a pickaxe or a pitchfork to double dig the soil so the new garden beds grow well. Dig to a depth of 12 to 18 inches (31 to 45 cm). Remove rocks and roots in the plot.
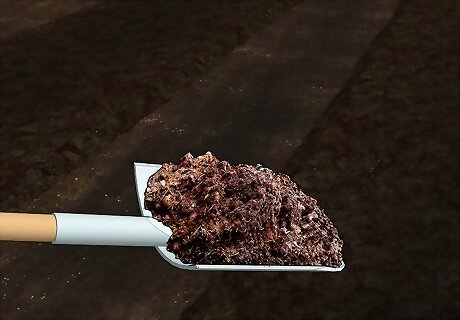
Add organic matter to the soil. Depending on the pH of the soil, you will need to add organic matter to improve the soil’s fertility. Add organic matter like compost, animal manure, plant manure, and sea soil to adjust the pH so the plants grow well in the plot. Layer 1 to 2 inches (2.5 to 5 cm) of organic matter over the plot. Dig or hoe the organic matter into the top 6 inches (15 cm) of the soil so it reaches the root systems of the plants.
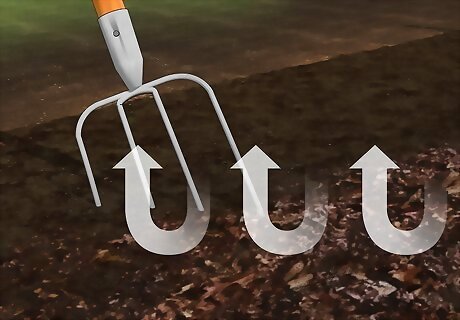
Turn the soil. Use a garden fork or a rototiller to turn the soil once more. Break up any large chunks of soil and get rid of any stray rocks or roots. Turn the soil when the it is dry and not too wet. It should crumble easily when squeezed in your hand.
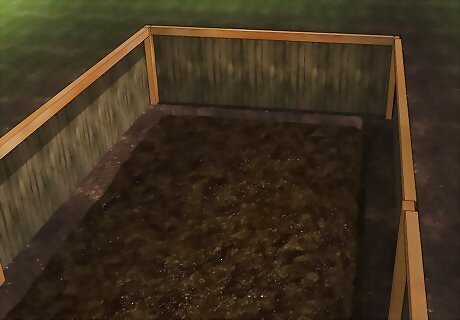
Put up barriers around the plot, if needed. Once the soil has been turned, it is prepared and ready for planting. If you are planting tall vegetables or plants like tomatoes and cucumbers, you will need to put up barriers around the plot to protect them from wind. Use fencing panels, hurdles, or a hedge to protect the plot.


Comments
0 comment