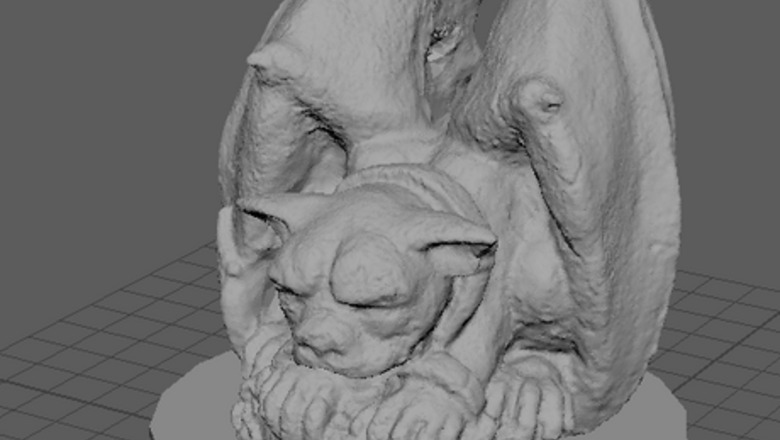
views
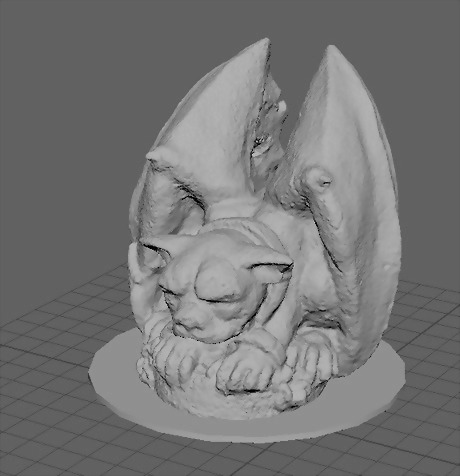
Create your model. 3D scan an object and import it into Maya.
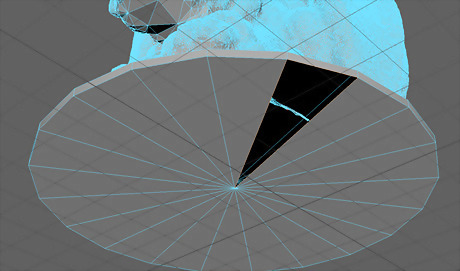
Make sure your object does not have any holes in it. Having holes will cause problems when trying to print. One way to fix this is to select the edges surrounding the hole and use the fill tool under the Mesh menu's "Fill Hole." This can fix simple holes like the example above easily, but for more complex ones, you might need to manually fill in the geometry. 3HoleFilledIn.png
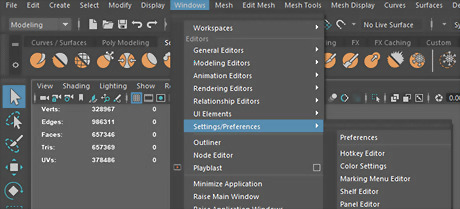
Make sure that you have obj file export enabled in the plugin manager. Choose the Windows menu, click "Settings/Preferences" then click "Plug-in Manager". Exporting the file as a ".stl" will not work in Maya 2018, as a bug in the software will cause it to become corrupted.
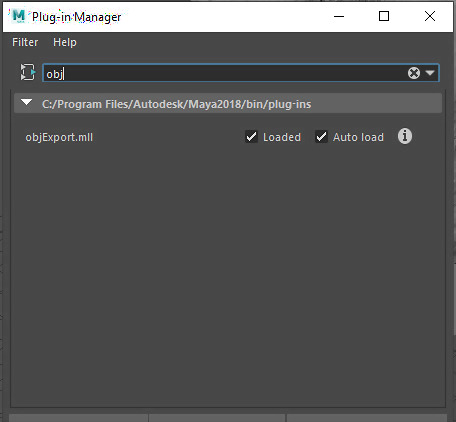
Search for “obj” and make sure both boxes are checked. The image above shows what it should look like. They might already be checked; if so, leave them alone and then close the Plug-in Manager.
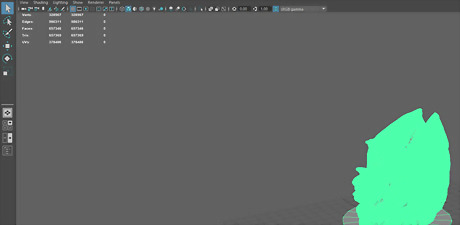
Select the objects you would like to export. Use the select tool on the left side, then click the object. If you want to select more than one object you can hold shift and click on all the objects you want to export.
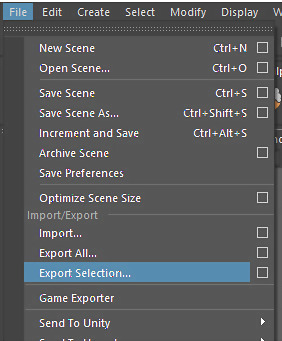
Click the "Export Selection" choice from the File menu.
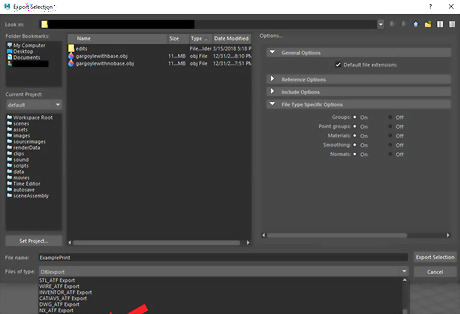
Select “OBJexport” under the “Files of type:” dropdown menu, and name your file: “Export Selection”
Locate the folder where you exported the file and use your slicing program of choice.
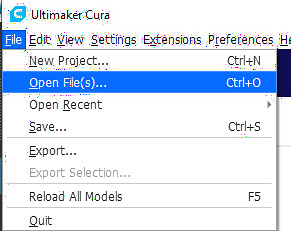
Open your obj file inside of Cura under the File Menu's "Open Files" and go to where you exported your obj file. You can also just drag the obj file into Cura if you already have it open in your file explorer. 10CuraOpenFile.png
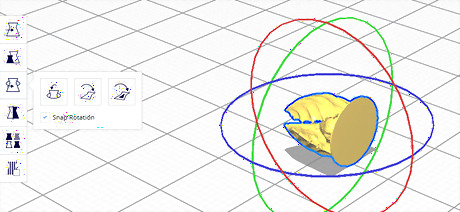
Wait for your file to load. It might end up on its side — if this happens, you can select the object and rotate it using the rotate tool until you move it to the desired printing orientation. The rightmost option in the rotate menu allows you to select a face to align with the build plate. To use this tool, you click on the “Select face to align to build plate” button, then on the object. Then, click on the side that you want on the bottom.
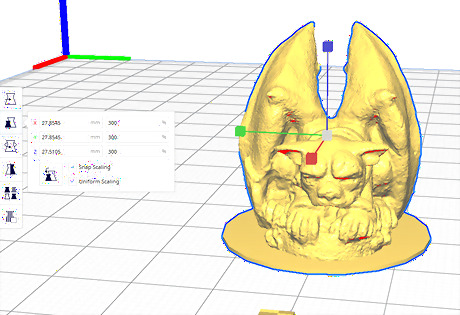
Scale it to your liking. Any red spot might have issues with printing, due to not having enough support. Depending on your model, you could manually add support or auto-generate some. 13OverhangsAreHighlighted.png
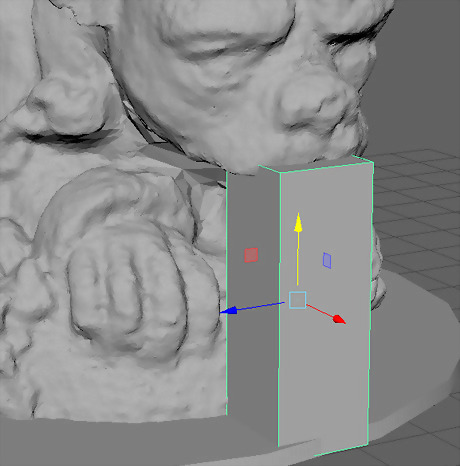
Model a simple cube in Maya wherever you want the supports and export the cube following the same steps. Most slicers also have a way to auto-generate support; this is generally easier to do, but depending on the model, might not even be necessary.
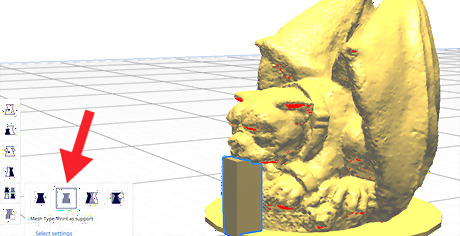
To re-align the Maya support cube in Cura, select the cube and make it print as support using the “per model settings -> Print as support” button on the left. This makes the cube print differently from the rest of the object and makes it much easier to remove.
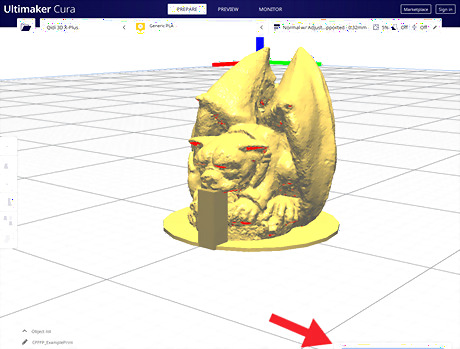
Slice the model. Depending on your printer you will have to adjust Cura’s settings to fit your models' needs. Once you have selected your settings click on “Slice” in the bottom right corner of Cura.
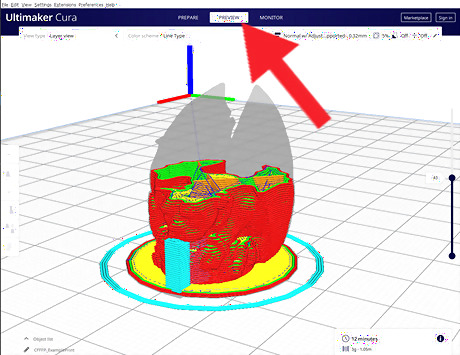
Check how it will be printed by going to the preview tab. Use the slider on the right-hand side to see the exact instructions your printer will be following. In the top left, select “Layer View” and make sure that the “Color Scheme” is set to “Line Type.” With these settings, you can preview what will be printed, and the supports will be in teal if you are using the default colors.
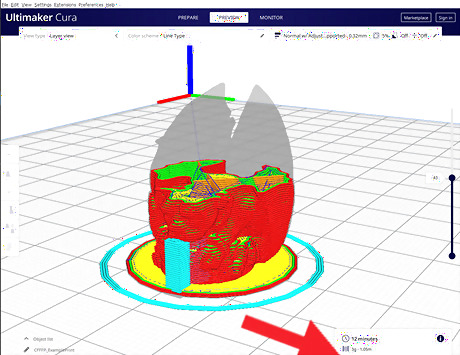
Save the file to your computer, transfer it to your 3D printer, and print away!









Comments
0 comment