
views

Start by choosing something to wind your yarn around. You can use a small book, a CD or DVD jewel case, a stiff piece of cardboard or an old address book. It should be something that is approximately 5x7", depending on the length you want the fringe.
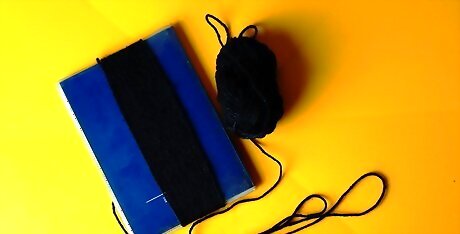
Starting with your yarn at the top, begin winding the yarn around the book. Wind it several times, but not so many times that you won't be able to cut through all of it with a pair of scissors. End with the yarn at the top of the book. Wind loosely enough that you can get scissors underneath it to cut.

Cut the yarn away from the skein.

Cut the yarn at the top of the book/item.
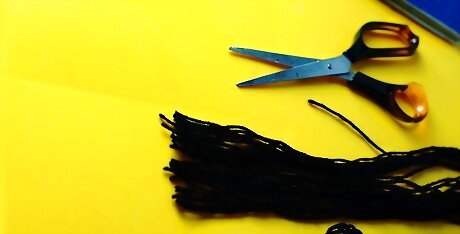
Now you have several pieces of yarn, all the same length.
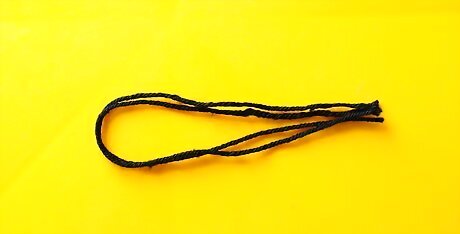
Decide how many pieces of yarn you want to use together. Two pieces together are being used in this example and for this scarf.
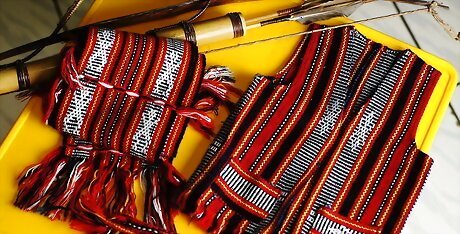
Fold your pieces evenly.
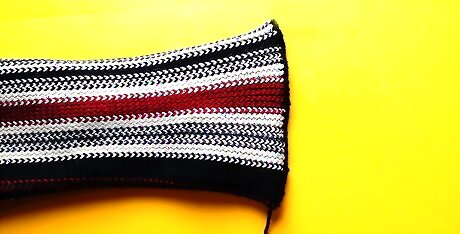
Always begin with the right side of your project facing up. The way to tell if it is the right side is to go back to your foundation chain, and position your piece so the beginning tail of yarn is on your left side. This makes the right side up.
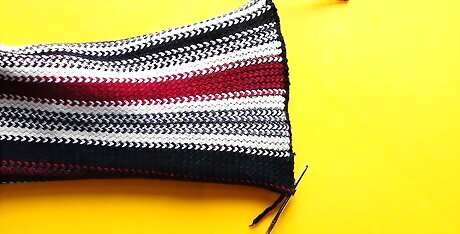
Insert your crochet hook into the first loop from the bottom up.
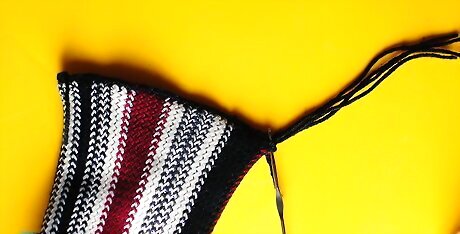
Take the two pieces of yarn folded in half, hook them with the crochet hook and pull them through the loop.
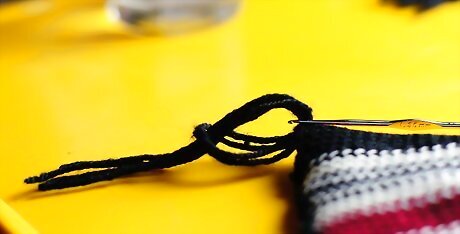
Take the ends of the two pieces of yarn and push them through the loop made by folding the two pieces in half. You can also hook the free ends with the crochet hook and pull them through the loop you just made.
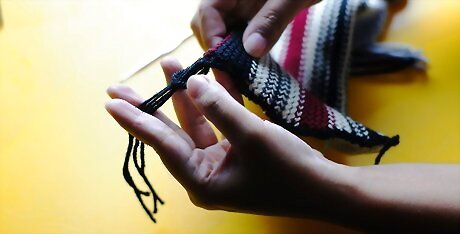
Pull on the free ends to draw them down snugly, but not too tightly. Pull on both ends evenly.
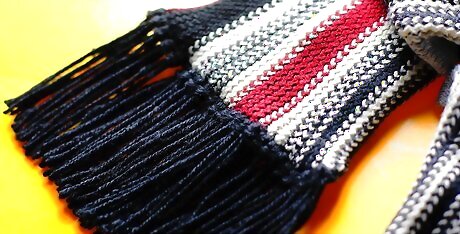
Continue in this way until you've added as much fringe to your project as you like. Trim the ends to even them up, if you want to.


Comments
0 comment