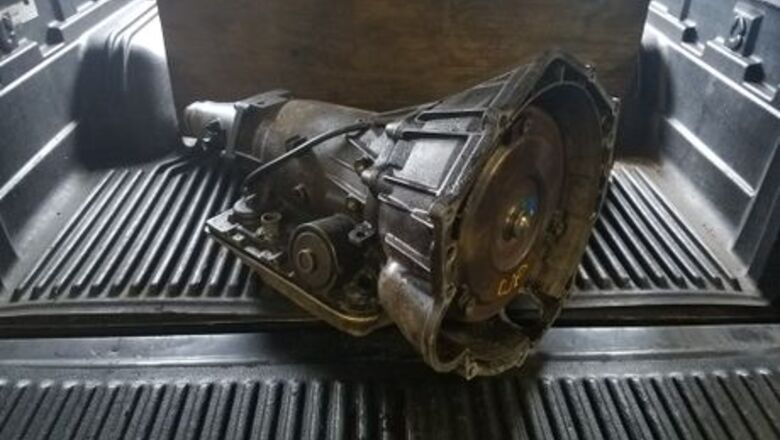
views
Position the transmission.
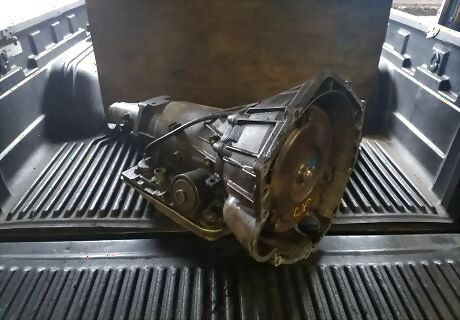
Position the transmission in a spacious and level area. Some good options are on an open garage floor or on a workbench.
Remove the torque converter.
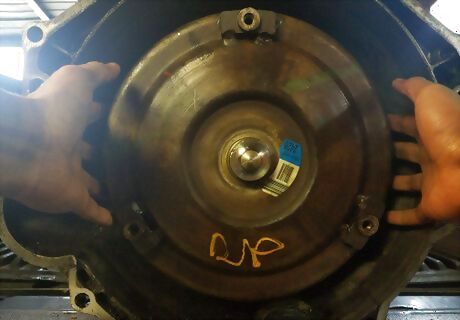
The original torque converter can be removed by positioning yourself in front of the bellhousing. Hold on to the converter by its sides, primarily at 3 o'clock and 9 o'clock positions. Gently pull it back towards you and slowly rotate in a rocking motion by moving your hands up and down a few inches as if you were turning a steering wheel.
Drain the torque converter of old fluid.
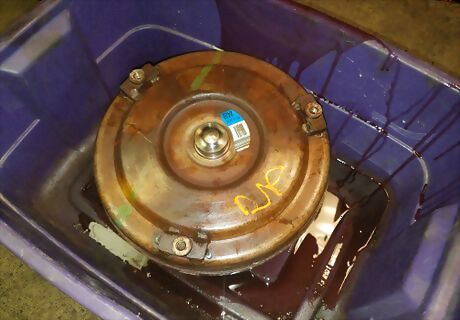
The torque converter will contain a few quarts of fluid. Place it with the bolt holes face-up in an appropriately sized bucket or drain pan and let it sit for about 30 minutes. The fluid will drain out very slowly.
Inspect the input shaft.
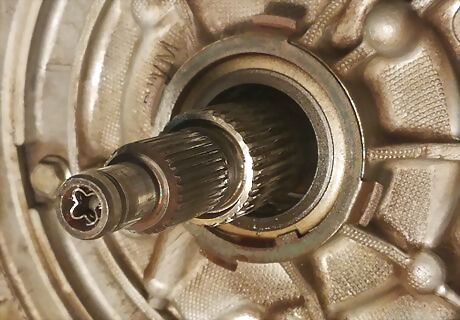
Now would be a good time to inspect the input shaft for any damage. If any damages are found such as broken or chipped splines, repair before installing the converter and transmission back in vehicle.
Fill the torque converter to be used.
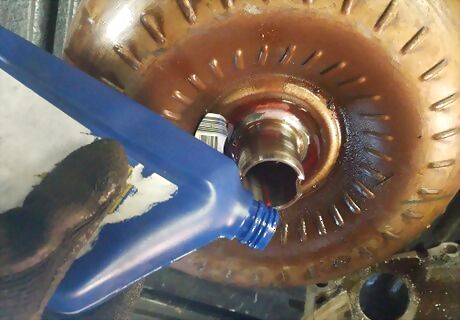
Whether the torque converter you are using is new or used, it is always best to fill it with at least a quart of new fluid before installing. Place the torque converter face down on a flat surface so that the input splines are facing up. The fluid will go in very slowly. Pour in as much as you can without the fluid running over. Once the fluid drains down, pour in more and repeat the process until you have at least a quart in the torque converter.
Install the torque converter.
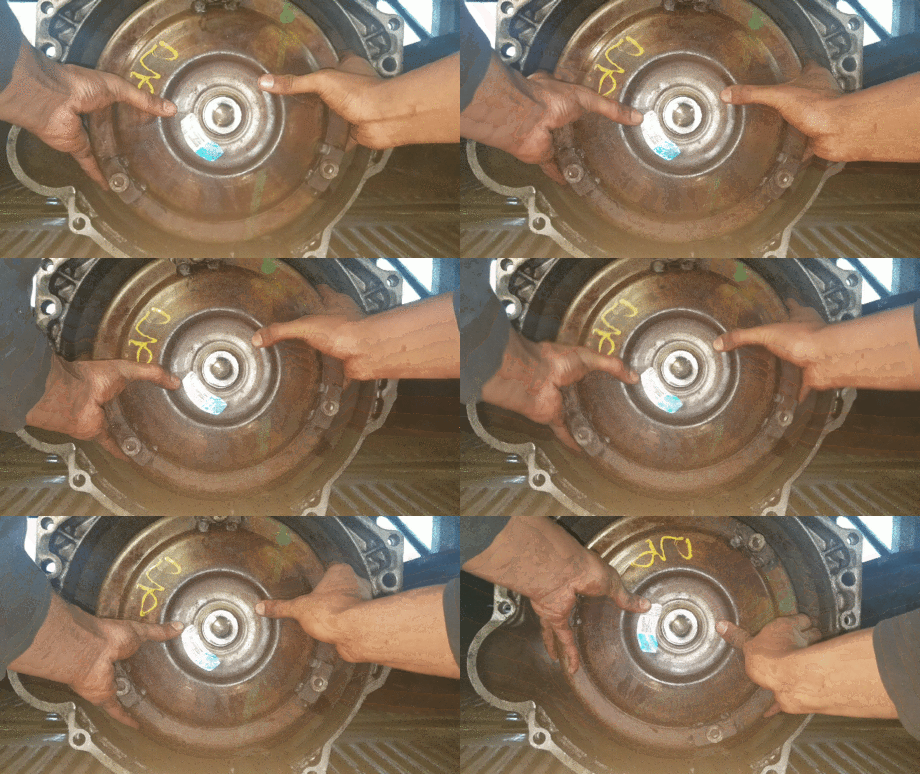
The torque converter will slide onto the input shaft three times, each time seating further into the bellhousing followed by a "clunk." First, hold the torque converter horizontally and face down (bolt holes facing towards the ground) so that the fluid will not drain back out. When ready to insert on the input shaft, turn the converter vertically with the bolt holes facing towards you. Hold the torque converter by its sides at 3 and 9 o'clock and slide onto the input shaft while slowly rotating it back and forth, as in Step 2, until you hear the first “clunk.” Continue to gently push on the torque converter and slowly rotate it back and forth. After a few seconds of this, it will slide back further and you will hear a second “clunk.” The torque converter is not properly seated yet and this is where the mistake of improperly installing it happens. Continue gently pushing on the torque converter while slowly rotating it until you hear a third and final “clunk.” It is now properly seated. If you continue to push and rotate, you will hear a scraping noise coming from behind the torque converter. This is normal and one way to tell it is installed properly.
Check the seating position.
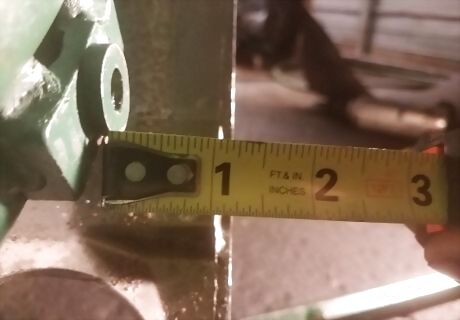
Measure from the face of the bolt holes to the edge of the outer edge of the bellhousing. The torque converter should sit back 1 ¼ inches or about 3cm inside the bellhousing.
Finish up.
With the torque converter now properly installed, you may now reinstall the transmission in the vehicle. Or, you can store the transmission for later use.


Comments
0 comment